Webhooks & Auto-deploy
Configure webhooks to trigger automatic deployments from GitHub, GitLab, or any CI system.
Webhooks let you trigger a QuickStack deployment via an HTTP POST request — typically from a Git hosting platform or CI pipeline on every push.
How it works
QuickStack generates a unique, secret-bearing webhook URL per app. When your Git provider or CI system sends an HTTP POST to this URL, QuickStack triggers a new deployment of that app — identical to clicking Deploy manually.
Configuring a webhook
- Open the app in QuickStack.
- Go to the Overview tab.
- Click Enable Webhook Deployments.

-
Copy the generated webhook URL. It looks like:
https://your-quickstack-domain/api/v1/webhook/deploy?id=YOUR_WEBHOOK_ID -
Add this URL as a webhook in your Git repository or CI system (see examples below).
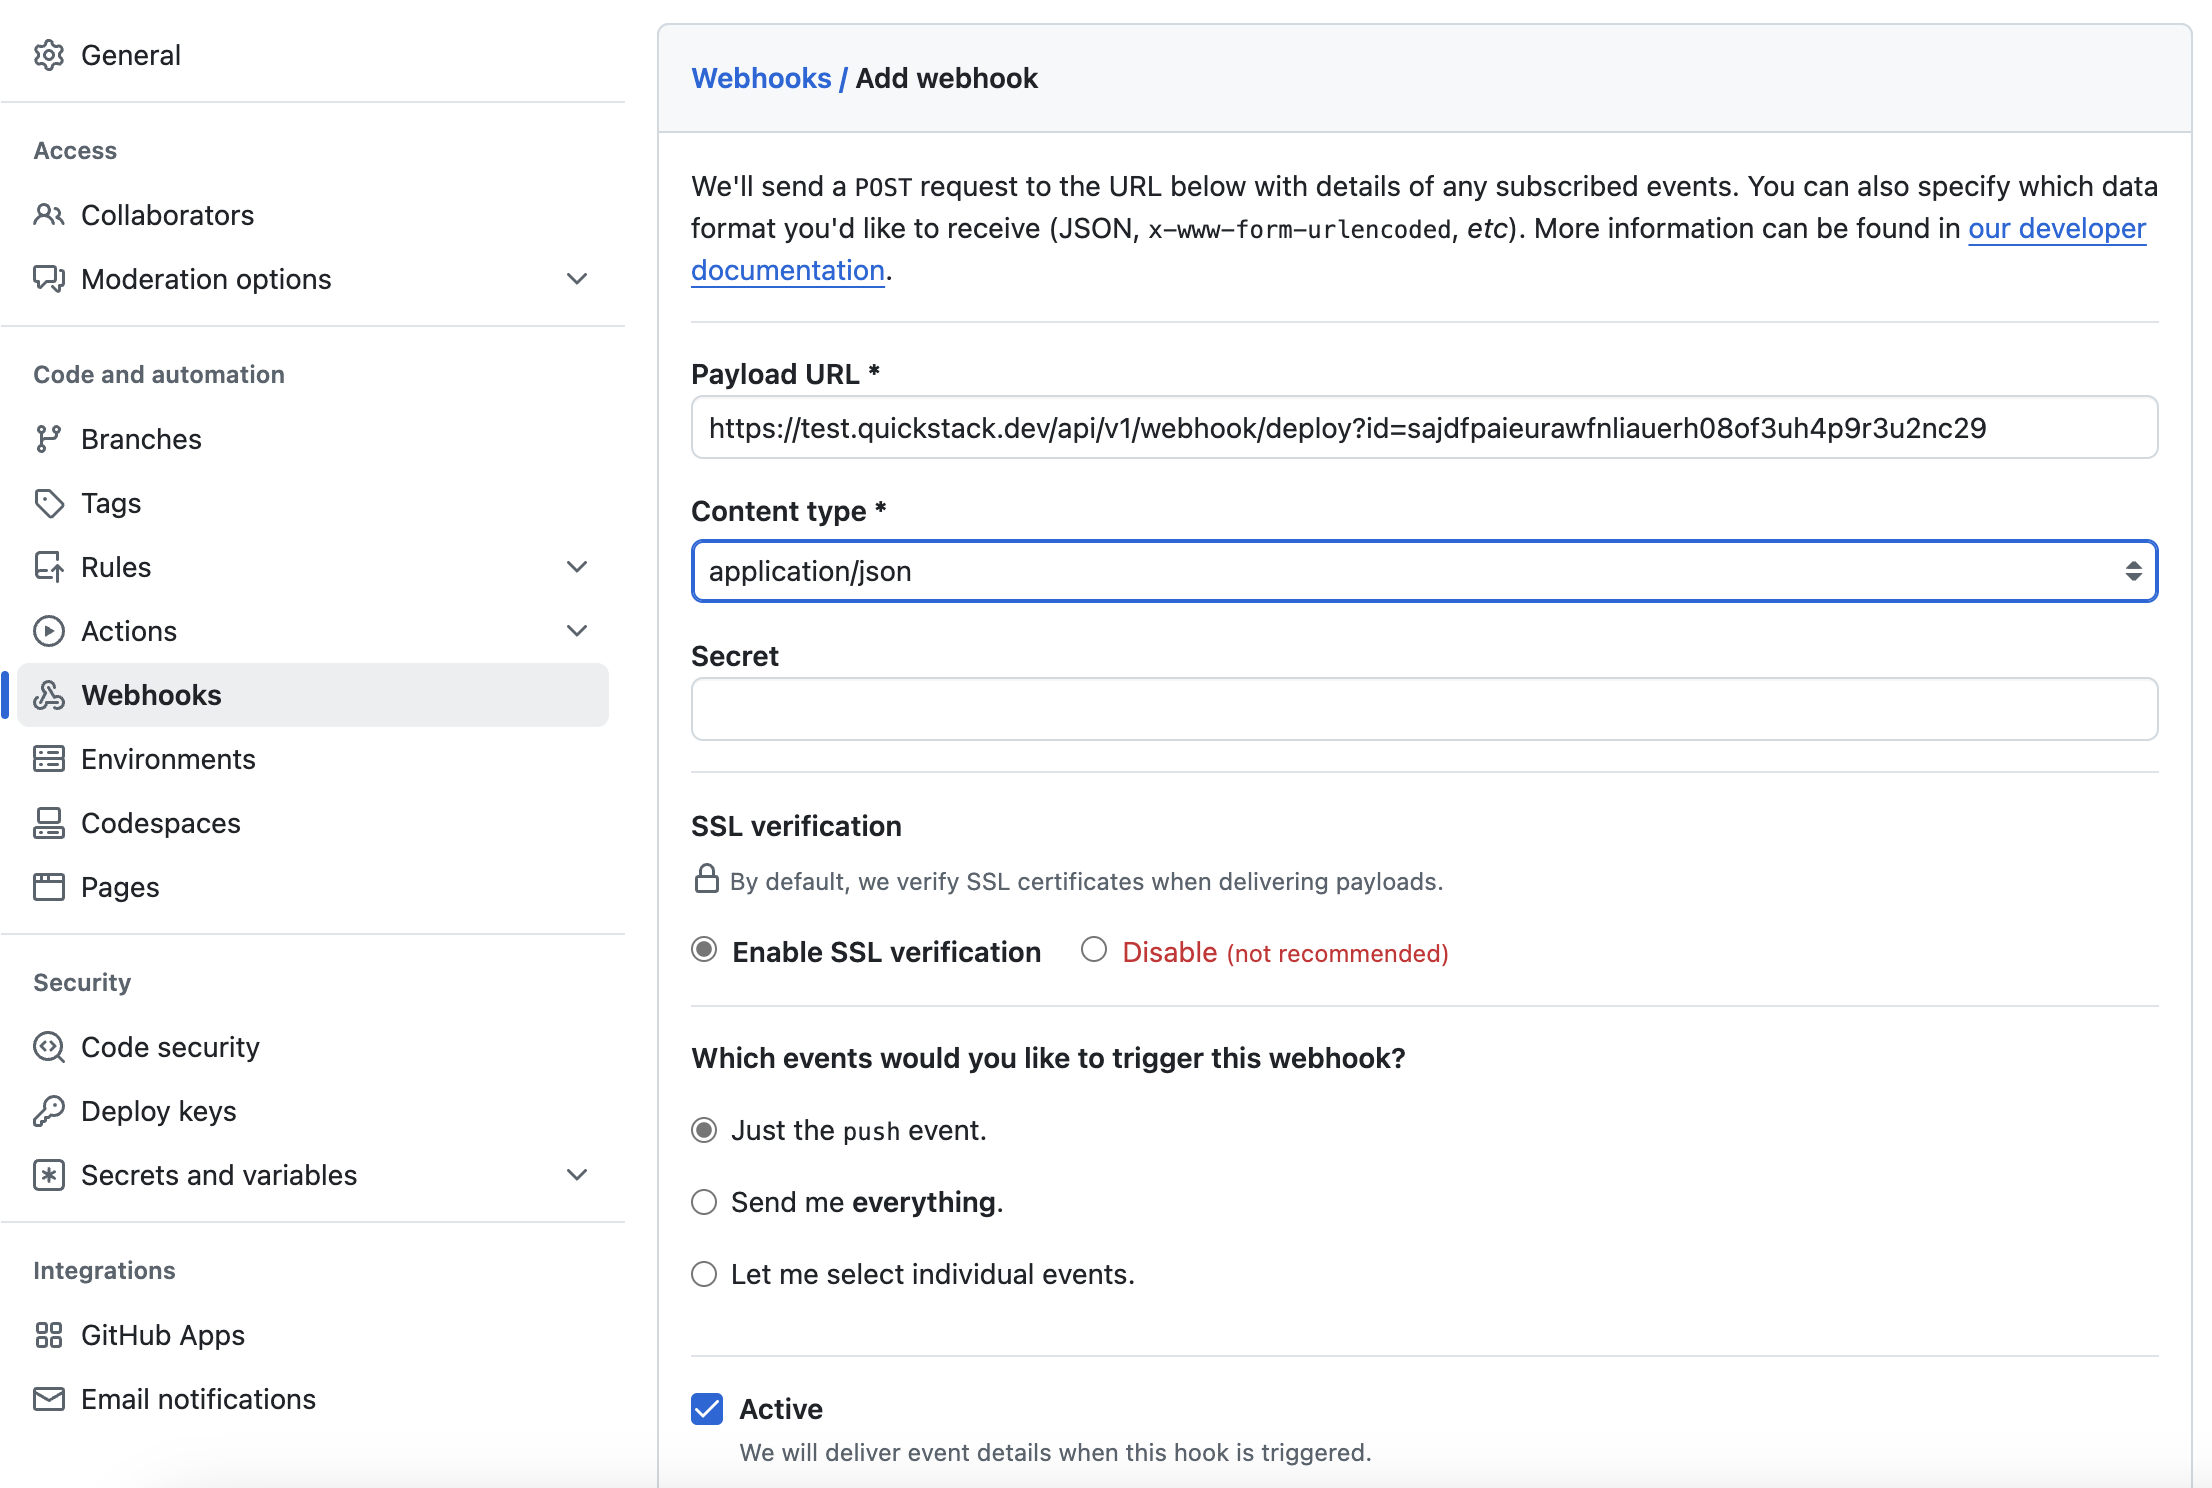
GitHub
- In your repository, go to Settings → Webhooks.
- Click Add webhook.
- Payload URL: paste the QuickStack webhook URL.
- Content type:
application/json. - Which events: choose Just the push event.
- Click Add webhook.
GitLab
- In your repository, go to Settings → Webhooks.
- URL: paste the QuickStack webhook URL.
- Trigger: select Push events.
- Click Add webhook.

Testing
Push a commit to GitLab/GitHub. A new deployment should appear in the app's Overview tab within seconds.
Troubleshooting
| Symptom | Fix |
|---|---|
| Webhook not triggering | Verify the URL is correct; check Git provider's webhook delivery logs |
| Wrong branch deployed | Webhook triggers whatever branch is configured in app settings |
| Deploy triggered but app unchanged | Confirm the configured branch has the new commit |
Reference
Webhook URL pattern: https://<quickstack-domain>/api/v1/webhook/deploy?id=<webhook-id> — see Ports & Endpoints for more.