Tutorials
Deploy Your First App from Git
Deploy an application directly from a Git repository using QuickStack.
QuickStack clones your repo, builds a Docker image, and runs it as a container. Every time you click Deploy, the current configuration is applied.
QuickStack supports two build methods:
- Railpack — auto-detects your language and framework; no Dockerfile needed.
- Dockerfile — uses a
Dockerfileyou provide in your repository.
Prerequisites
- QuickStack installed (installation guide)
- A Git repository with a valid
Dockerfile
Step 1: Create project and app
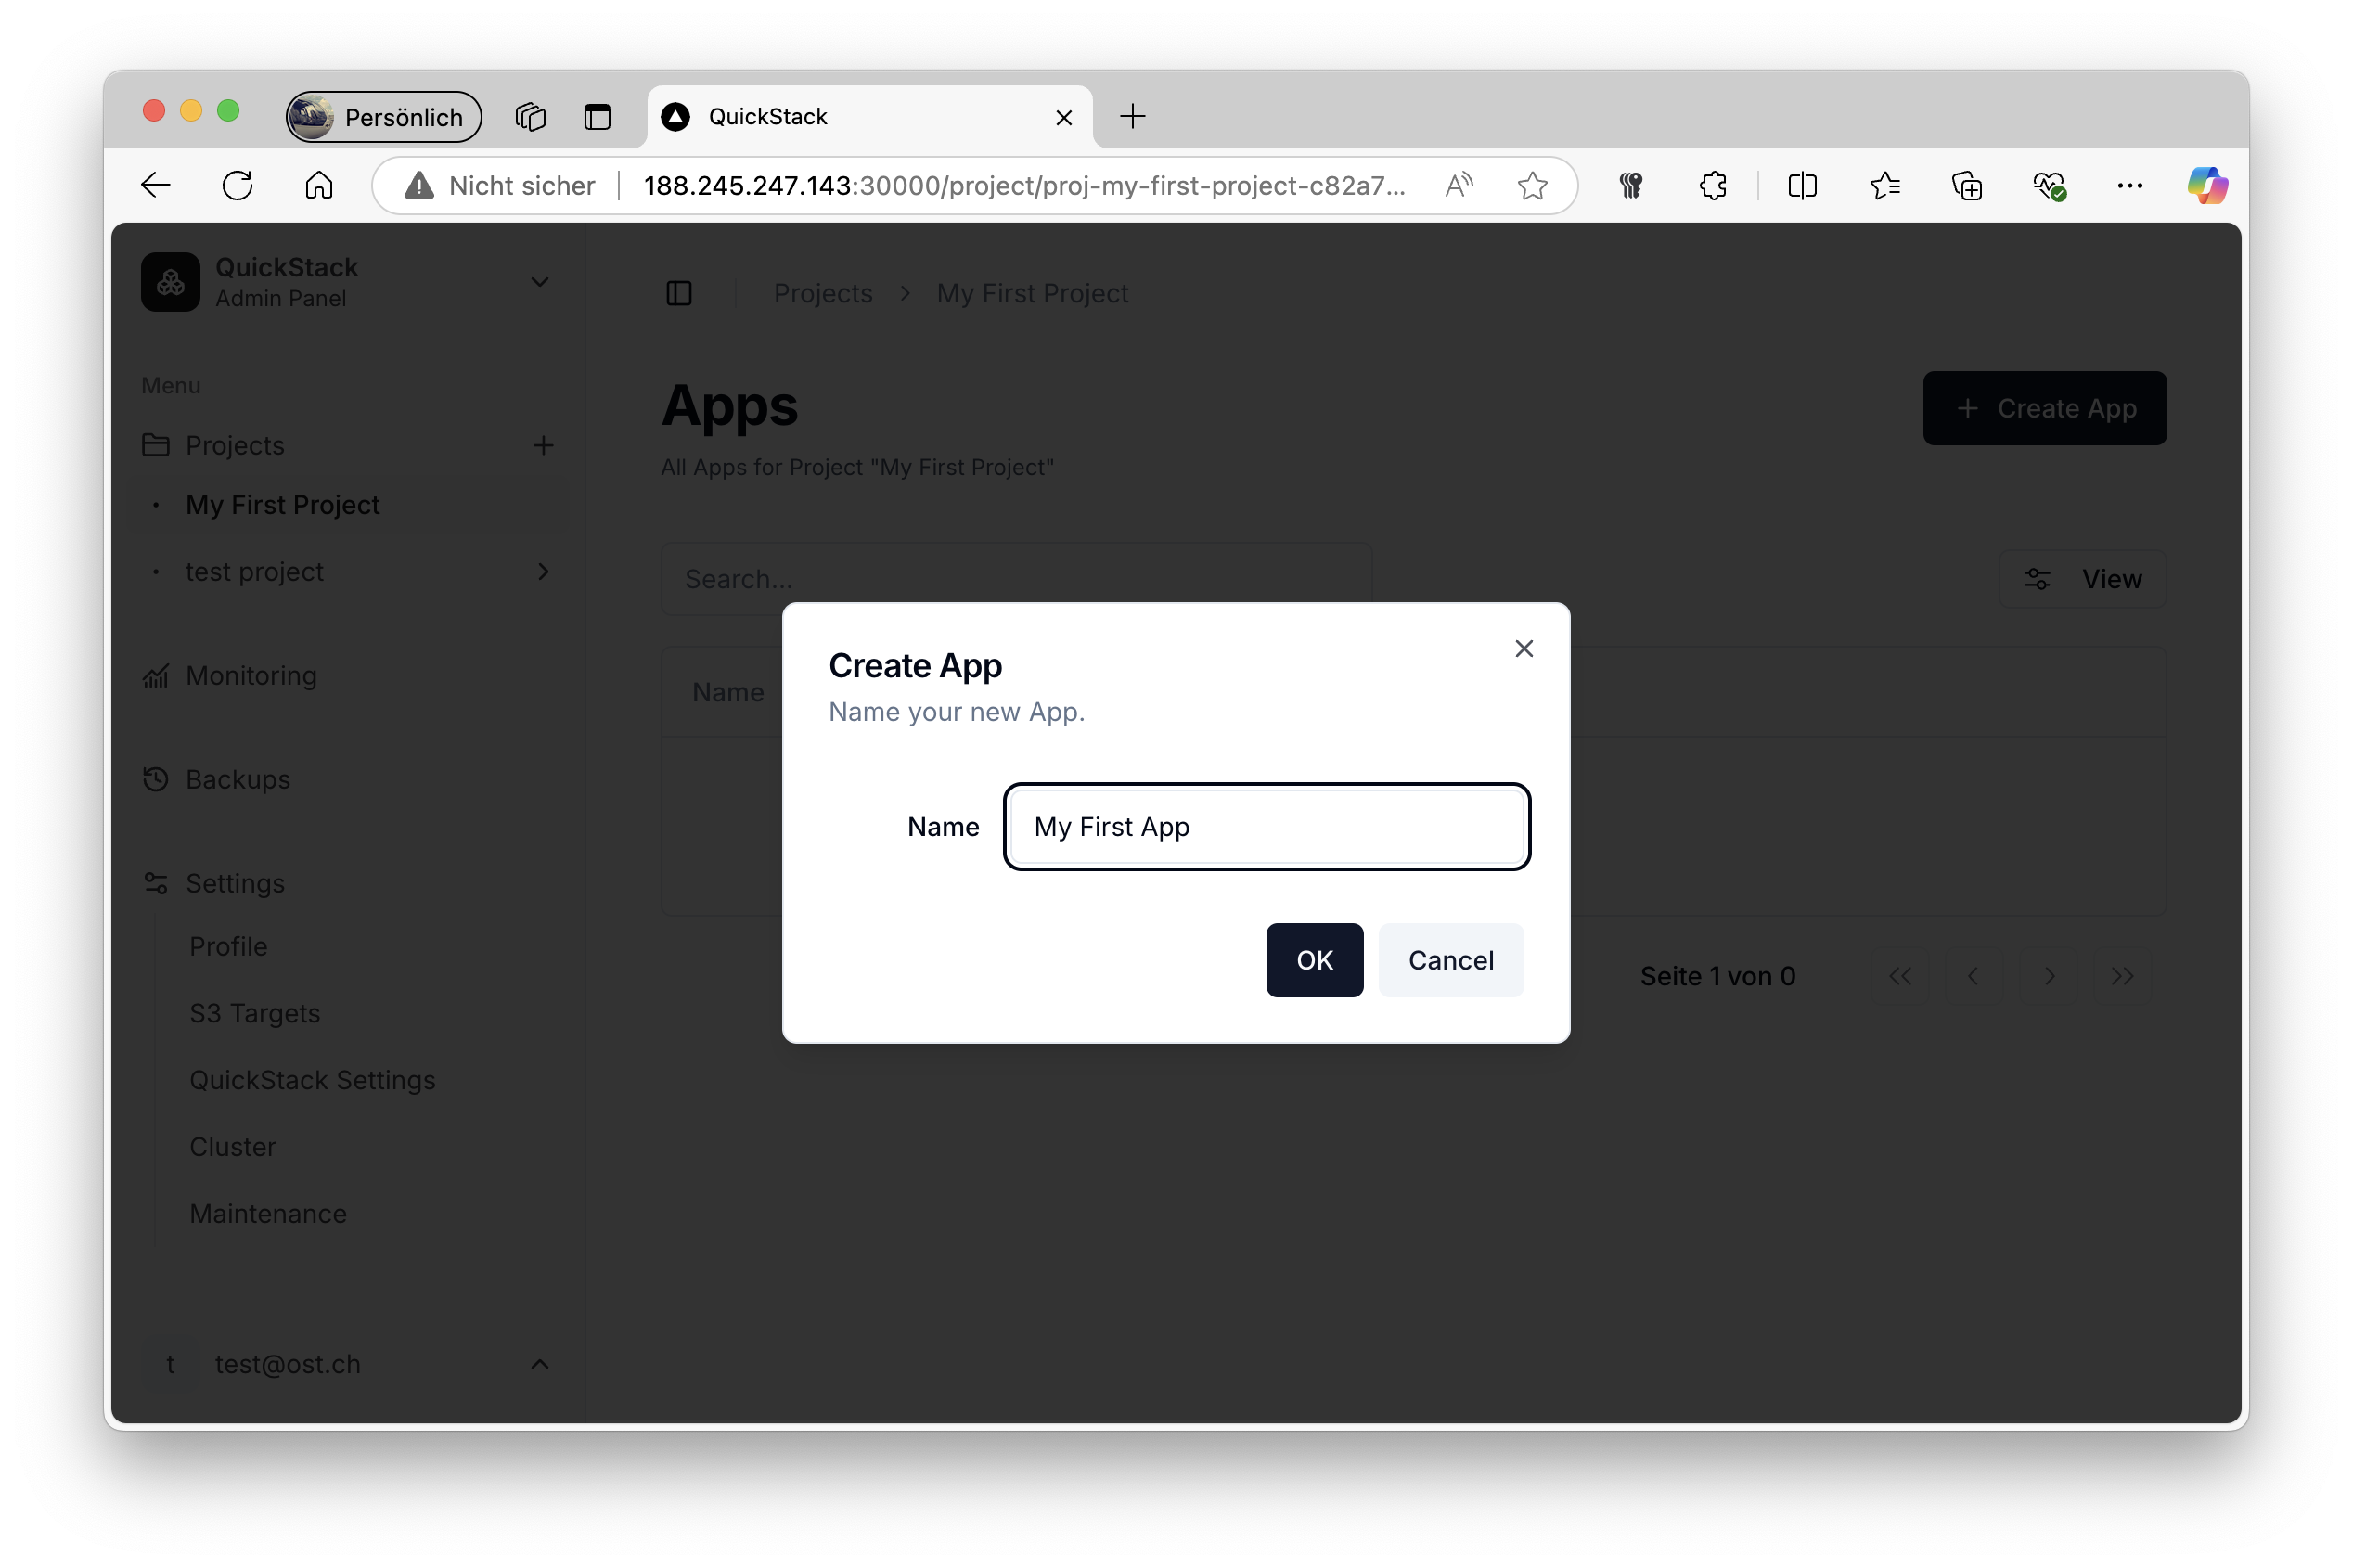
- On the dashboard, click Create Project and give it a name.
- Open the project, click Create App → Empty App, give your app a name.
Step 2: Configure the app source
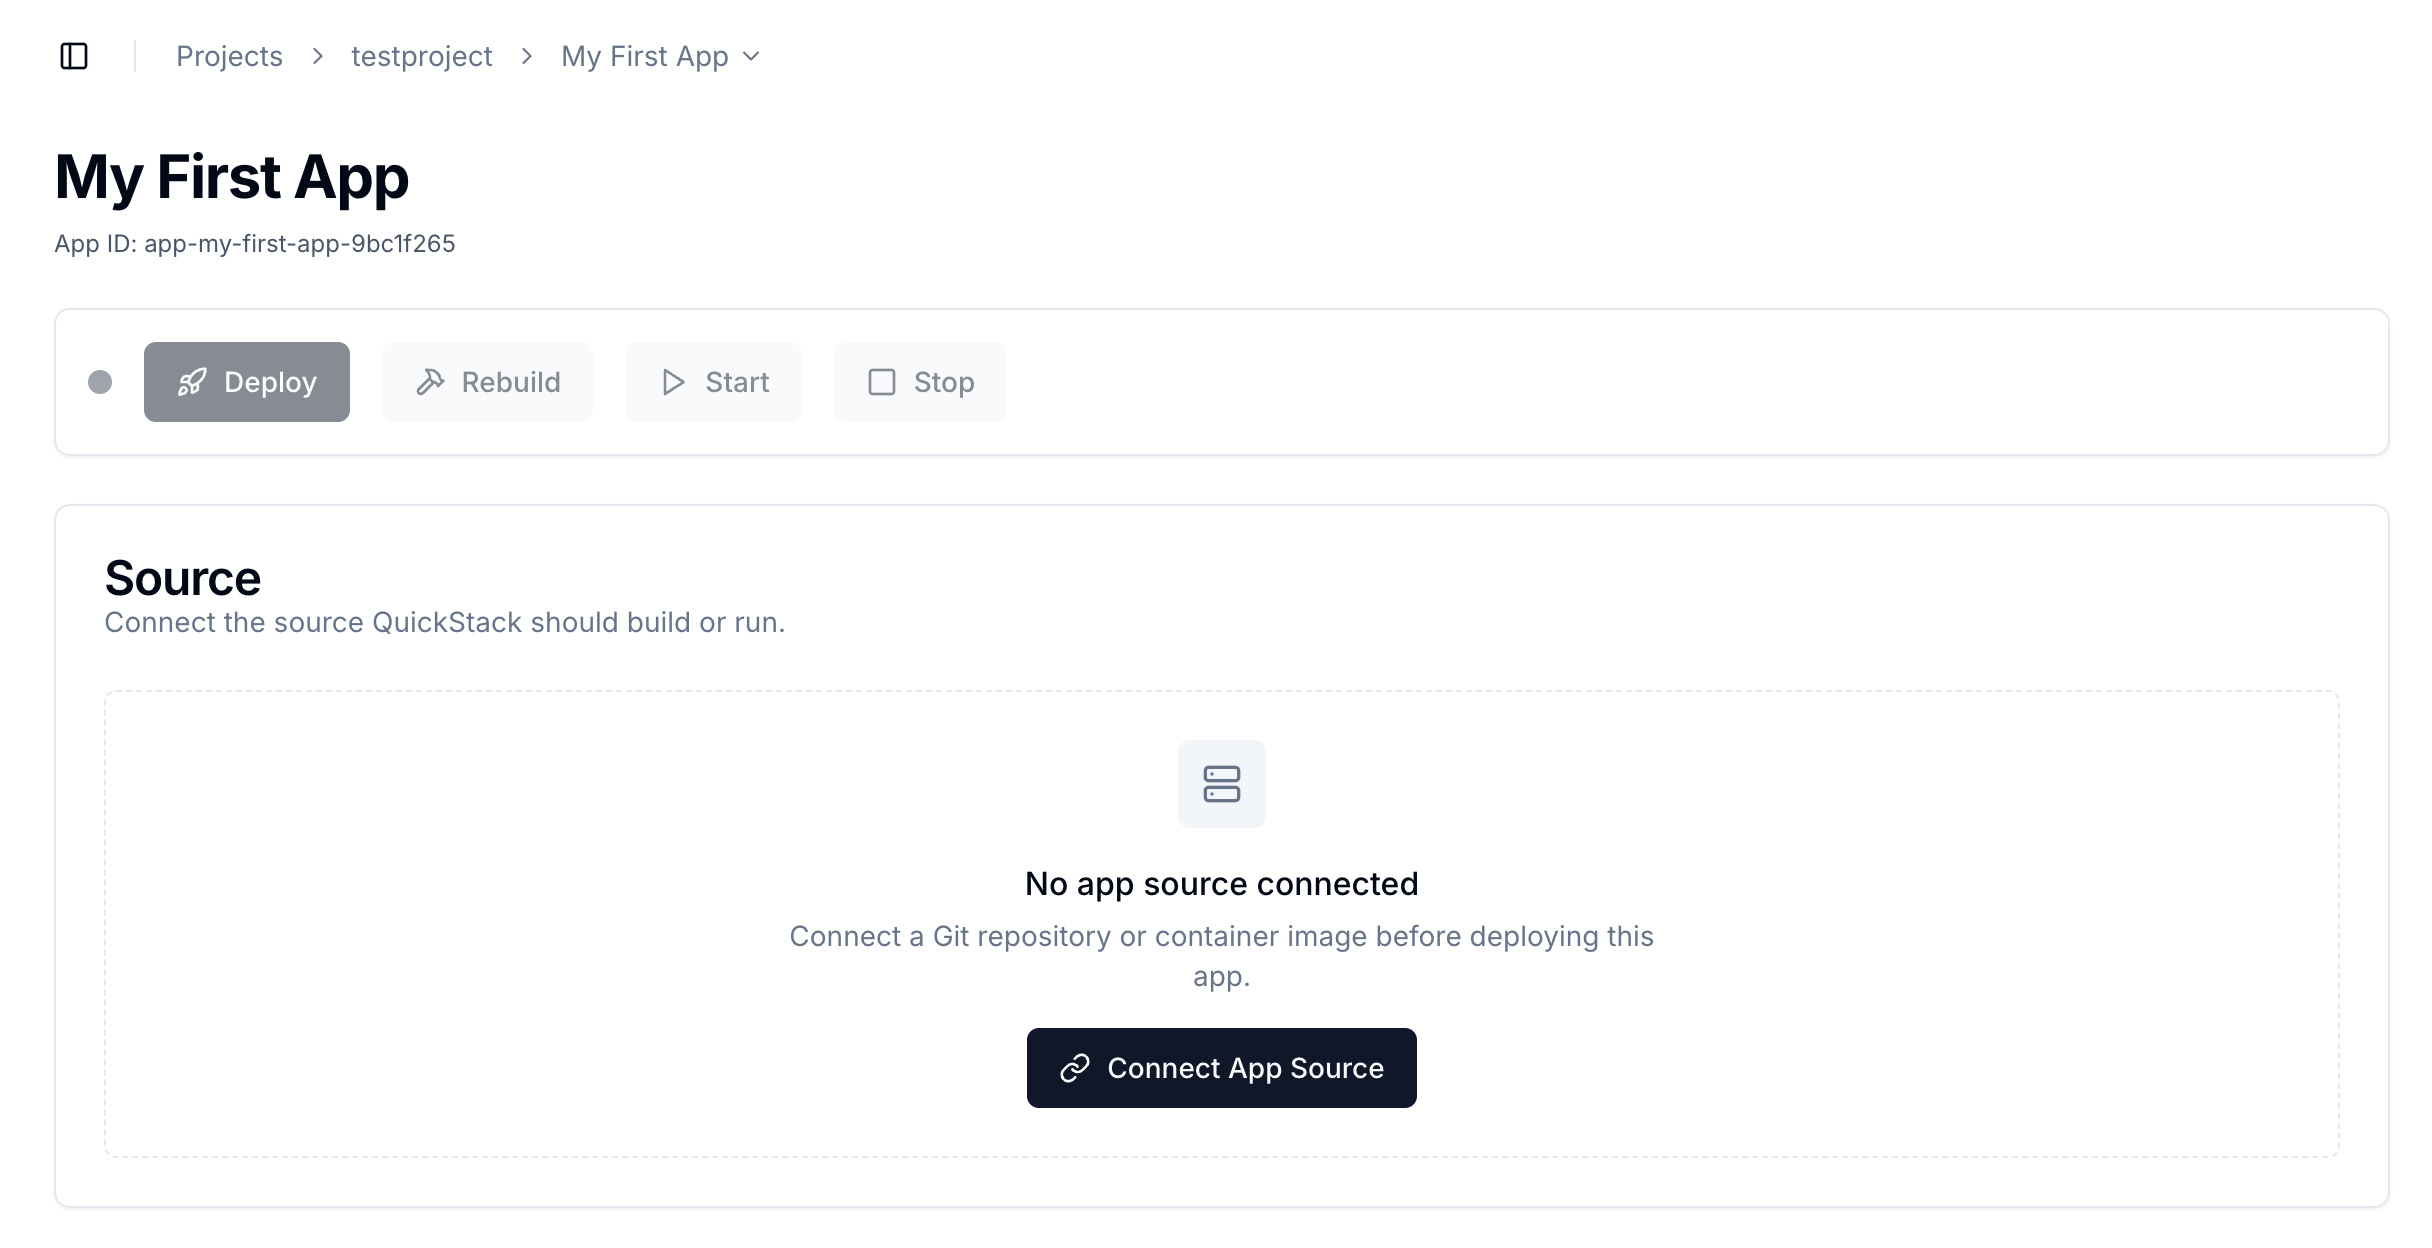
- Now you have to connect your app to an app source. To start, click on "Connect App Source".
- Next you have to choose the source type. QuickStack supports Git HTTPS, Git SSH, and Docker Container Image sources.
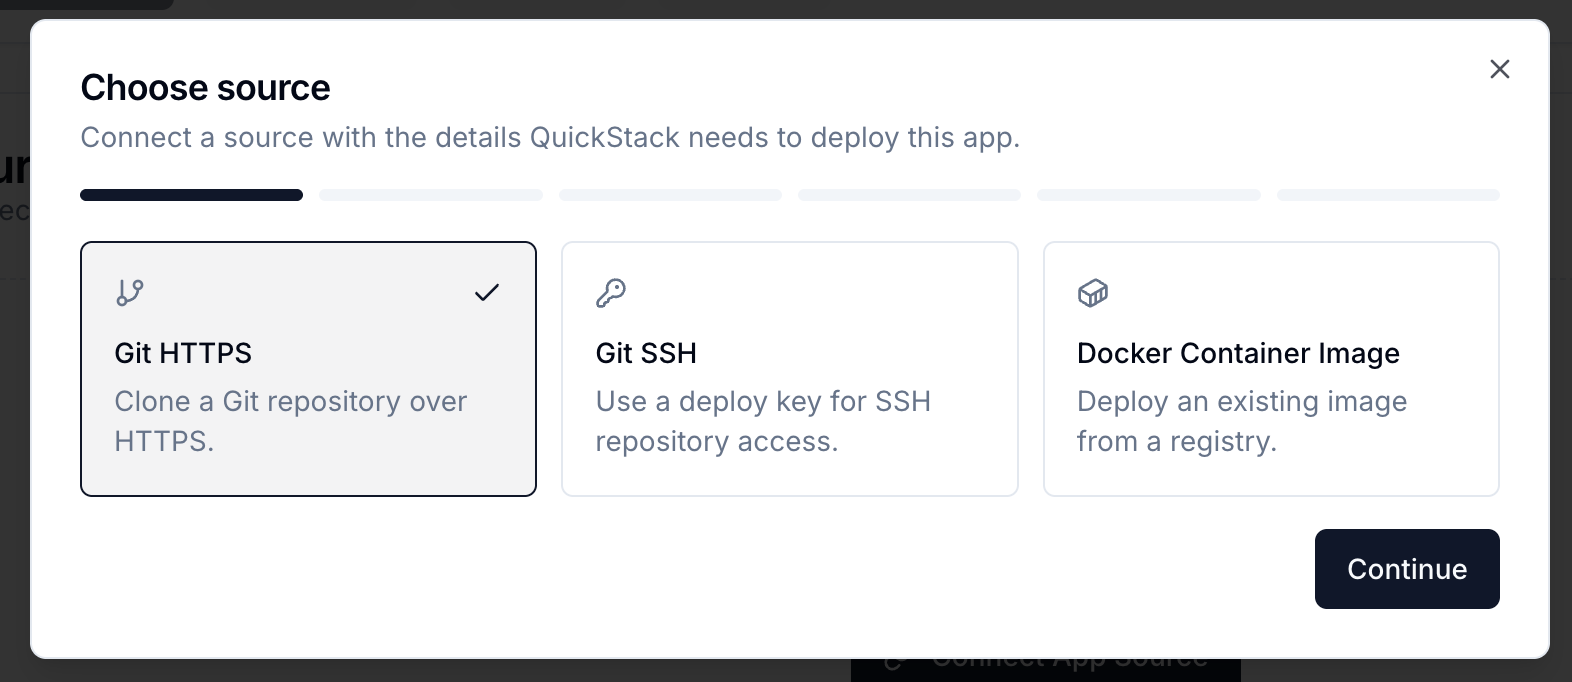
Differences between source types:
| Source type | When to use |
|---|---|
| Git HTTPS | Public repos, or private repos authenticated with a username + Personal Access Token |
| Git SSH | Private repos using an SSH deploy key (no username/password needed) |
| Docker Container Image | Deploy a pre-built image from a registry (Tutorial here) |
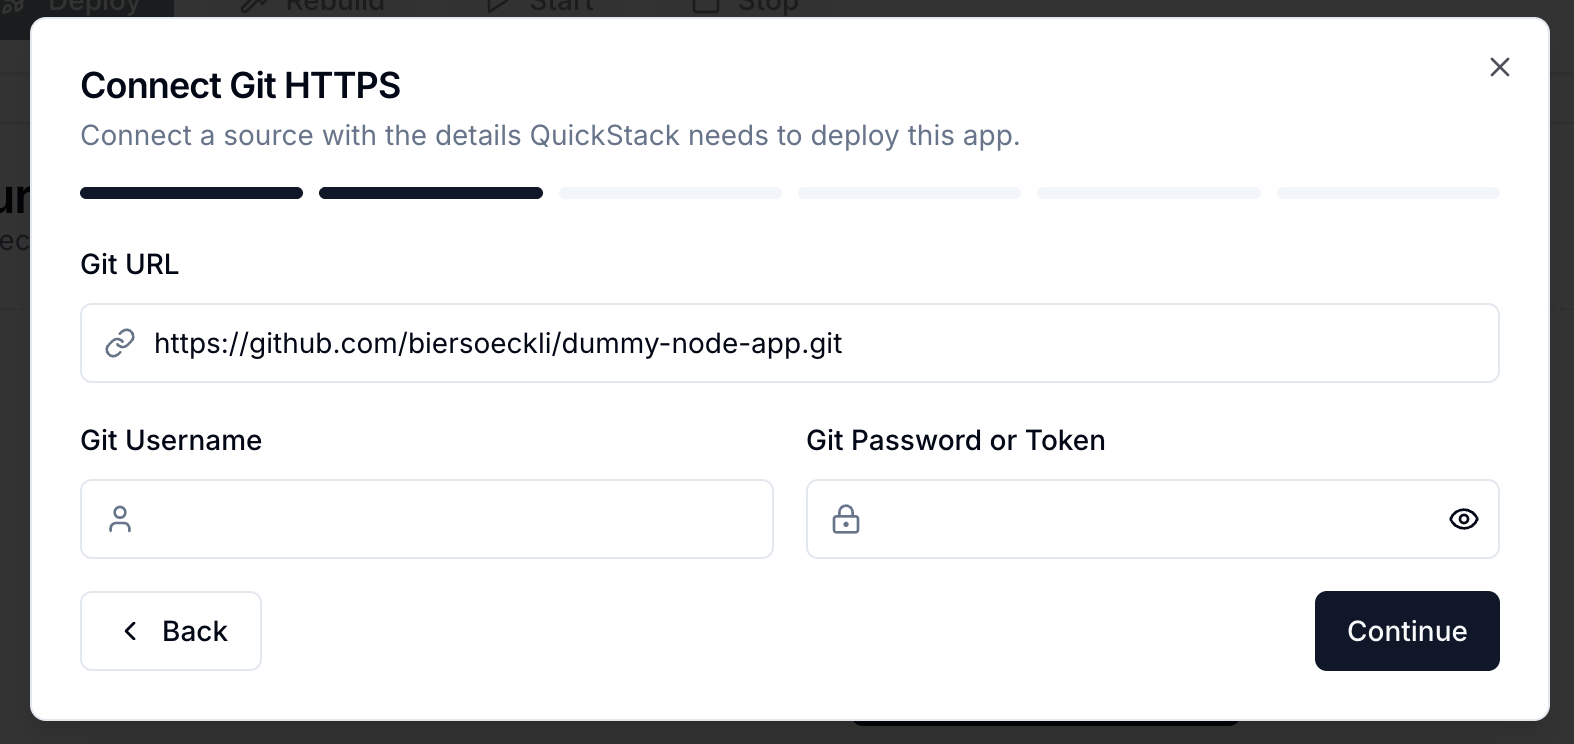
Option A — Git HTTPS
- Enter the HTTPS clone URL (e.g.
https://github.com/org/repo.git). For private repos, enter your Git Username and a Personal Access Token withreadaccess on the repository.
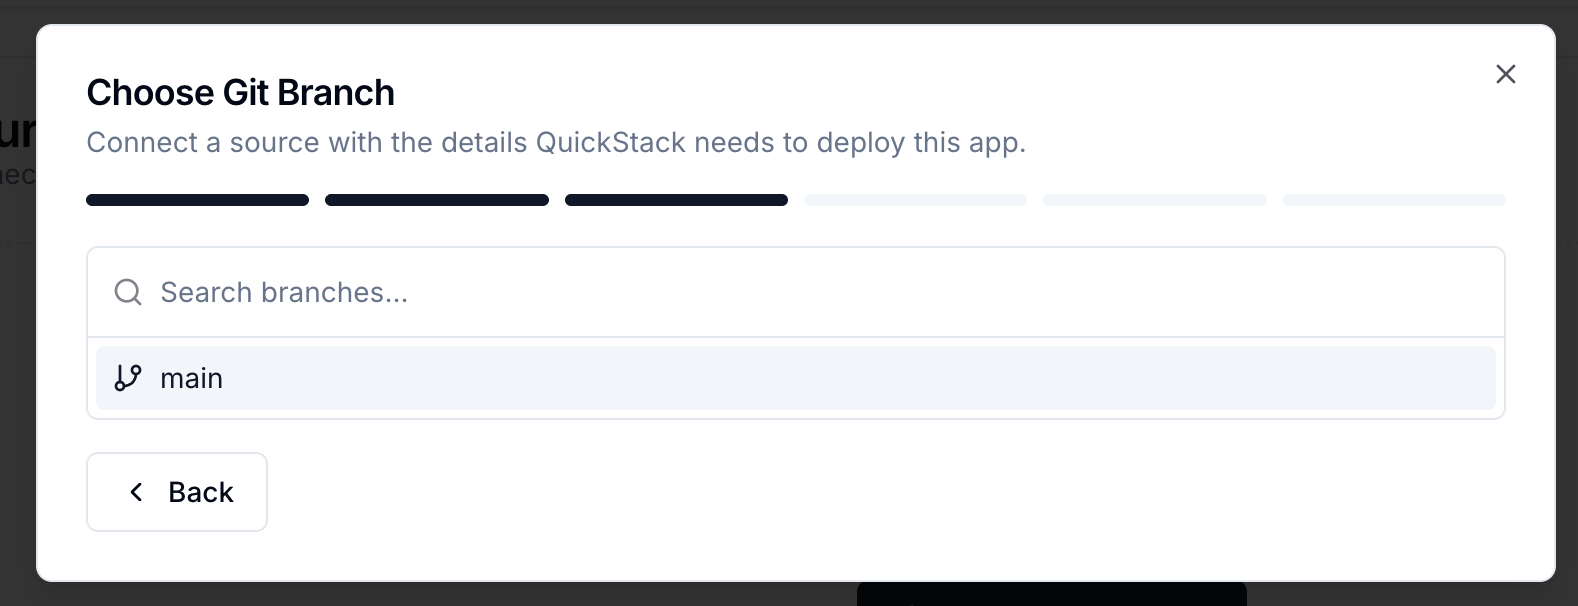
- QuickStack attempts to load the available branches. Select a branch from the list.
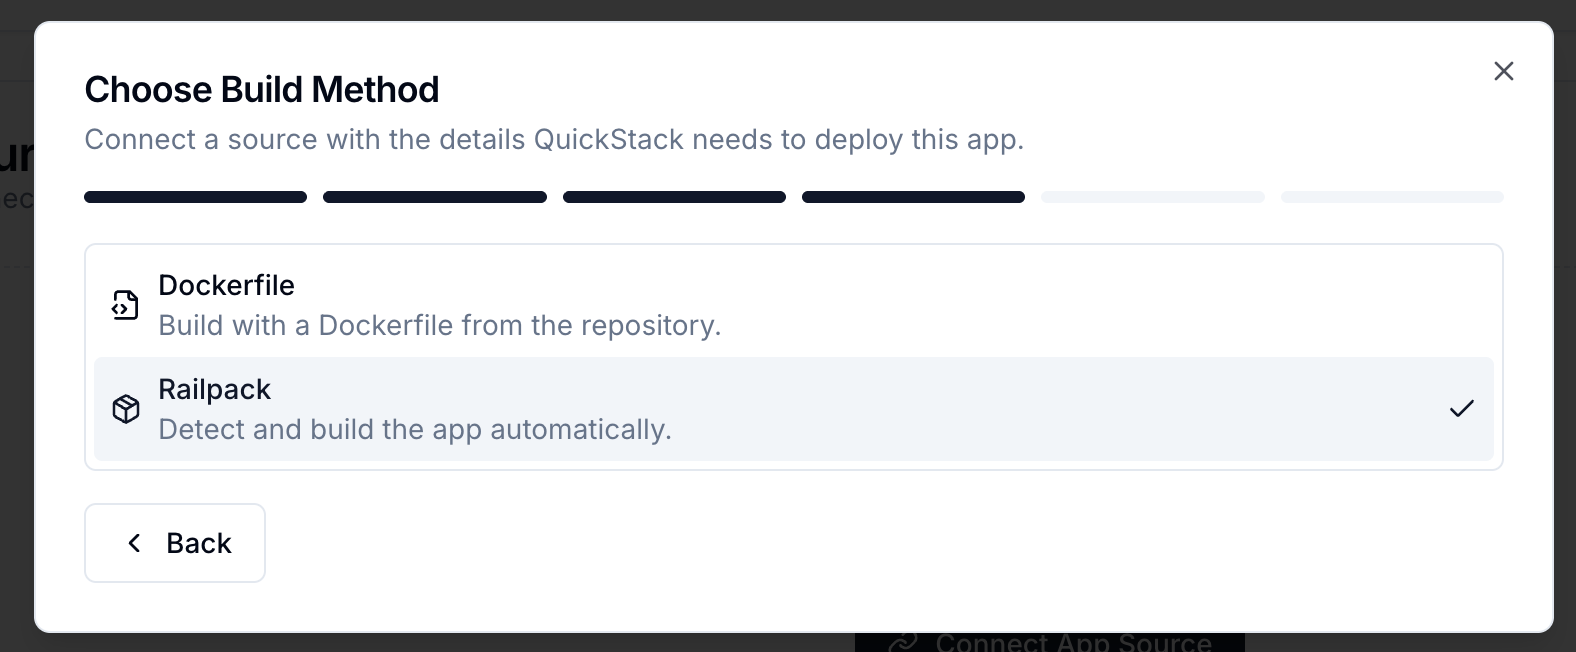
- Choose the build method:
- Railpack — auto-detects your language and framework; no Dockerfile needed.
- Dockerfile — uses a
Dockerfileyou provide in your repository. This is more flexible but requires a validDockerfilein the repo.
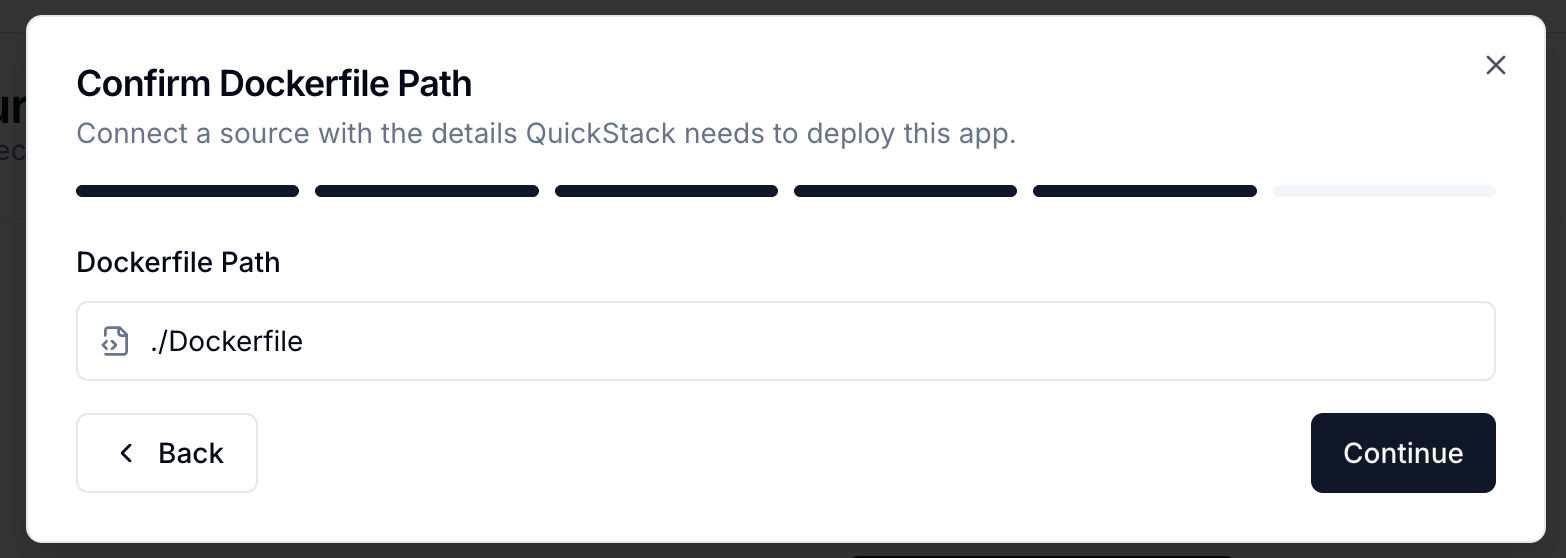
- When Dockerfile is chosen, QuickStack auto-detects the Dockerfile location. Confirm or adjust the Dockerfile Path if needed (relative to repo root, e.g.
./Dockerfile).
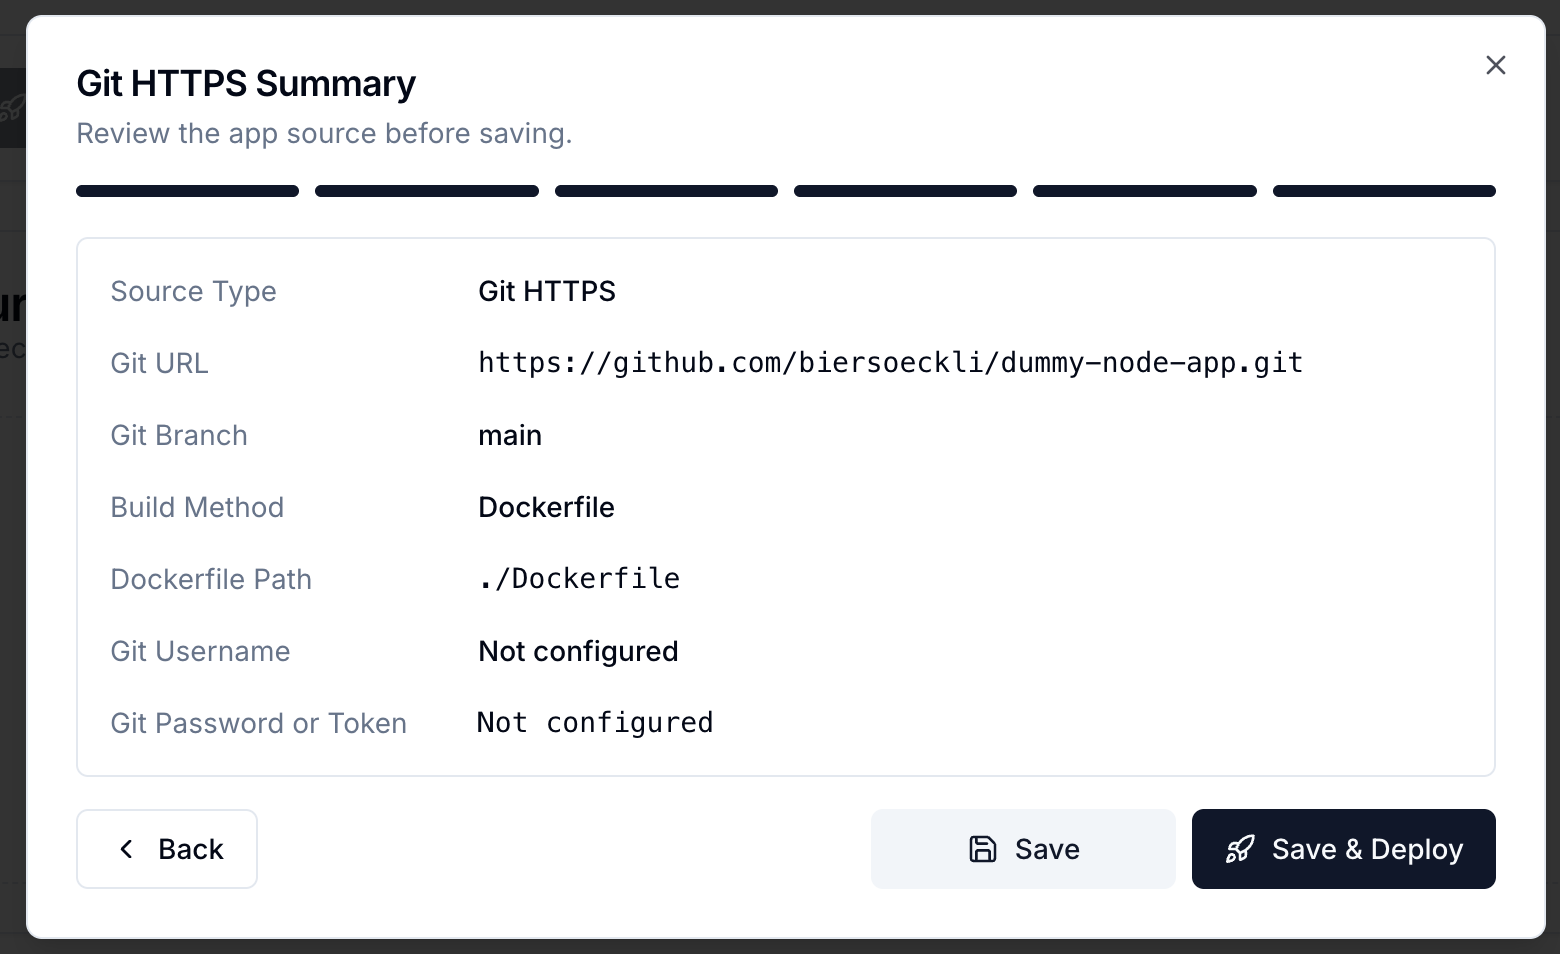
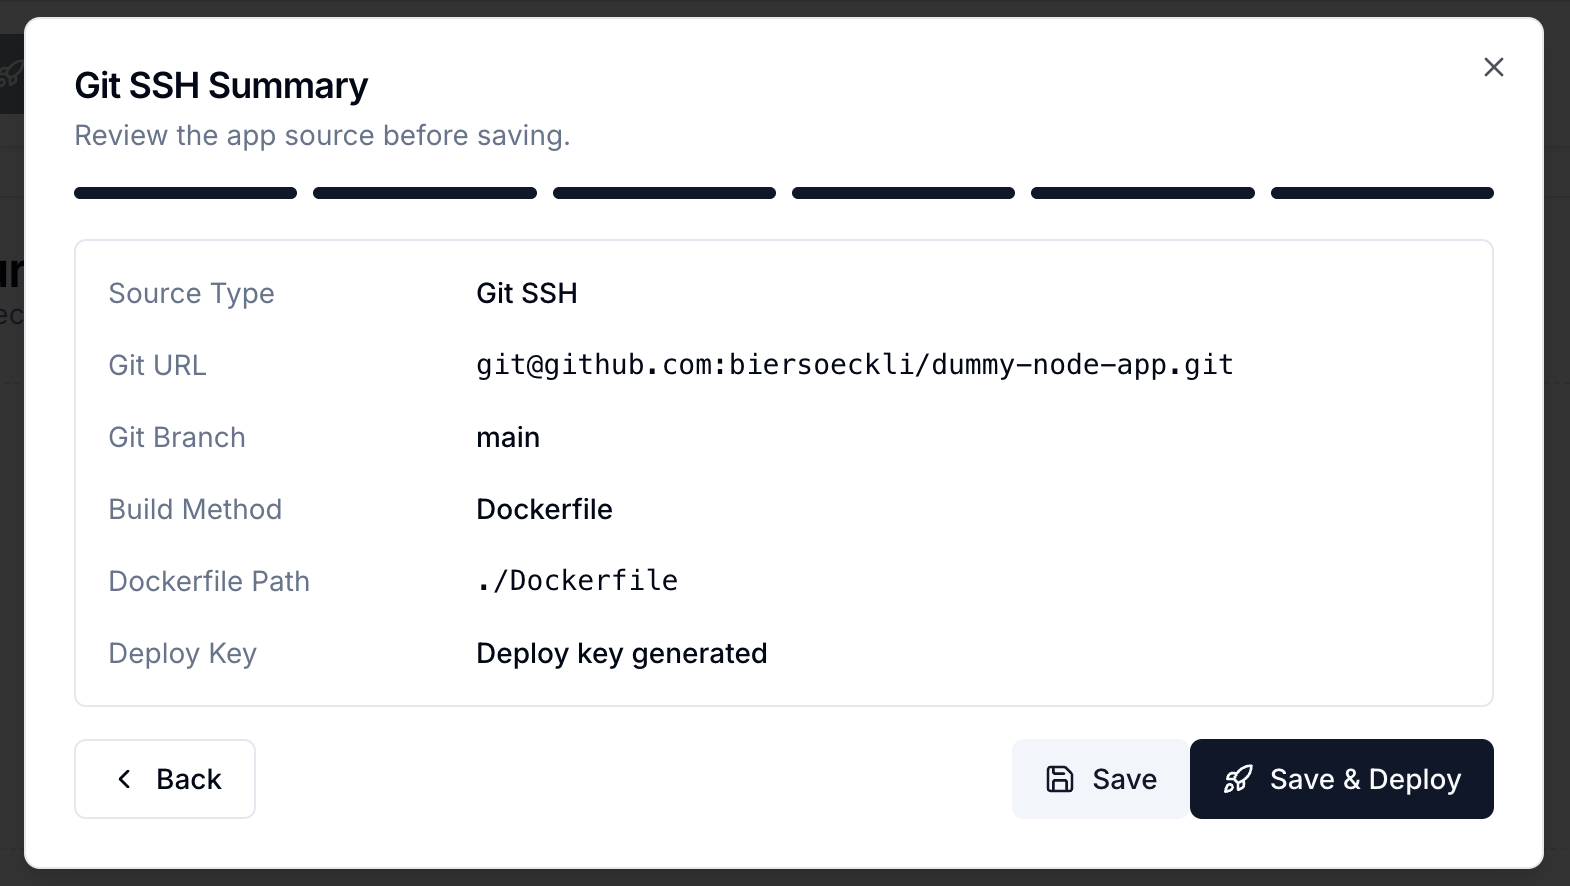
- Review the summary and click Save & Deploy to start the deployment of your app.
Option B — Git SSH
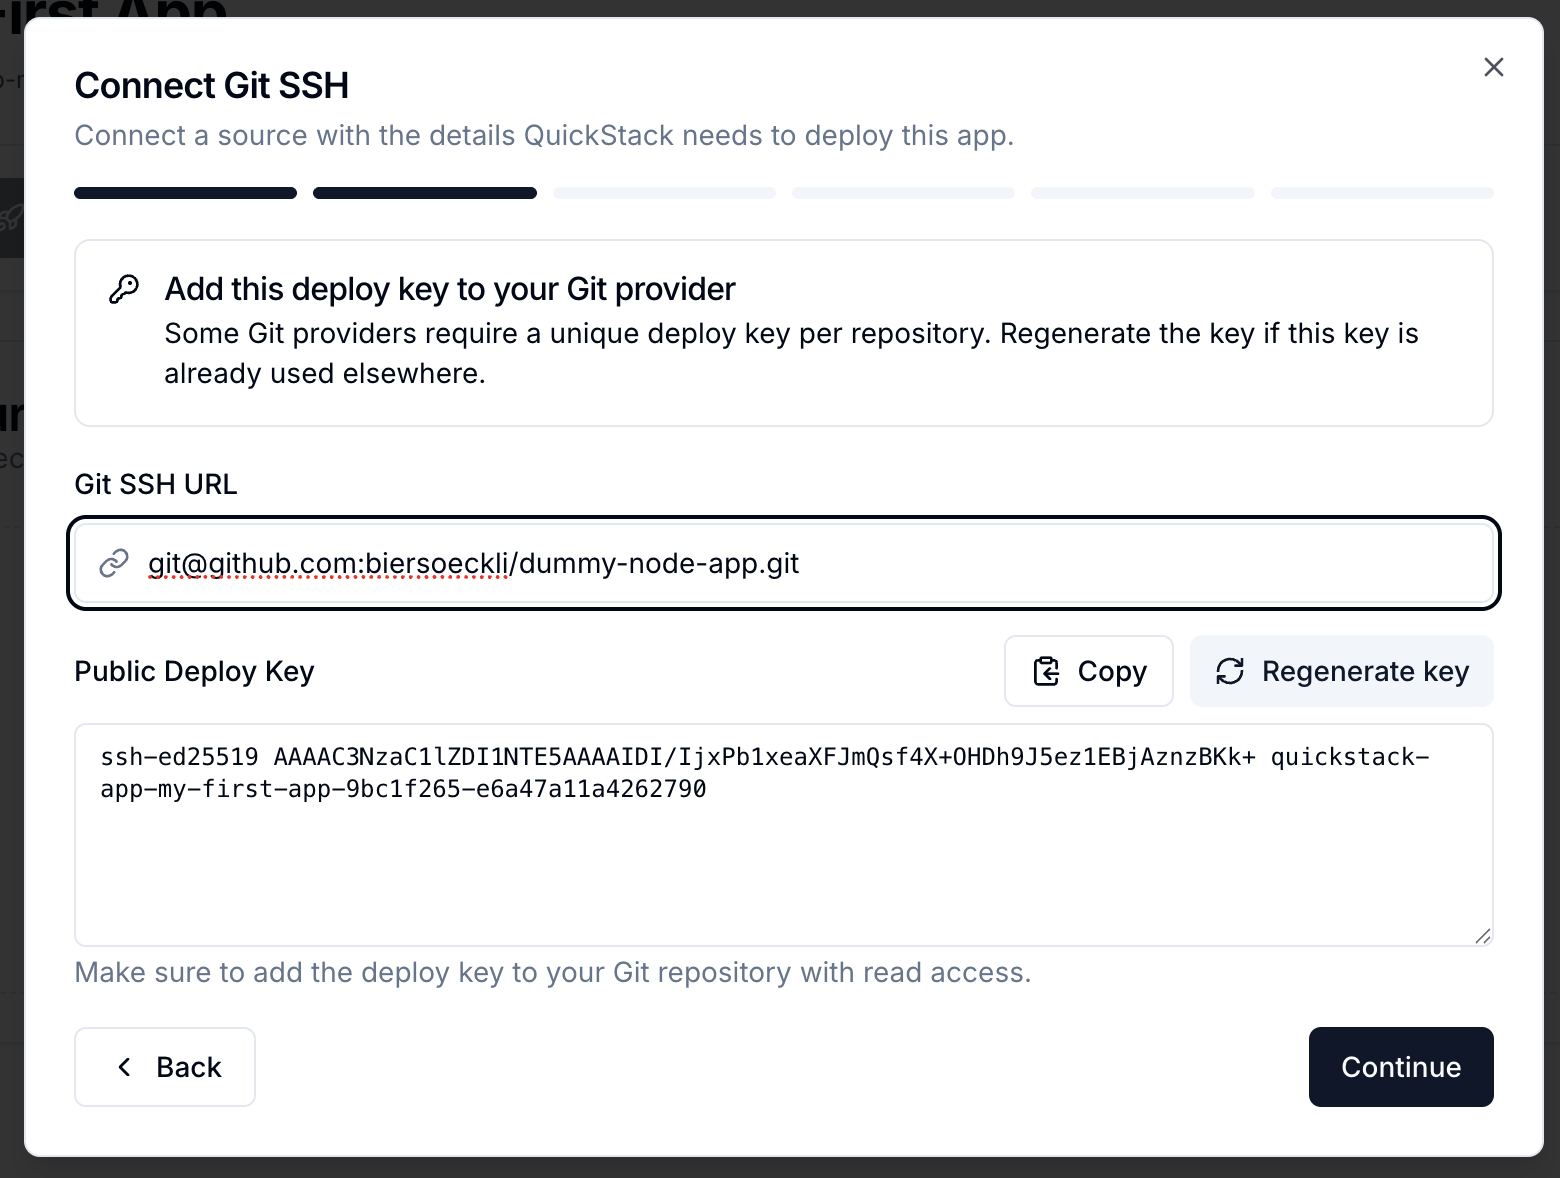
- Enter the SSH clone URL (e.g.
git@github.com:user/repo.git). - QuickStack generates a Public Deploy Key for this app. Copy it using the Copy button.
- Add the deploy key to your repository with read-only access:
- GitHub: Repository → Settings → Deploy keys → Add deploy key
- GitLab: Repository → Settings → Repository → Deploy keys
- Bitbucket: Repository → Repository settings → Access keys
- QuickStack attempts to load the available branches. Select a branch from the list.
- Choose the build method:
- Railpack — auto-detects your language and framework; no Dockerfile needed.
- Dockerfile — uses a
Dockerfileyou provide in your repository. This is more flexible but requires a validDockerfilein the repo.
- When Dockerfile is chosen, QuickStack auto-detects the Dockerfile location. Confirm or adjust the Dockerfile Path if needed (relative to repo root, e.g.
./Dockerfile).
- Review the summary and click Save & Deploy to start the deployment of your app.
Regenerating the deploy key If you need to rotate credentials, click Regenerate key in the wizard. Update the old deploy key in your Git provider immediately after.
Deploy applies changes Any configuration change — Git source, env vars, storage, domains — only takes effect after clicking Deploy.
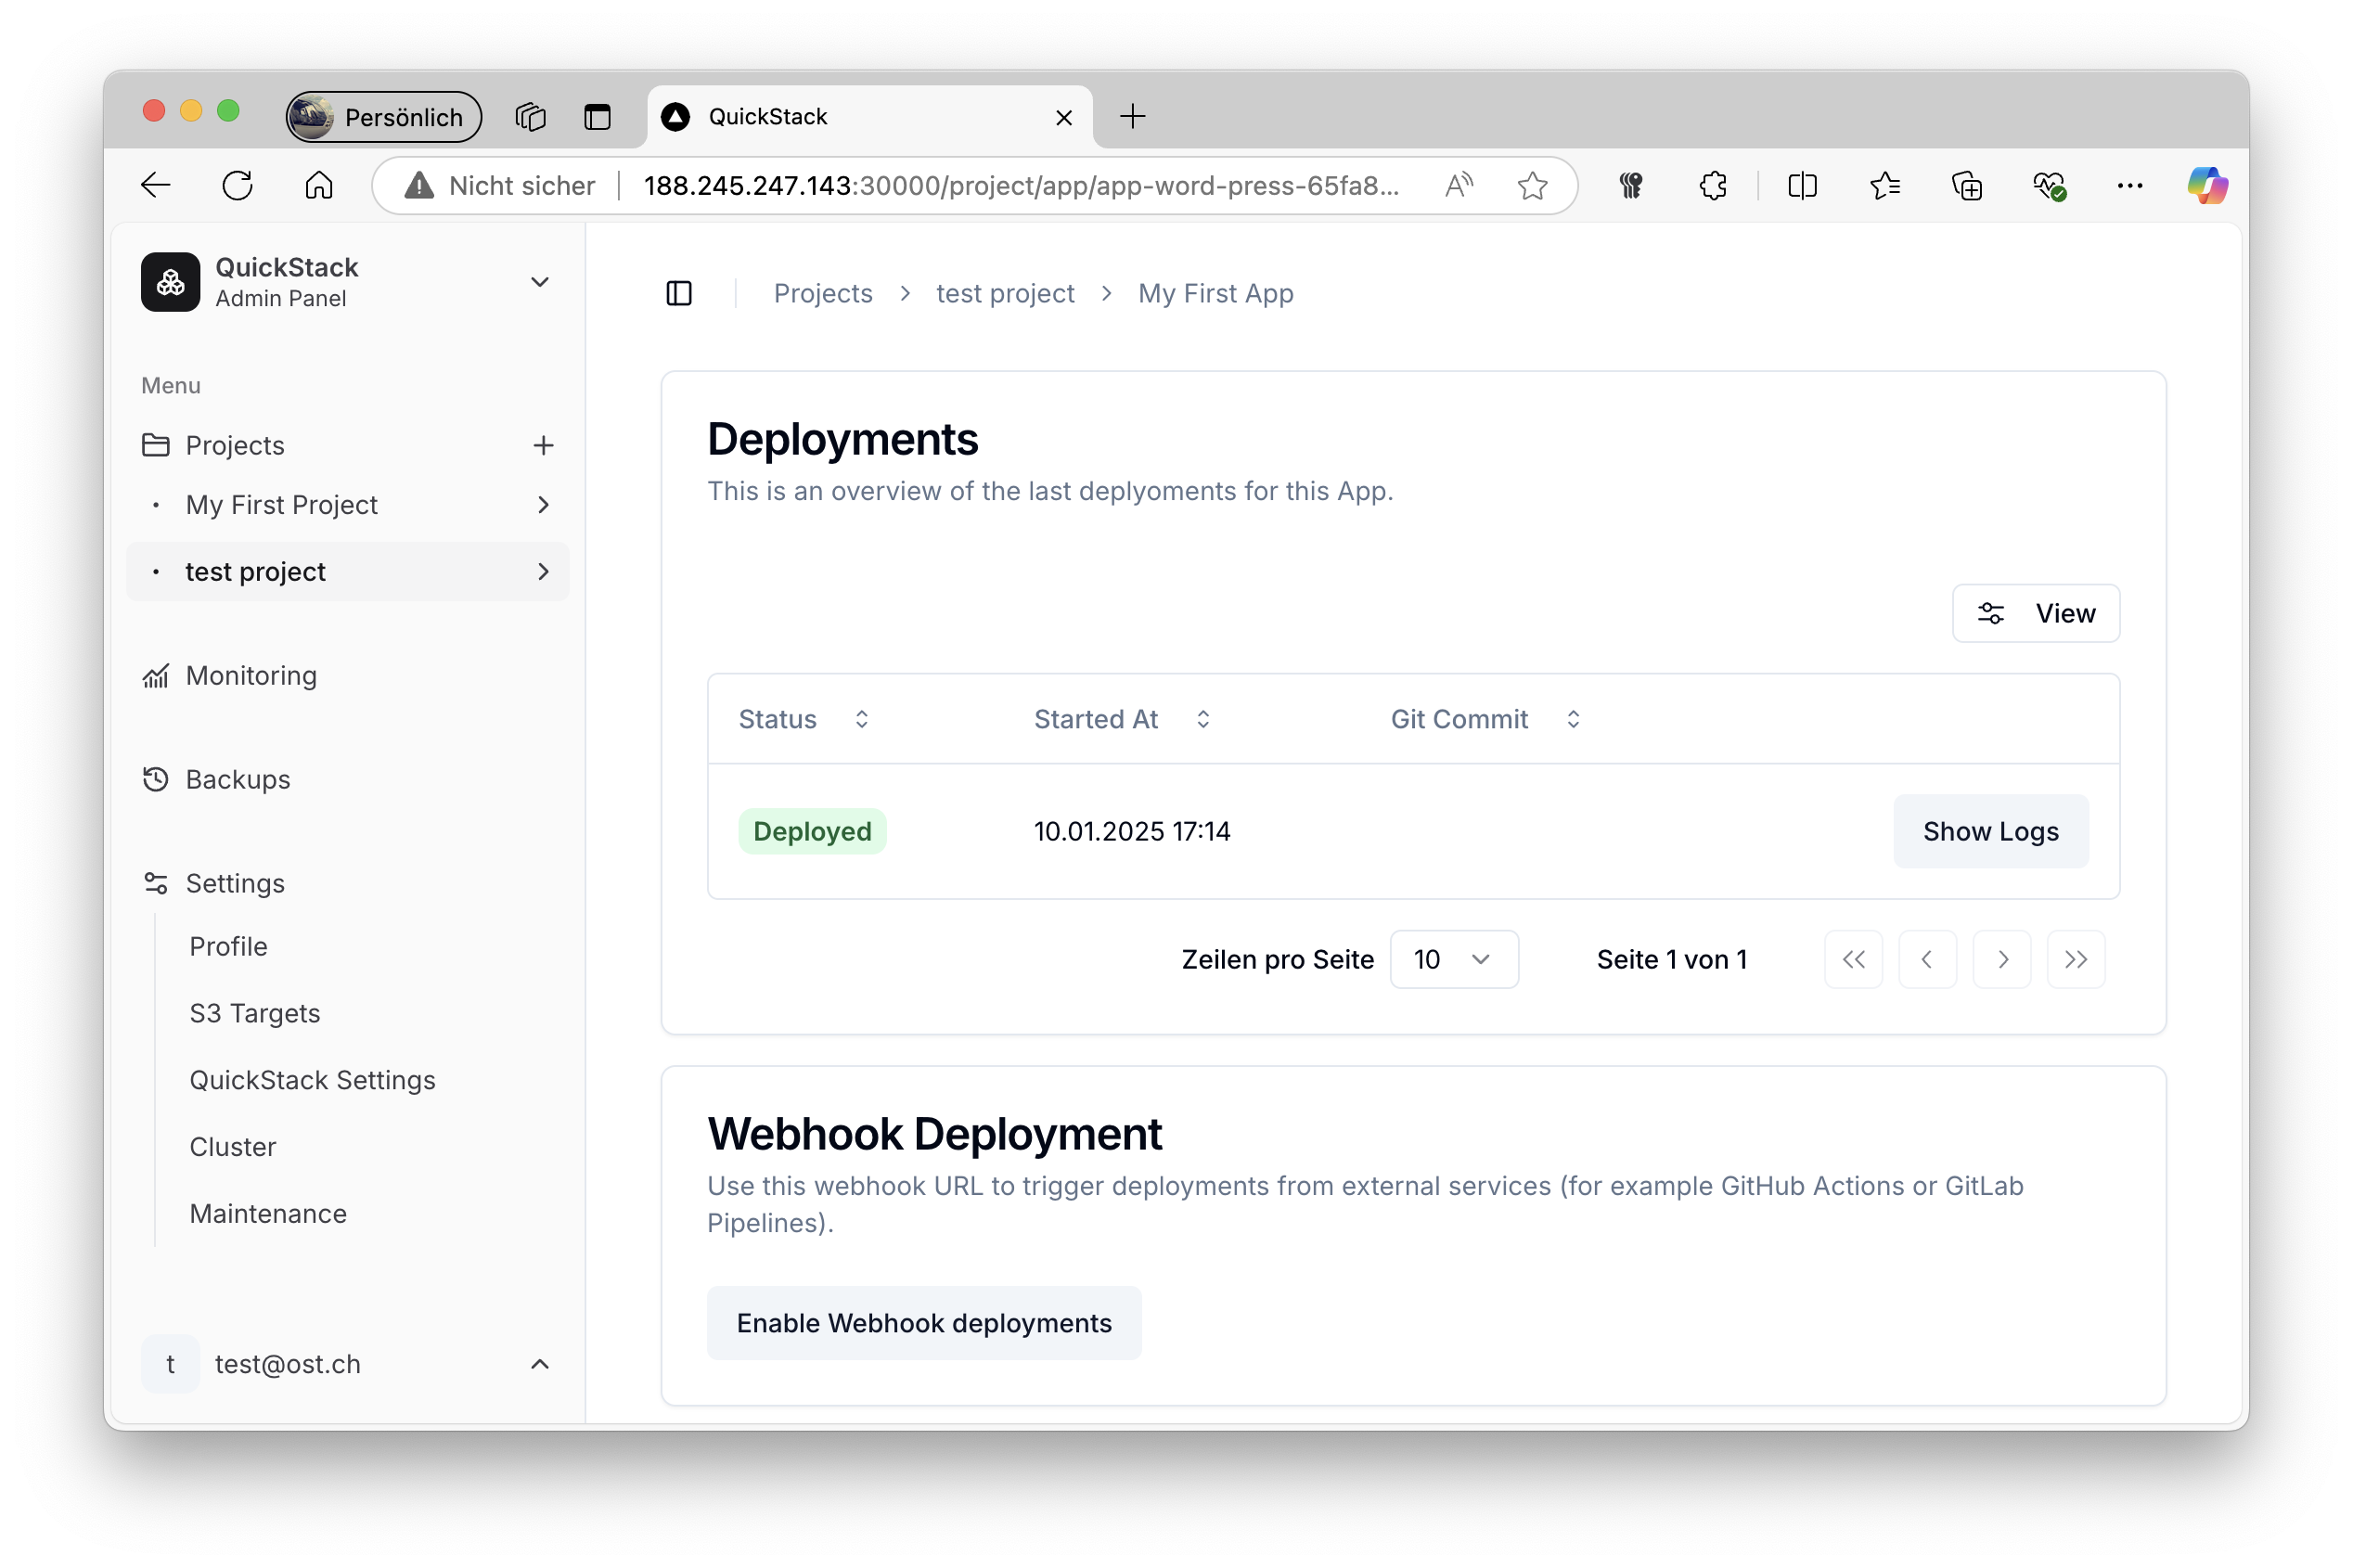
Step 4: Verify
- Open the Overview tab — status turns green when the app is running.
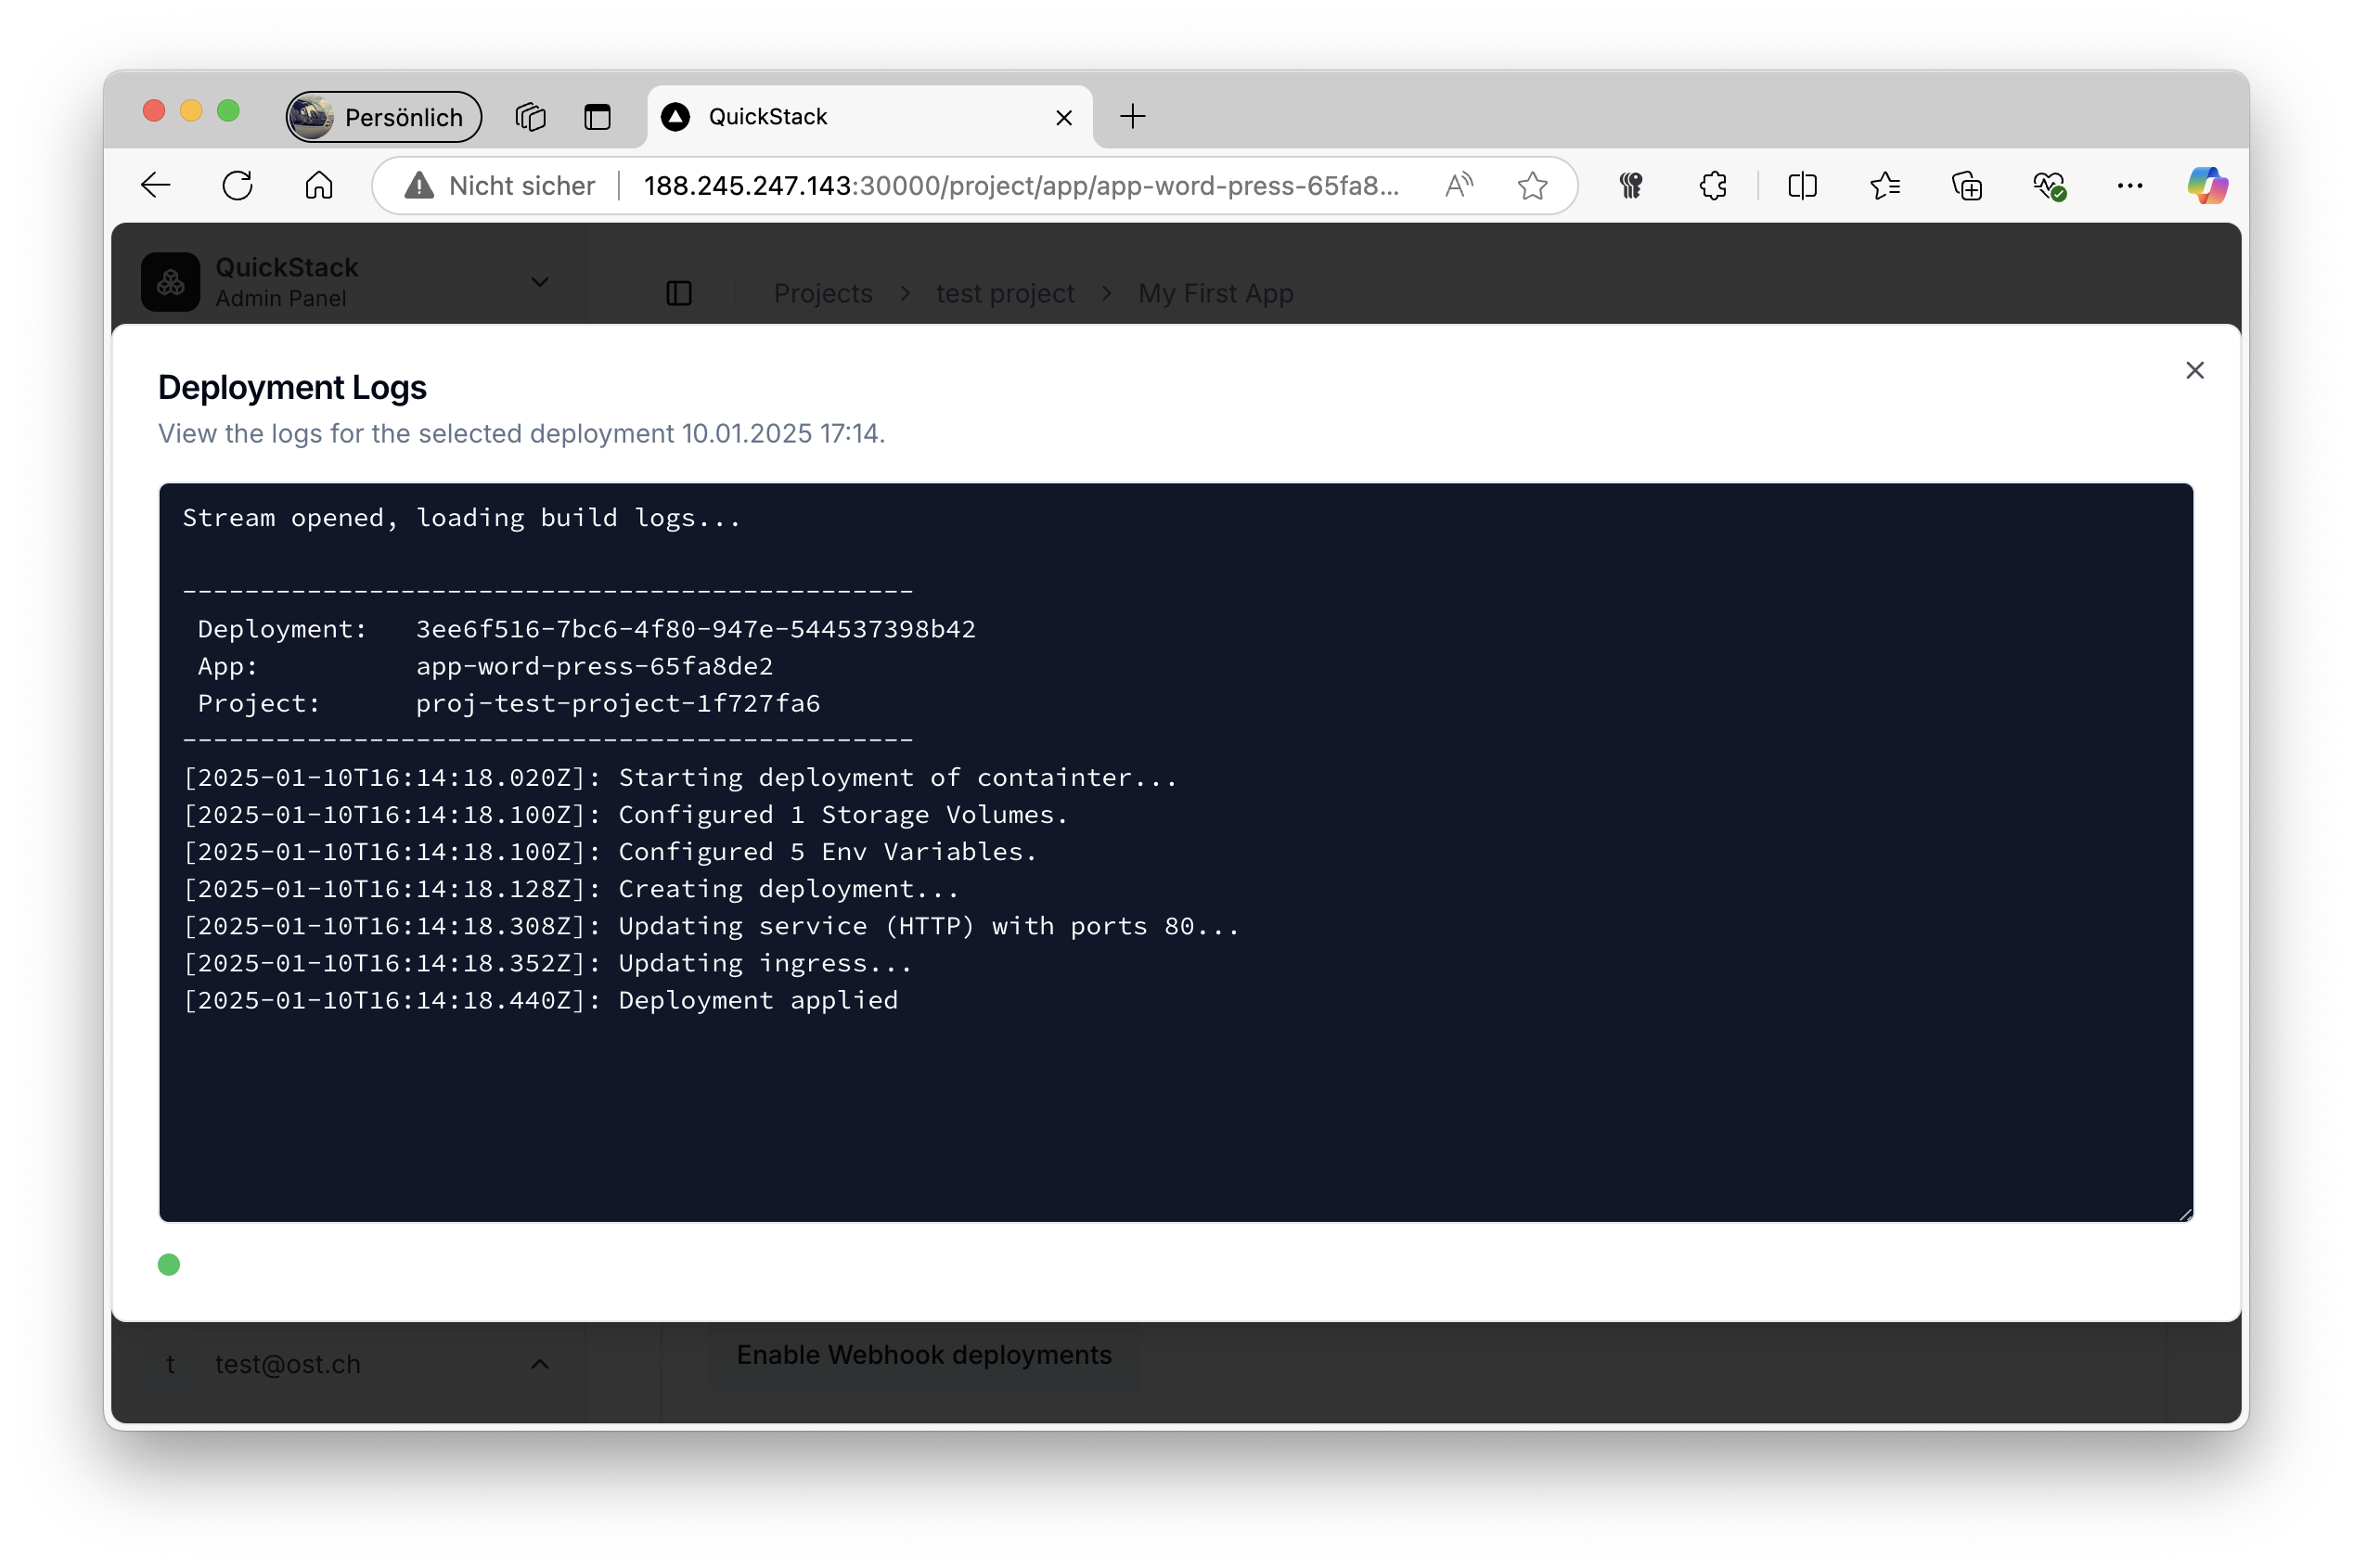
- Click Show Logs on the current deployment to inspect build and startup output in real time.
Troubleshooting
| Symptom | Fix |
|---|---|
| Build fails | Check deployment logs for build errors |
| Railpack build fails | Verify your language/framework is supported by Railpack; switch to the Dockerfile method if needed |
| Dockerfile not found | Verify the path is relative to repo root (e.g. ./Dockerfile) |
| SSH clone fails | Confirm the deploy key is added to the repository with read access |
| Branches not loading | Verify the URL is correct; for private repos check credentials or deploy key |
| App not reachable after deploy | Add a domain in the Domains tab with the correct internal container port |