QuickStack Installation
Welcome! This guide will walk you through installing QuickStack on your Linux server. QuickStack simplifies the process of deploying and managing applications on your own server infrastructure.
Prerequisites
Before you begin, ensure you have the following:
- Linux Server: You'll need a server with a fresh installation of Ubuntu and
sshaccess withsudoprivileges.- Your server needs at least 2 CPU cores, 4 GB of RAM and 40 GB of disk space.
- You can use any Server. If you wish to use a cloud provider, we recommend one of the following
NOTE: QuickStack was tested on Hetzner and Azure. If you have any issues with other providers, please create an issue on our GitHub repository.
Installation Demo
This video demonstrates the installation process of QuickStack on a fresh Ubuntu server.
Step-by-Step Guide
Follow these steps to install QuickStack:
-
Connect to your Server: Connect to the terminal of your server.
-
Run the Installation Script: Copy and paste the following command into your terminal and press
Enter. This command downloads and executes the QuickStack installation script:curl -sfL https://get.quickstack.dev/setup.sh | sh - -
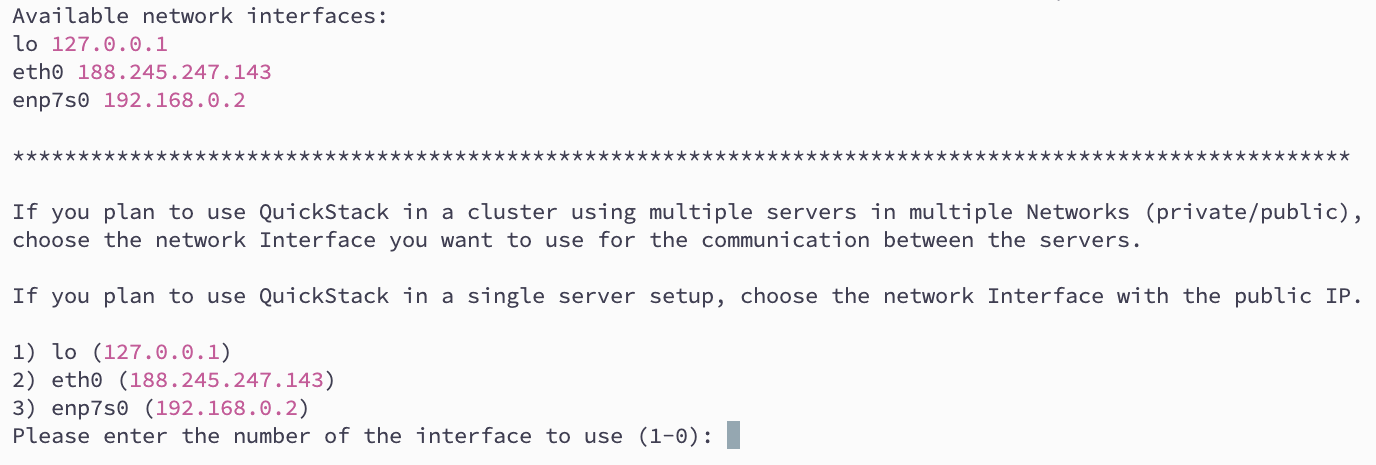
Choose a Network Interface Depending on your setup you need to choose the correct network interface for cluster internal traffic. If you plan to create a cluster with multiple nodes and want to use the internal network for communication, you need to select the correct network interface. If you are unsure, choose the entry with the public IP address. Visit Cluster Setup: for further information on how to setup a cluster.

-
Wait for the Installation: The installation script will now automatically install QuickStack and all necessary components on your Server. Please be patient as this process may take a few minutes. You'll see text scrolling in your terminal - this is normal.
-
Access the QuickStack Web UI: After the installation completes, open your web browser and navigate to the following URL. You must replace
your_server_ipwith the actual IP address of your Server.http://your_server_ip:30000
Make sure your firewall settings allow inbound traffic on port 30000, 80 and 443.
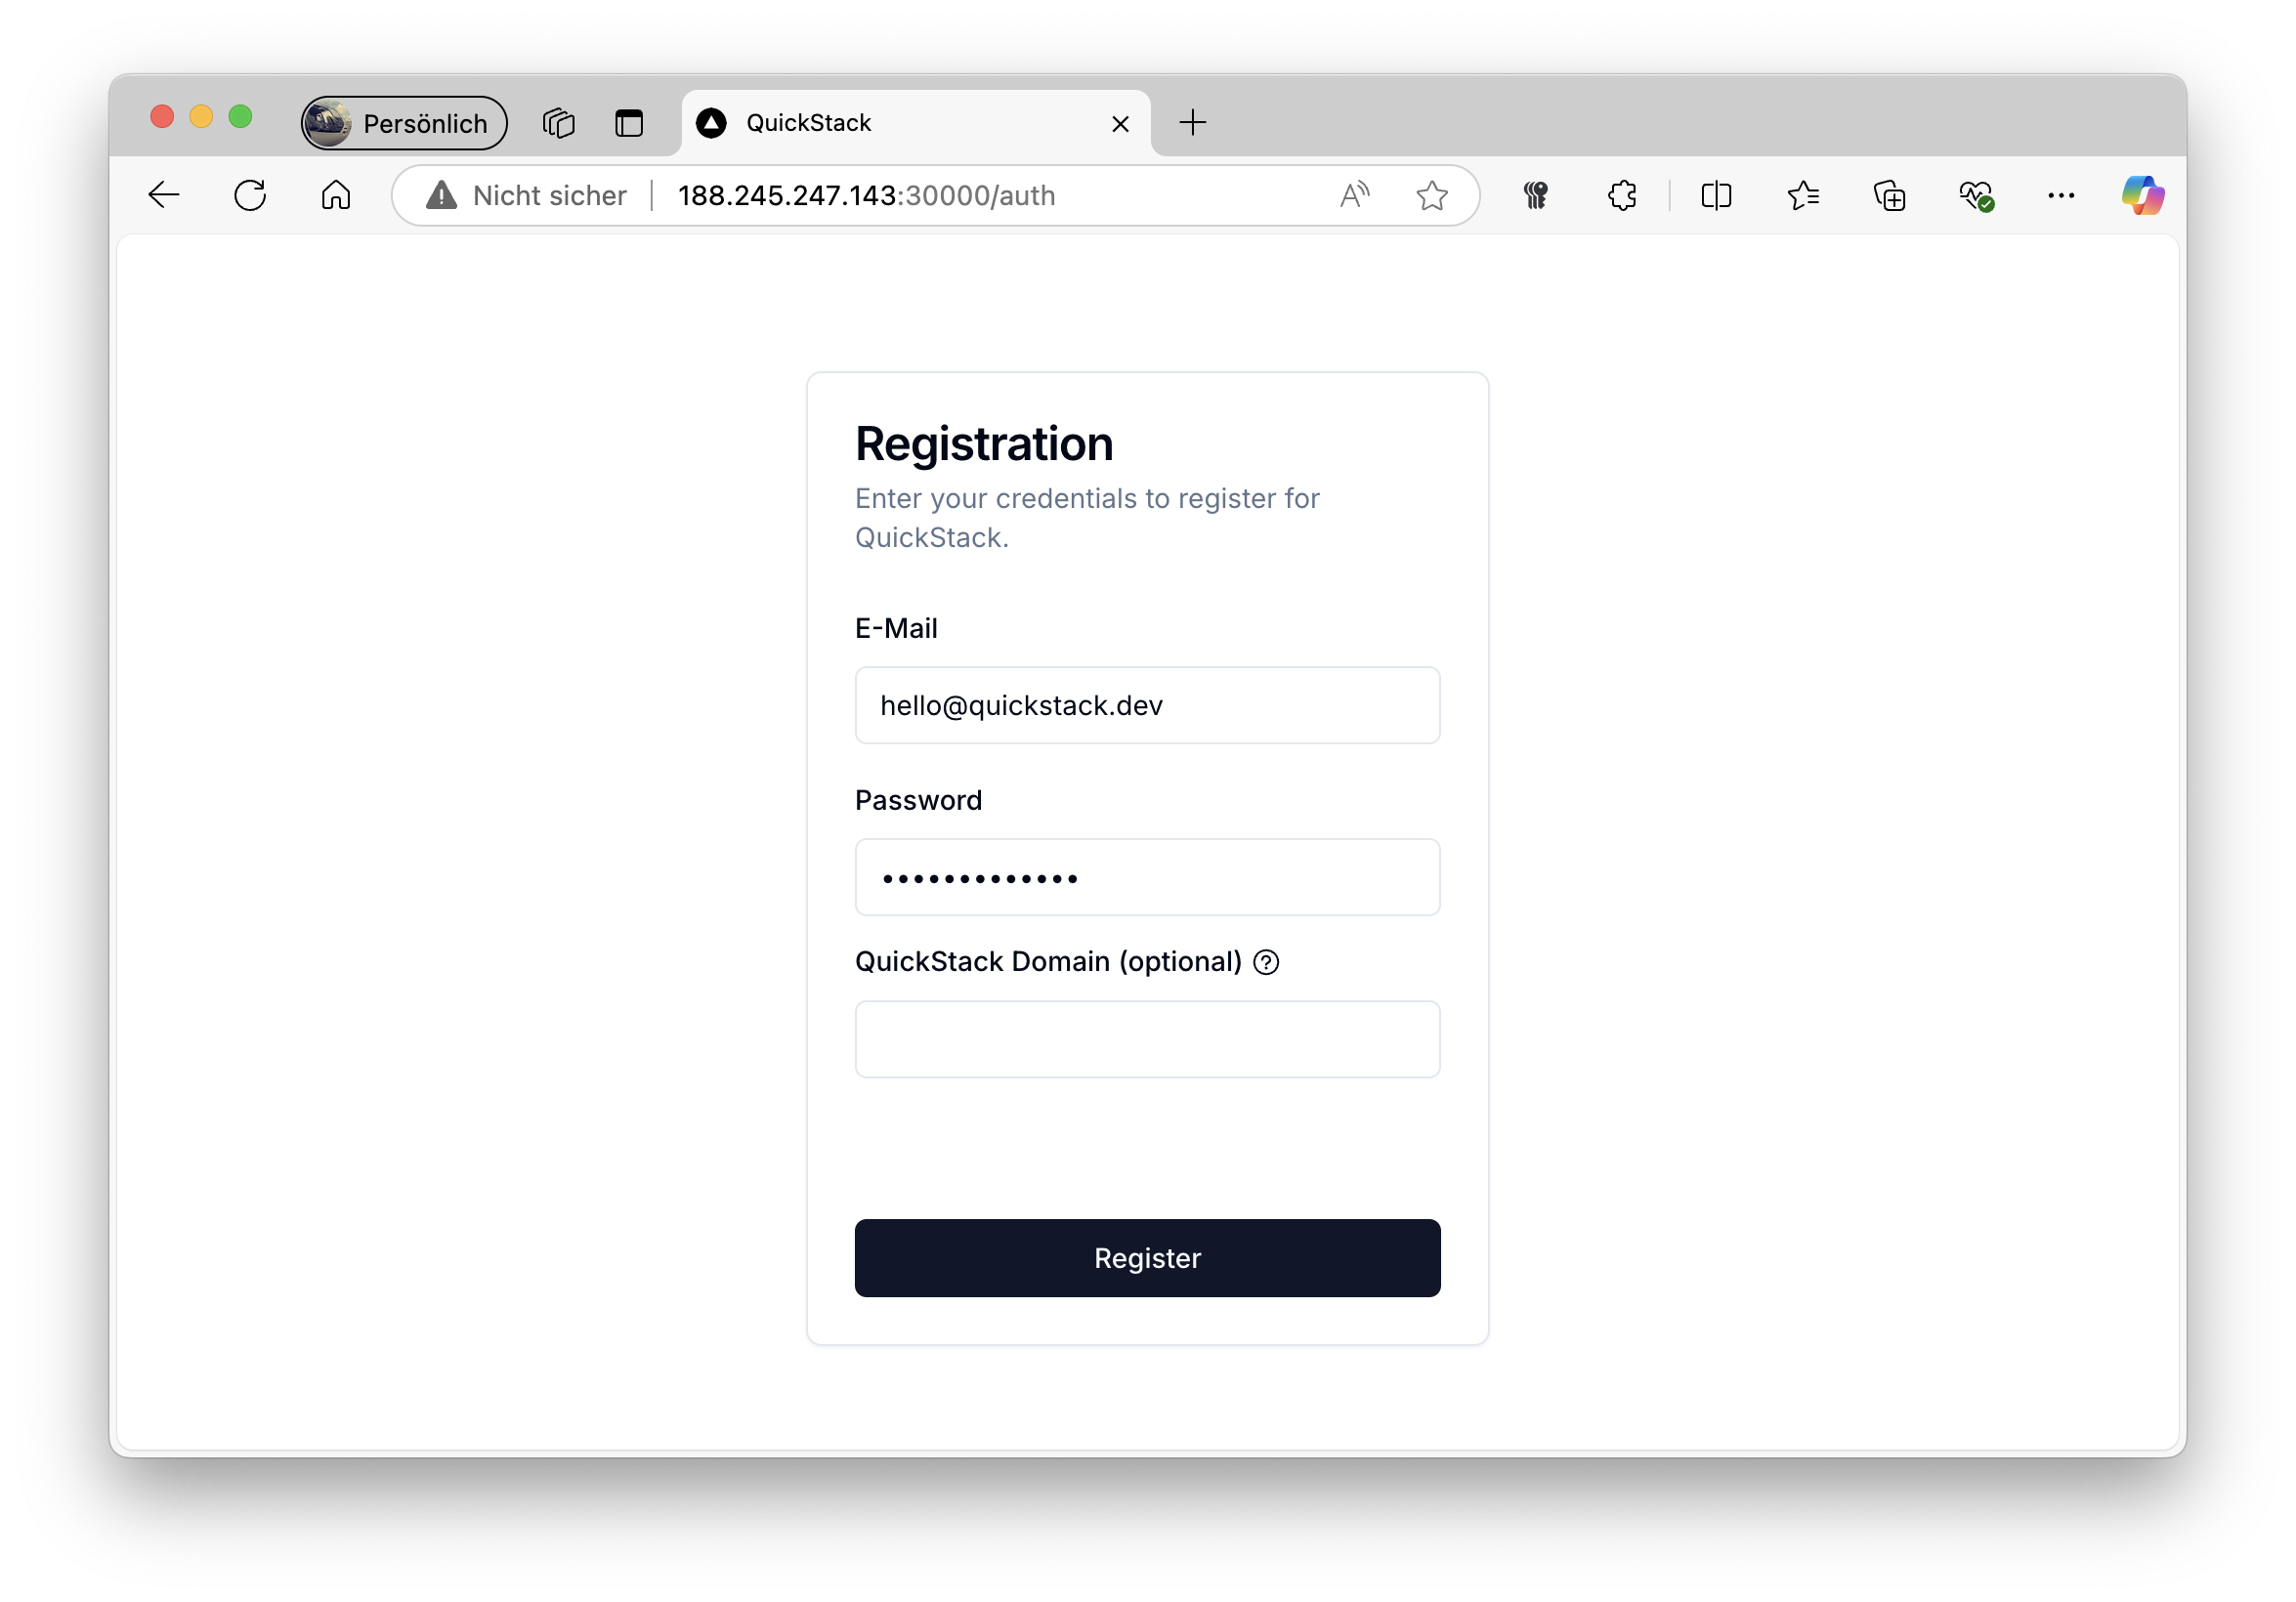
- Create a User Account You will be prompted to create a new user account when accessing the web UI for the first time. Complete the registration form by providing an email, a password and an optional quickstack domain.
If you already have a domain assigned to your QuickStacks Server IP, you can enter it in this field. This allows you to access the QuickStack UI through your domain. Leave it blank if you just want to use your IP address or want to configure it later.

- Start using QuickStack Log in with your newly created credentials and start using QuickStack!
Create your first App
Now that you have QuickStack installed, you can start deploying your first application. You can deploy applications from a Docker image or a Git repository. Visit the Managing Apps guide to learn more.
Troubleshooting
If you encounter any issues during the installation process, here are some common problems and solutions.
- Connection Refused or Timeout:
- Make sure you're connecting to the correct IP address or domain of your server.
- Ensure your Server is running and accessible.
- Script Download Failed
- Verify that you have an active internet connection on your Server.
- Web UI not showing up
- Your firewall settings must allow traffic on port 80, 443 and 30000.
- Make sure the Quickstack installation was fully completed and that no errors were displayed on the Termina during the Installation Process.