How toNetworking
QuickStack.me Domain
Use the built-in quickstack.me domain service for instant HTTPS access without manual DNS configuration.
QuickStack includes a built-in "magic" domain service called quickstack.me. It assigns a valid, SSL-secured domain to your applications without purchasing a domain or configuring DNS records manually.
How it works
The quickstack.me service maps a specially constructed hostname to your server's public IP address using a hexadecimal representation of that IP.
For example, if your server's public IP is 1.2.3.4:
- QuickStack converts it to hex:
01020304. - Your instance's base domain becomes
01020304.quickstack.me. - Any subdomain (e.g.
myapp.01020304.quickstack.me) automatically resolves to1.2.3.4. - Let's Encrypt certificates are provisioned automatically for these domains.
Prerequisite
Your QuickStack instance must have its Public IPv4 Address configured:
- Go to Settings.
- Ensure the Public IPv4 Address field is set to your server's reachable public IP.

Using a QuickStack.me Domain
- Open your app and go to the Domains tab.
- Click Add Domain.
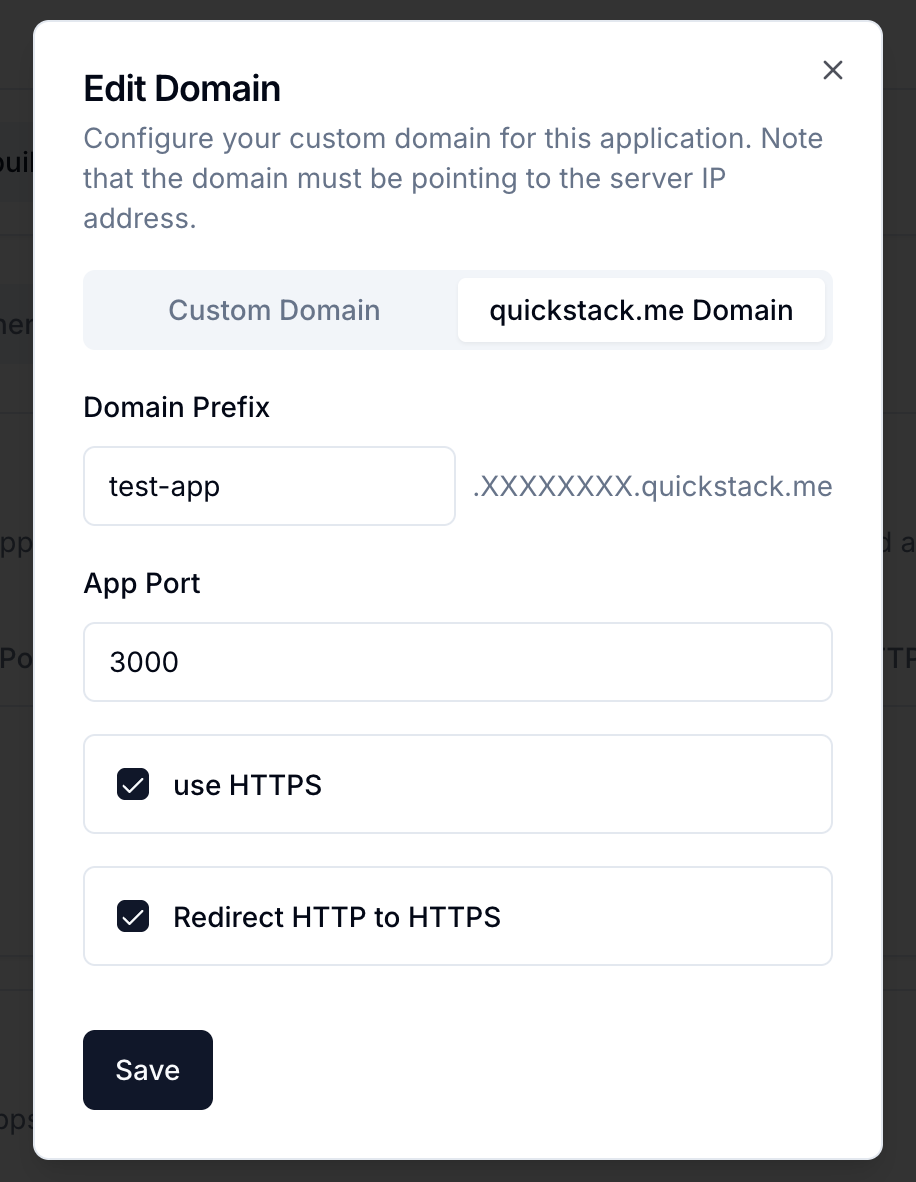
- Switch to the quickstack.me Domain tab.
- Fill in:
- Domain Prefix — a unique prefix for your app (e.g.
my-app,blog) - App Port — the port your container listens on
- Use HTTPS — enabled by default, recommended
- Redirect HTTP to HTTPS — recommended
- Domain Prefix — a unique prefix for your app (e.g.
- Click Save, then click Deploy.
Your application is now accessible at https://<prefix>.<hex-ip>.quickstack.me.
When to use it
- Testing and development: quickly expose apps without DNS setup.
- Internal tools: secure access without a registered domain.
- Initial setup: verify deployment before configuring a custom domain.
For production or public-facing apps, use a Custom Domain instead.