

Single Sign-On (SSO)
Let users sign in to QuickStack through an external identity provider such as OIDC, Google, Entra ID, or GitHub.
QuickStack supports single sign-on (SSO) through an external identity provider. Administrators configure one or more providers, and the login page then offers a Continue with … button for each enabled provider. Local email/password login remains available alongside SSO.
Supported provider types
| Type | Notes |
|---|---|
| OIDC | Any OpenID Connect provider; requires an Issuer URL |
| Google Workspace or consumer Google accounts | |
| Entra ID | Microsoft Entra ID (formerly Azure AD); requires a Tenant ID |
| GitHub | GitHub OAuth apps |
Before you begin
- You need the admin role.
- Access to your identity provider's admin console to register an application.
- A publicly reachable QuickStack hostname (configured in Settings → QuickStack Server → General). SSO callbacks use this hostname.
Add an SSO provider
- Go to Settings → Users & Groups → SSO Providers.
- Click Add SSO Provider.
- Fill in the dialog:
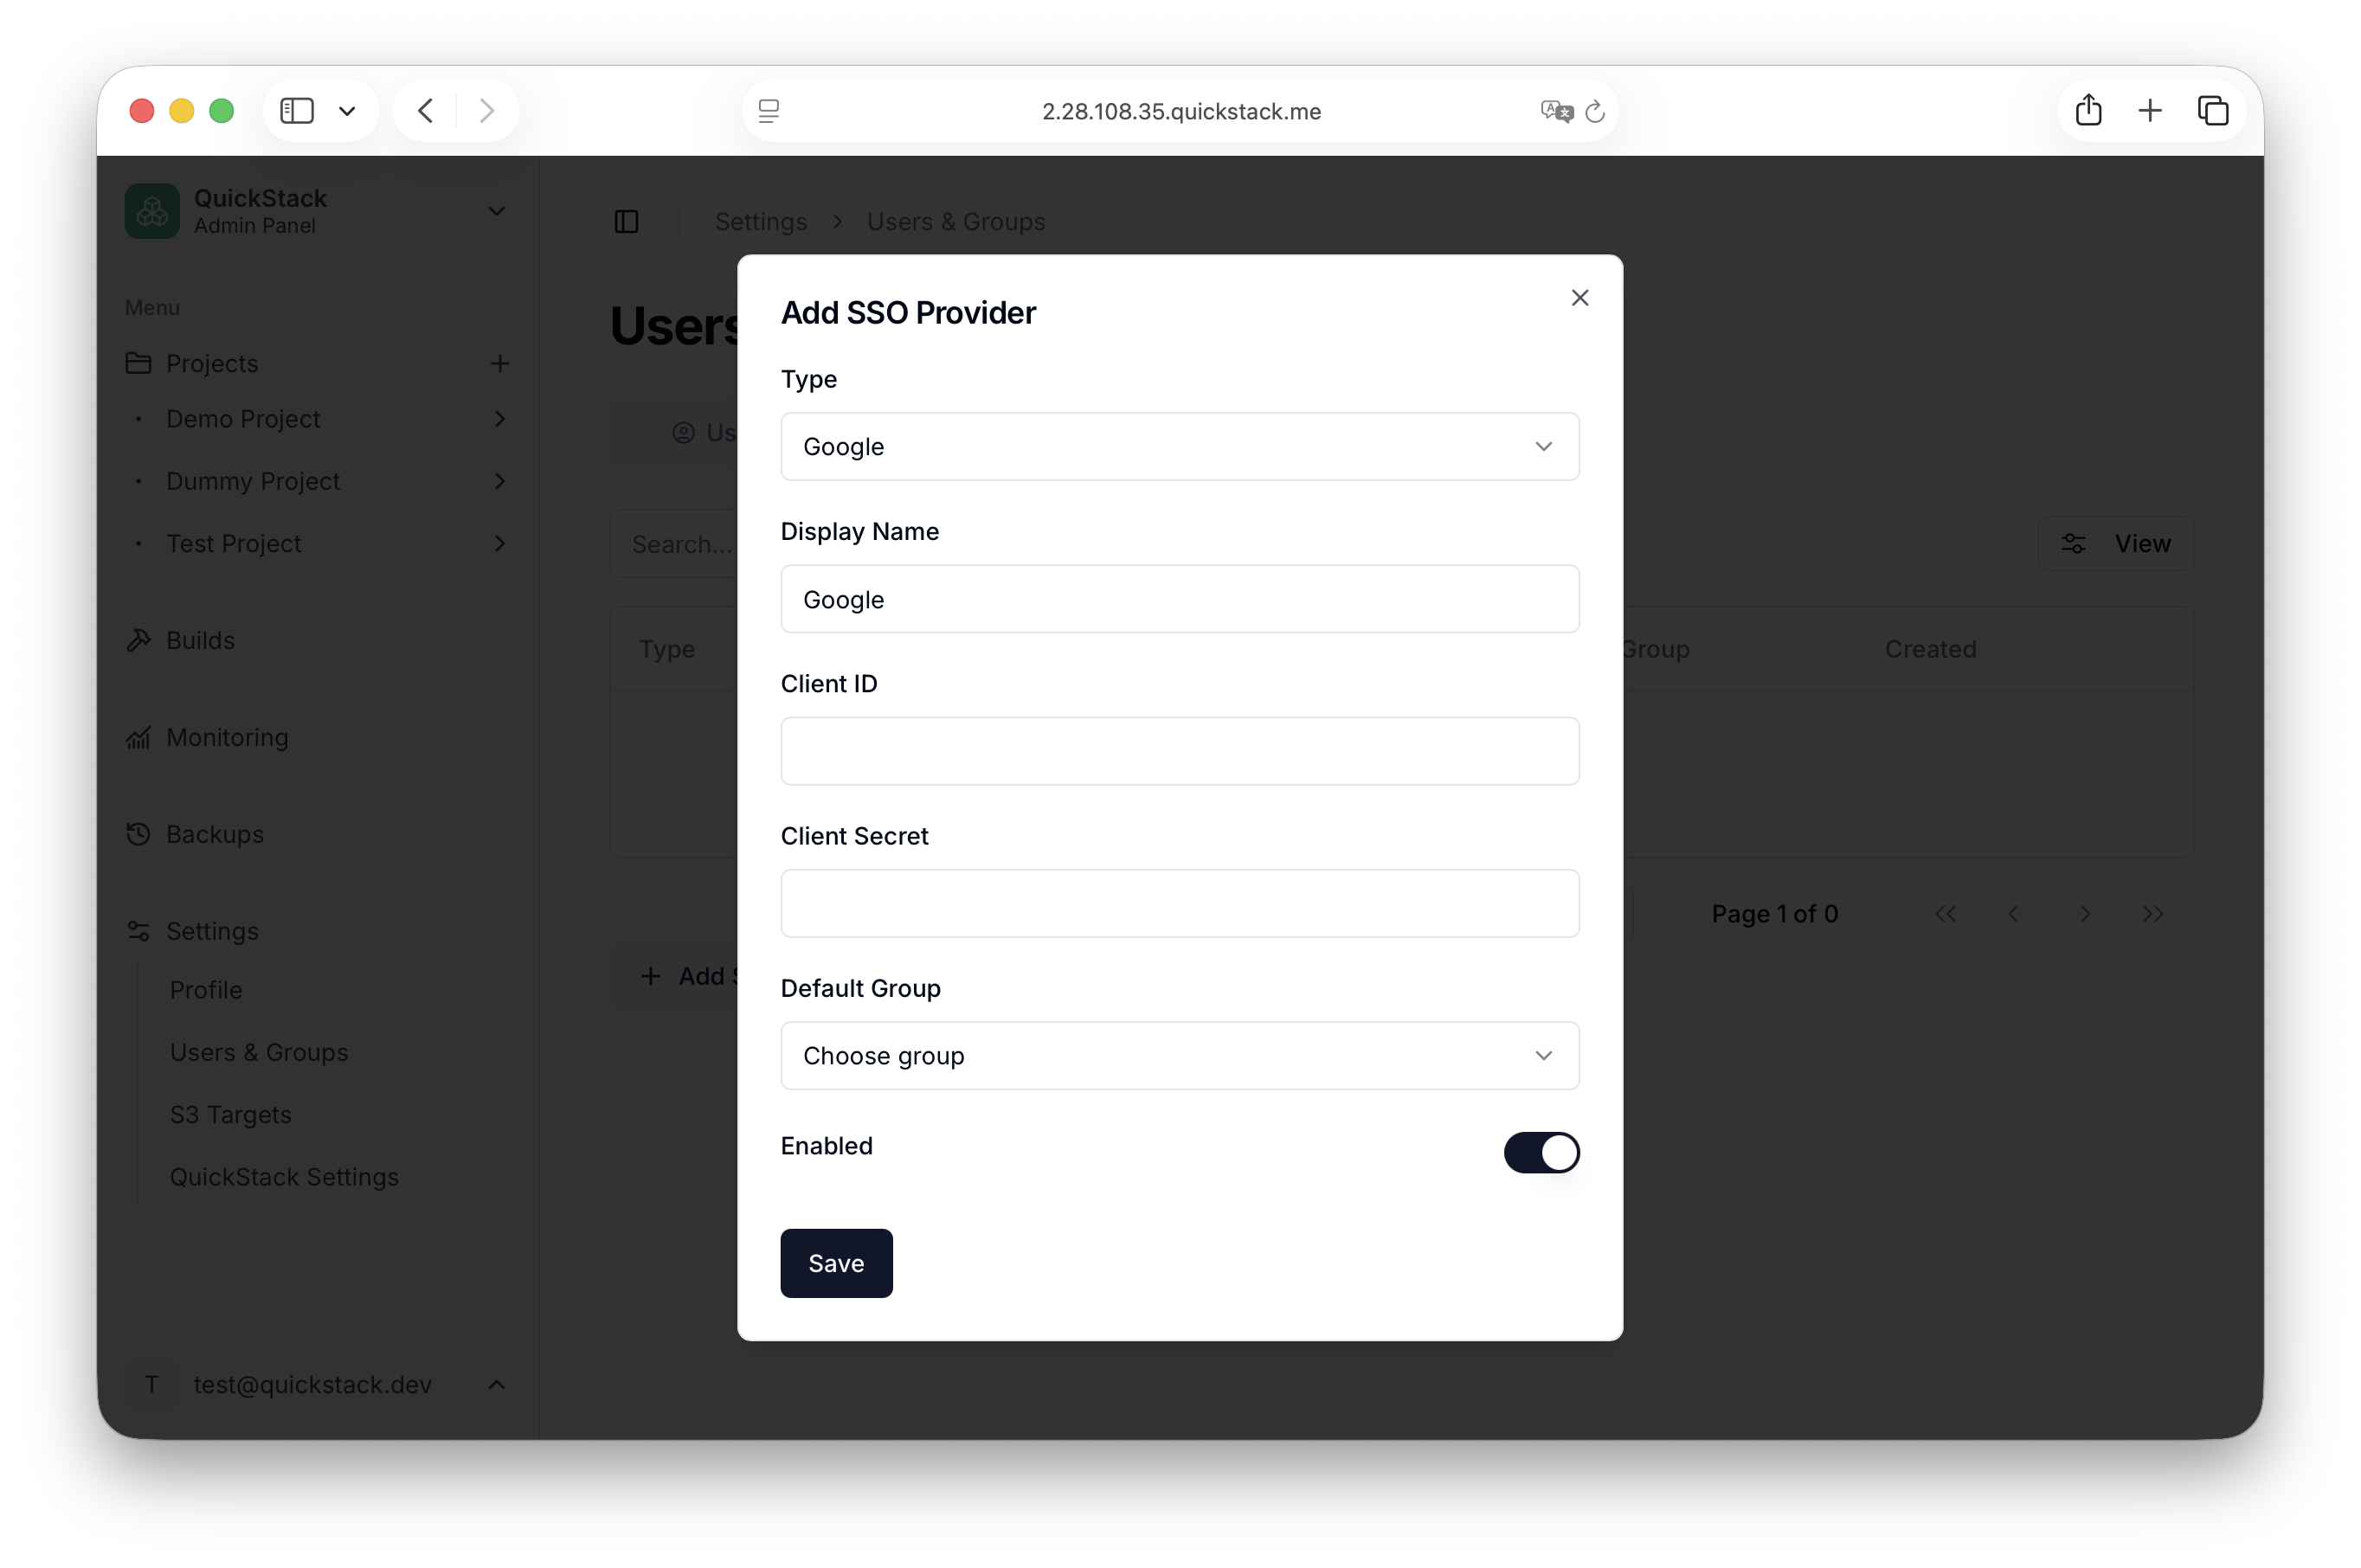
| Field | Description |
|---|---|
| Type | OIDC, Google, Entra ID, or GitHub |
| Display Name | Label shown on the login button |
| Client ID | Client/application ID from your identity provider |
| Client Secret | Client secret (required when creating; leave blank when editing to keep the current value) |
| Issuer URL | OIDC only — the provider's issuer URL, e.g. https://idp.example.com |
| Tenant ID | Entra ID only — your Microsoft tenant ID |
| Default Group | Group assigned to first-time SSO users |
| Enabled | Whether the provider appears on the login page |
- Create the provider, then click Save.
Register the redirect URL
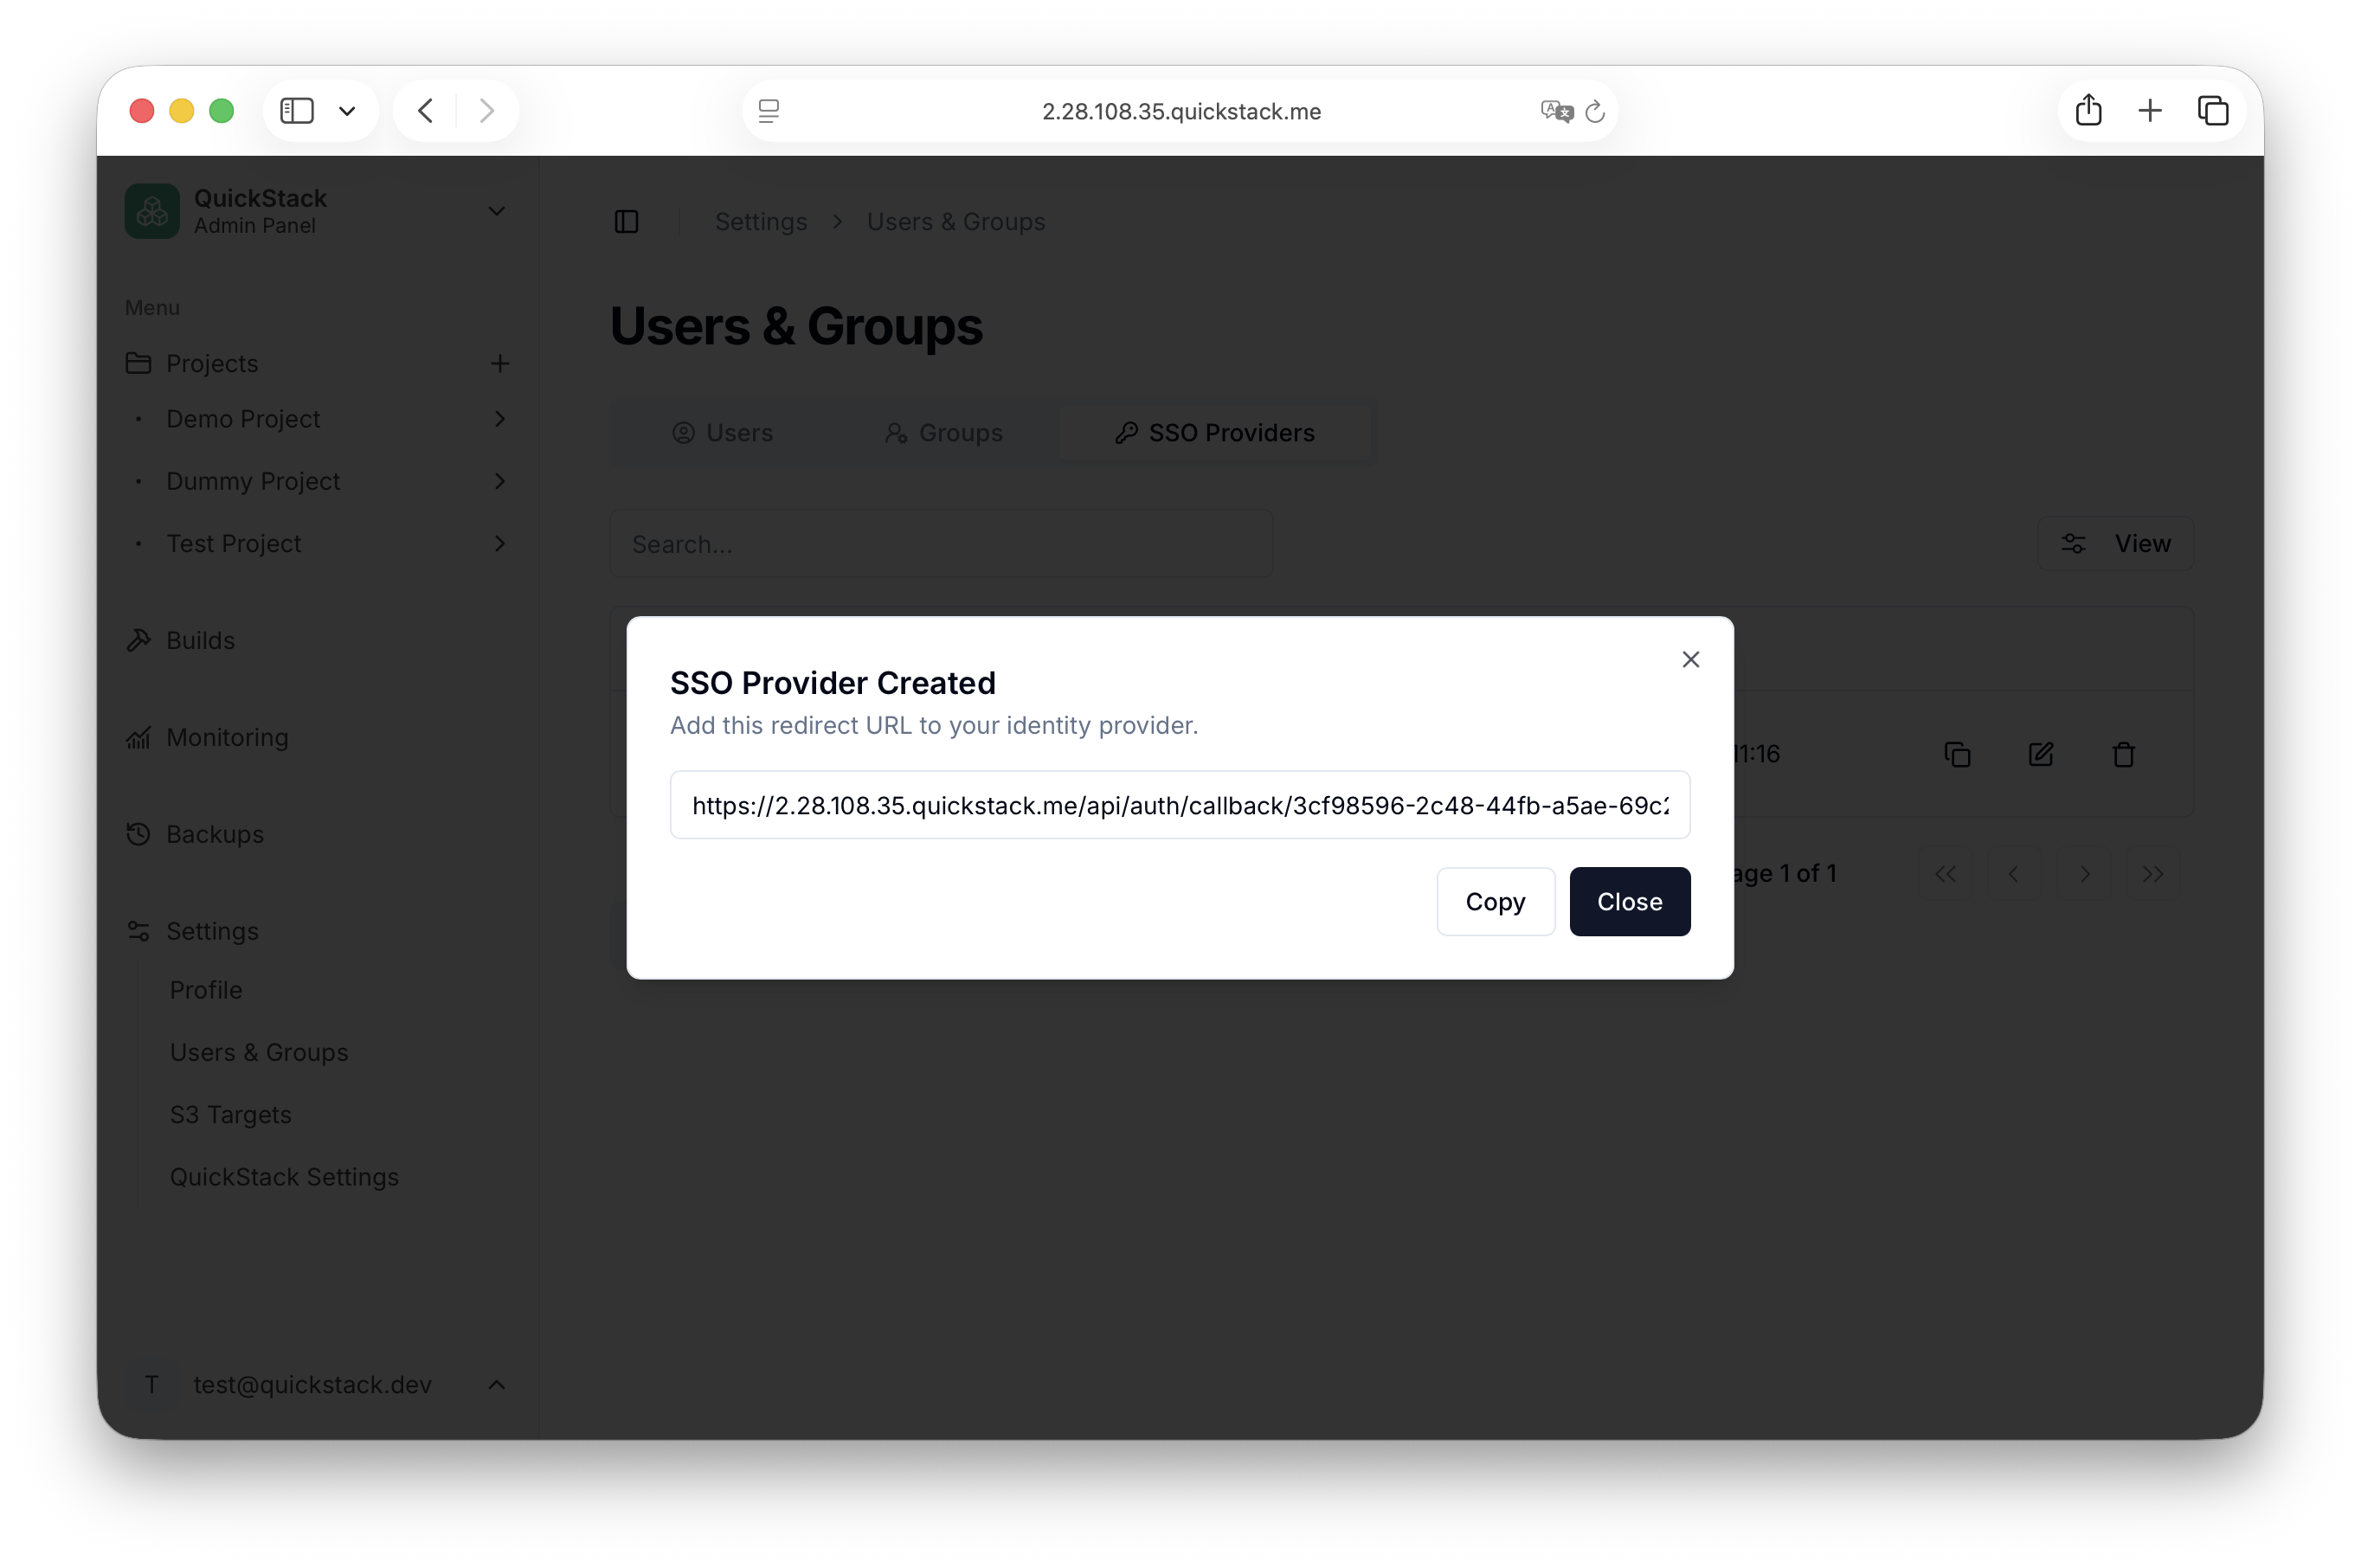
After saving a new provider, QuickStack shows a dialog with the provider's redirect (callback) URL:
https://<your-quickstack-host>/api/auth/callback/<provider-id>- Click Copy.
- Register that exact URL as an allowed redirect/callback URL in your identity provider.
- Close the dialog.
You can copy it again at any time from the SSO Providers table using the copy icon on the provider's row.
Email must be verified by the provider QuickStack links an SSO login to an existing account when the email address matches. Only enable providers that verify email ownership. A provider that lets users set an arbitrary email could otherwise be used to take over an existing account.
What users see
Once at least one provider is enabled, the login page shows an or continue with separator and a button per provider:
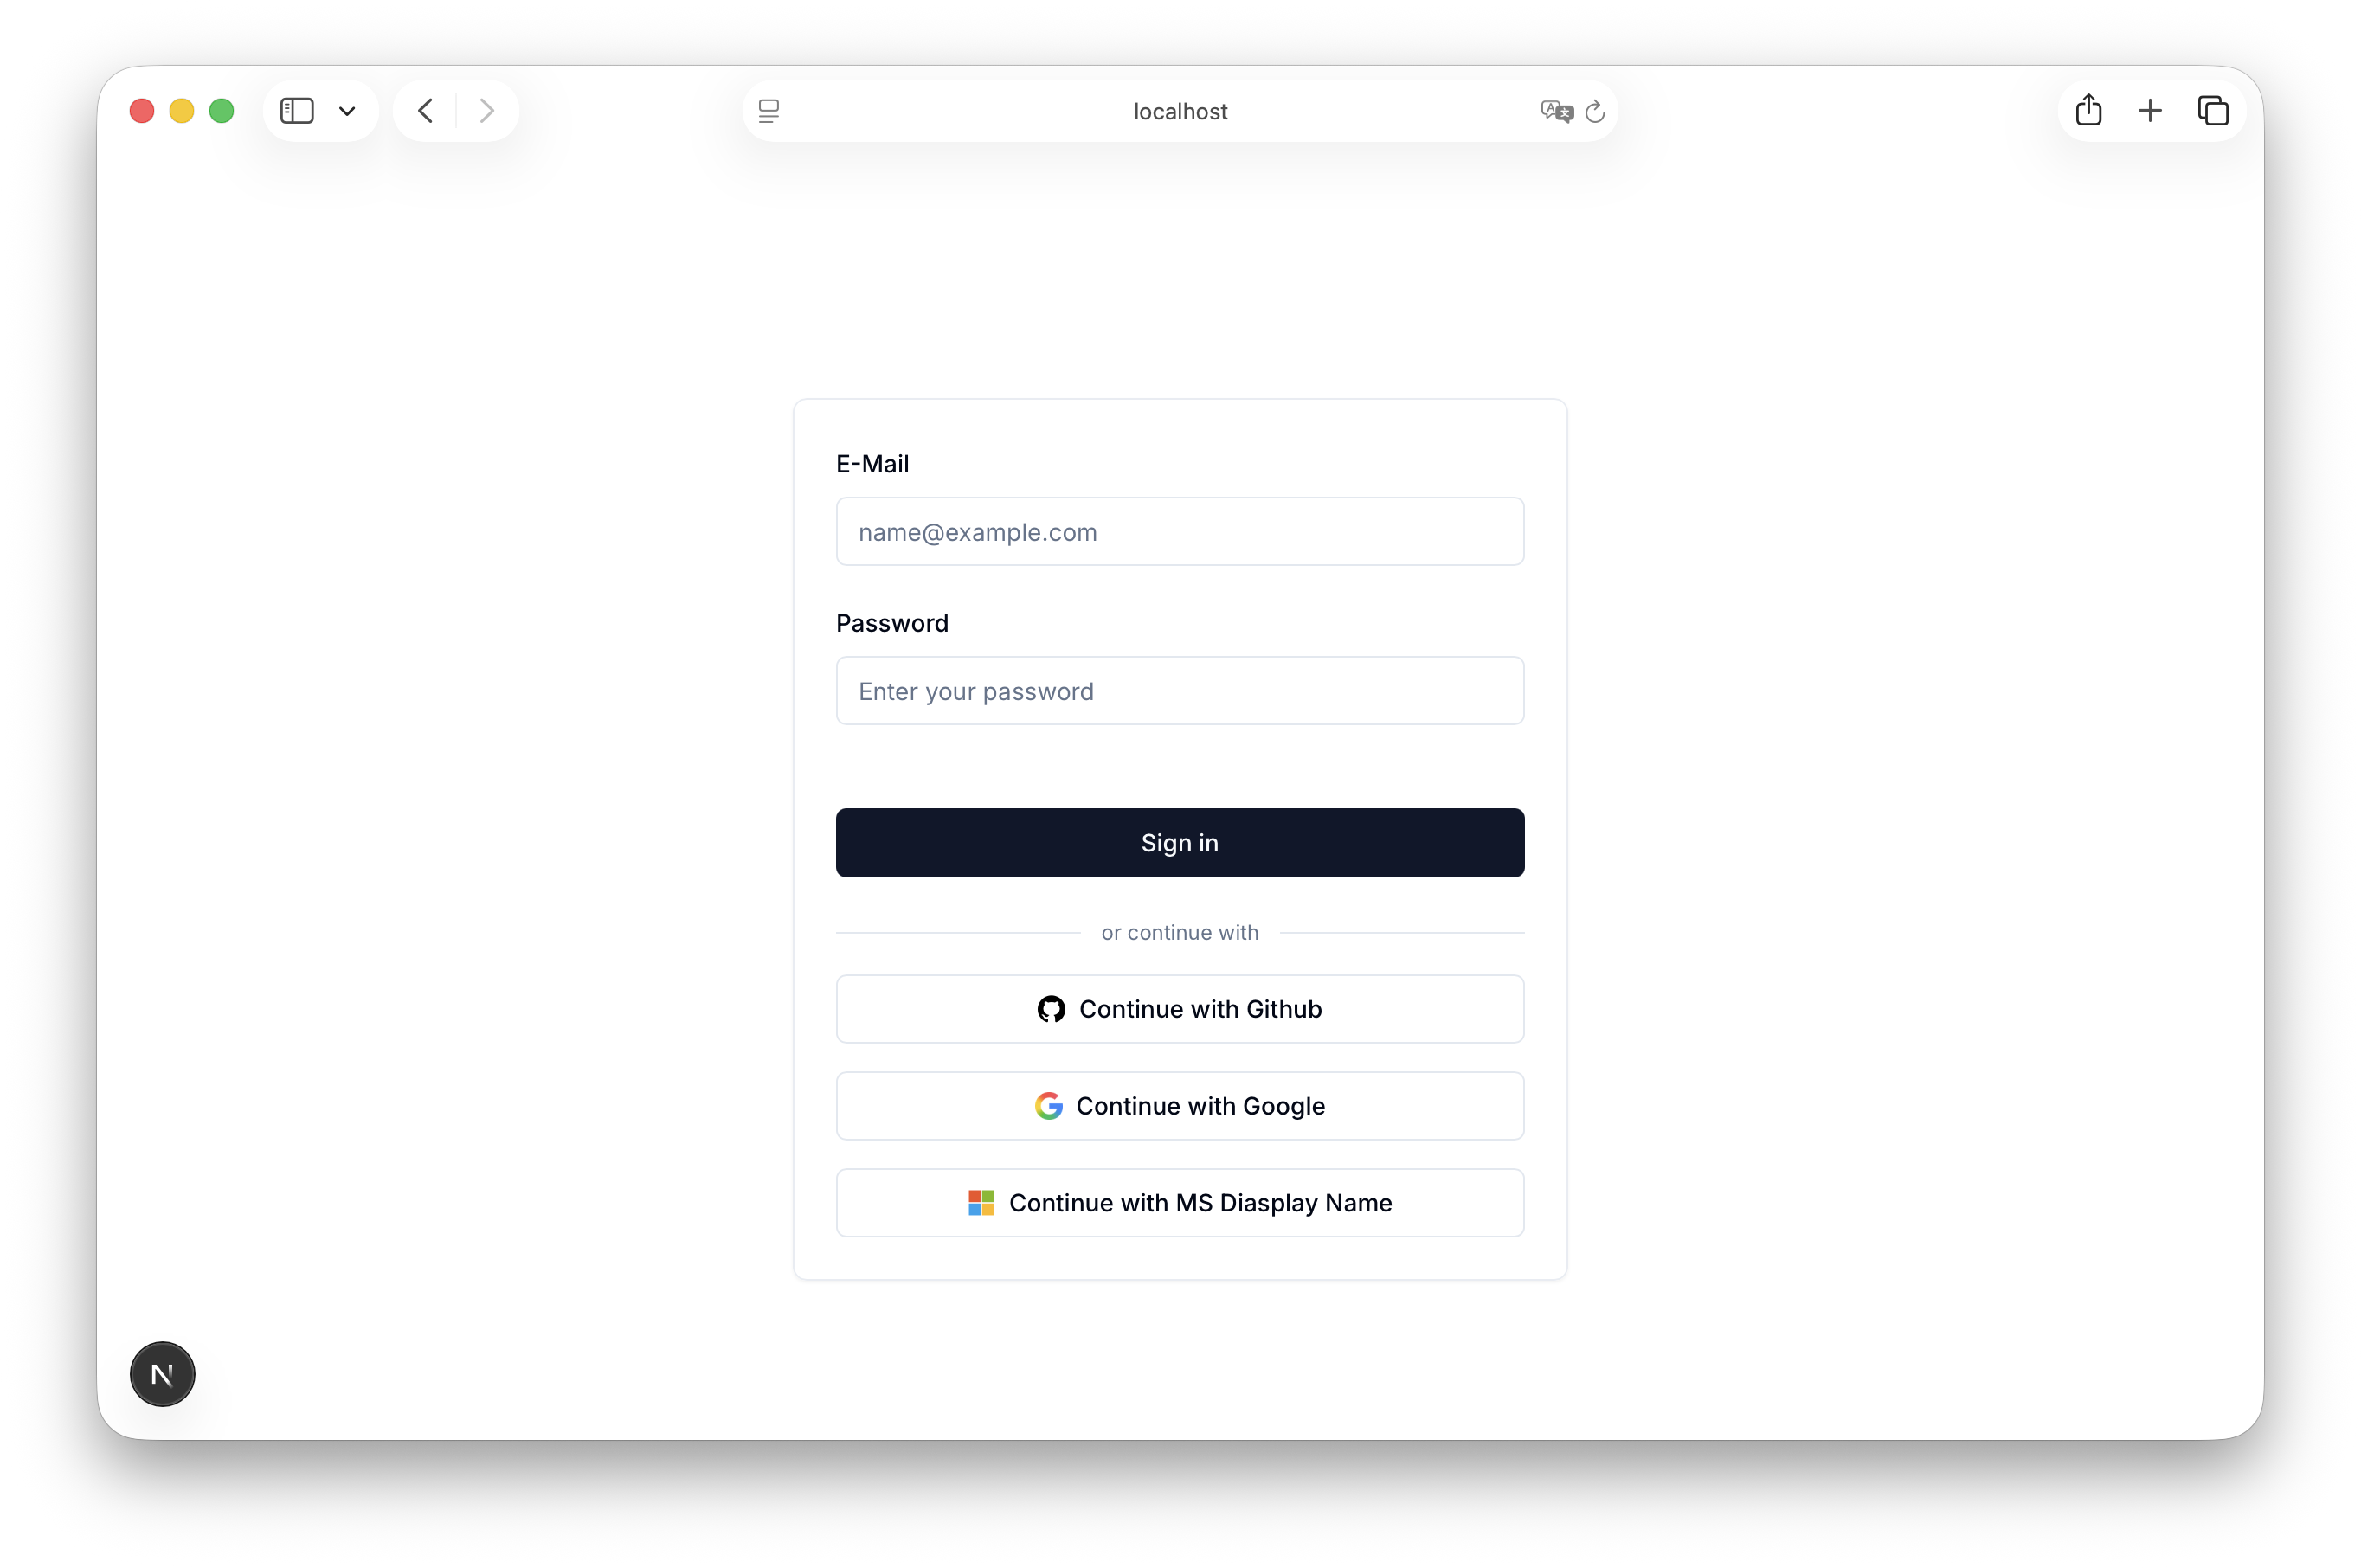
Clicking a button redirects to the provider and back to QuickStack.
Accounts and groups
- A first-time SSO user is created automatically.
- If the SSO email matches an existing QuickStack user, the accounts are linked.
- If the user has no group yet, the provider's Default Group is assigned.
- SSO-only users have no local password and cannot sign in with email/password.
Administrators can see which providers a user is linked to in the OAuth Providers column of the Users table.
Manage or remove providers
In Settings → Users & Groups → SSO Providers you can:
- Disable a provider (edit it and turn Enabled off) so it no longer appears on the login page.
- Edit a provider to change its name, credentials, or default group.
- Delete a provider with the trash icon. Existing linked accounts remain, but new logins through that provider stop working.
Troubleshooting
| Symptom | Fix |
|---|---|
| "Redirect URI mismatch" from the provider | Register the exact callback URL shown in QuickStack, including scheme and provider ID |
| Login button missing | The provider is disabled, or no provider is configured |
| Entra ID user has no email address | QuickStack falls back to preferred_username / upn; ensure those claims are enabled for the app |
| SSO works on one hostname but not another | Set the correct public QuickStack hostname in Settings → QuickStack Server → General |
| User lands in the wrong group | Set the provider's Default Group, or assign the group manually in the Users table |