Docker Image App Deployment
This guide will walk you through deploying a Docker Image from Dockerhub or any other container registry. We'll cover the basic steps, from adding a project to deploying.
Prerequisites
Before you begin, ensure that you have:
- QuickStack installed on your virtual private server (VPS).
- A Docker image you wish to deploy, available on a container registry (e.g., Dockerhub, GitHub Container Registry).
- Basic understanding of container images and registries.
Step 1: Creating a New Project and Application
- Create Project:
- On the dashboard, locate the "Projects" tab or section.
- Click on the "+ Create Project" or similar button.
- Navigate to Project by clicking on the project name.
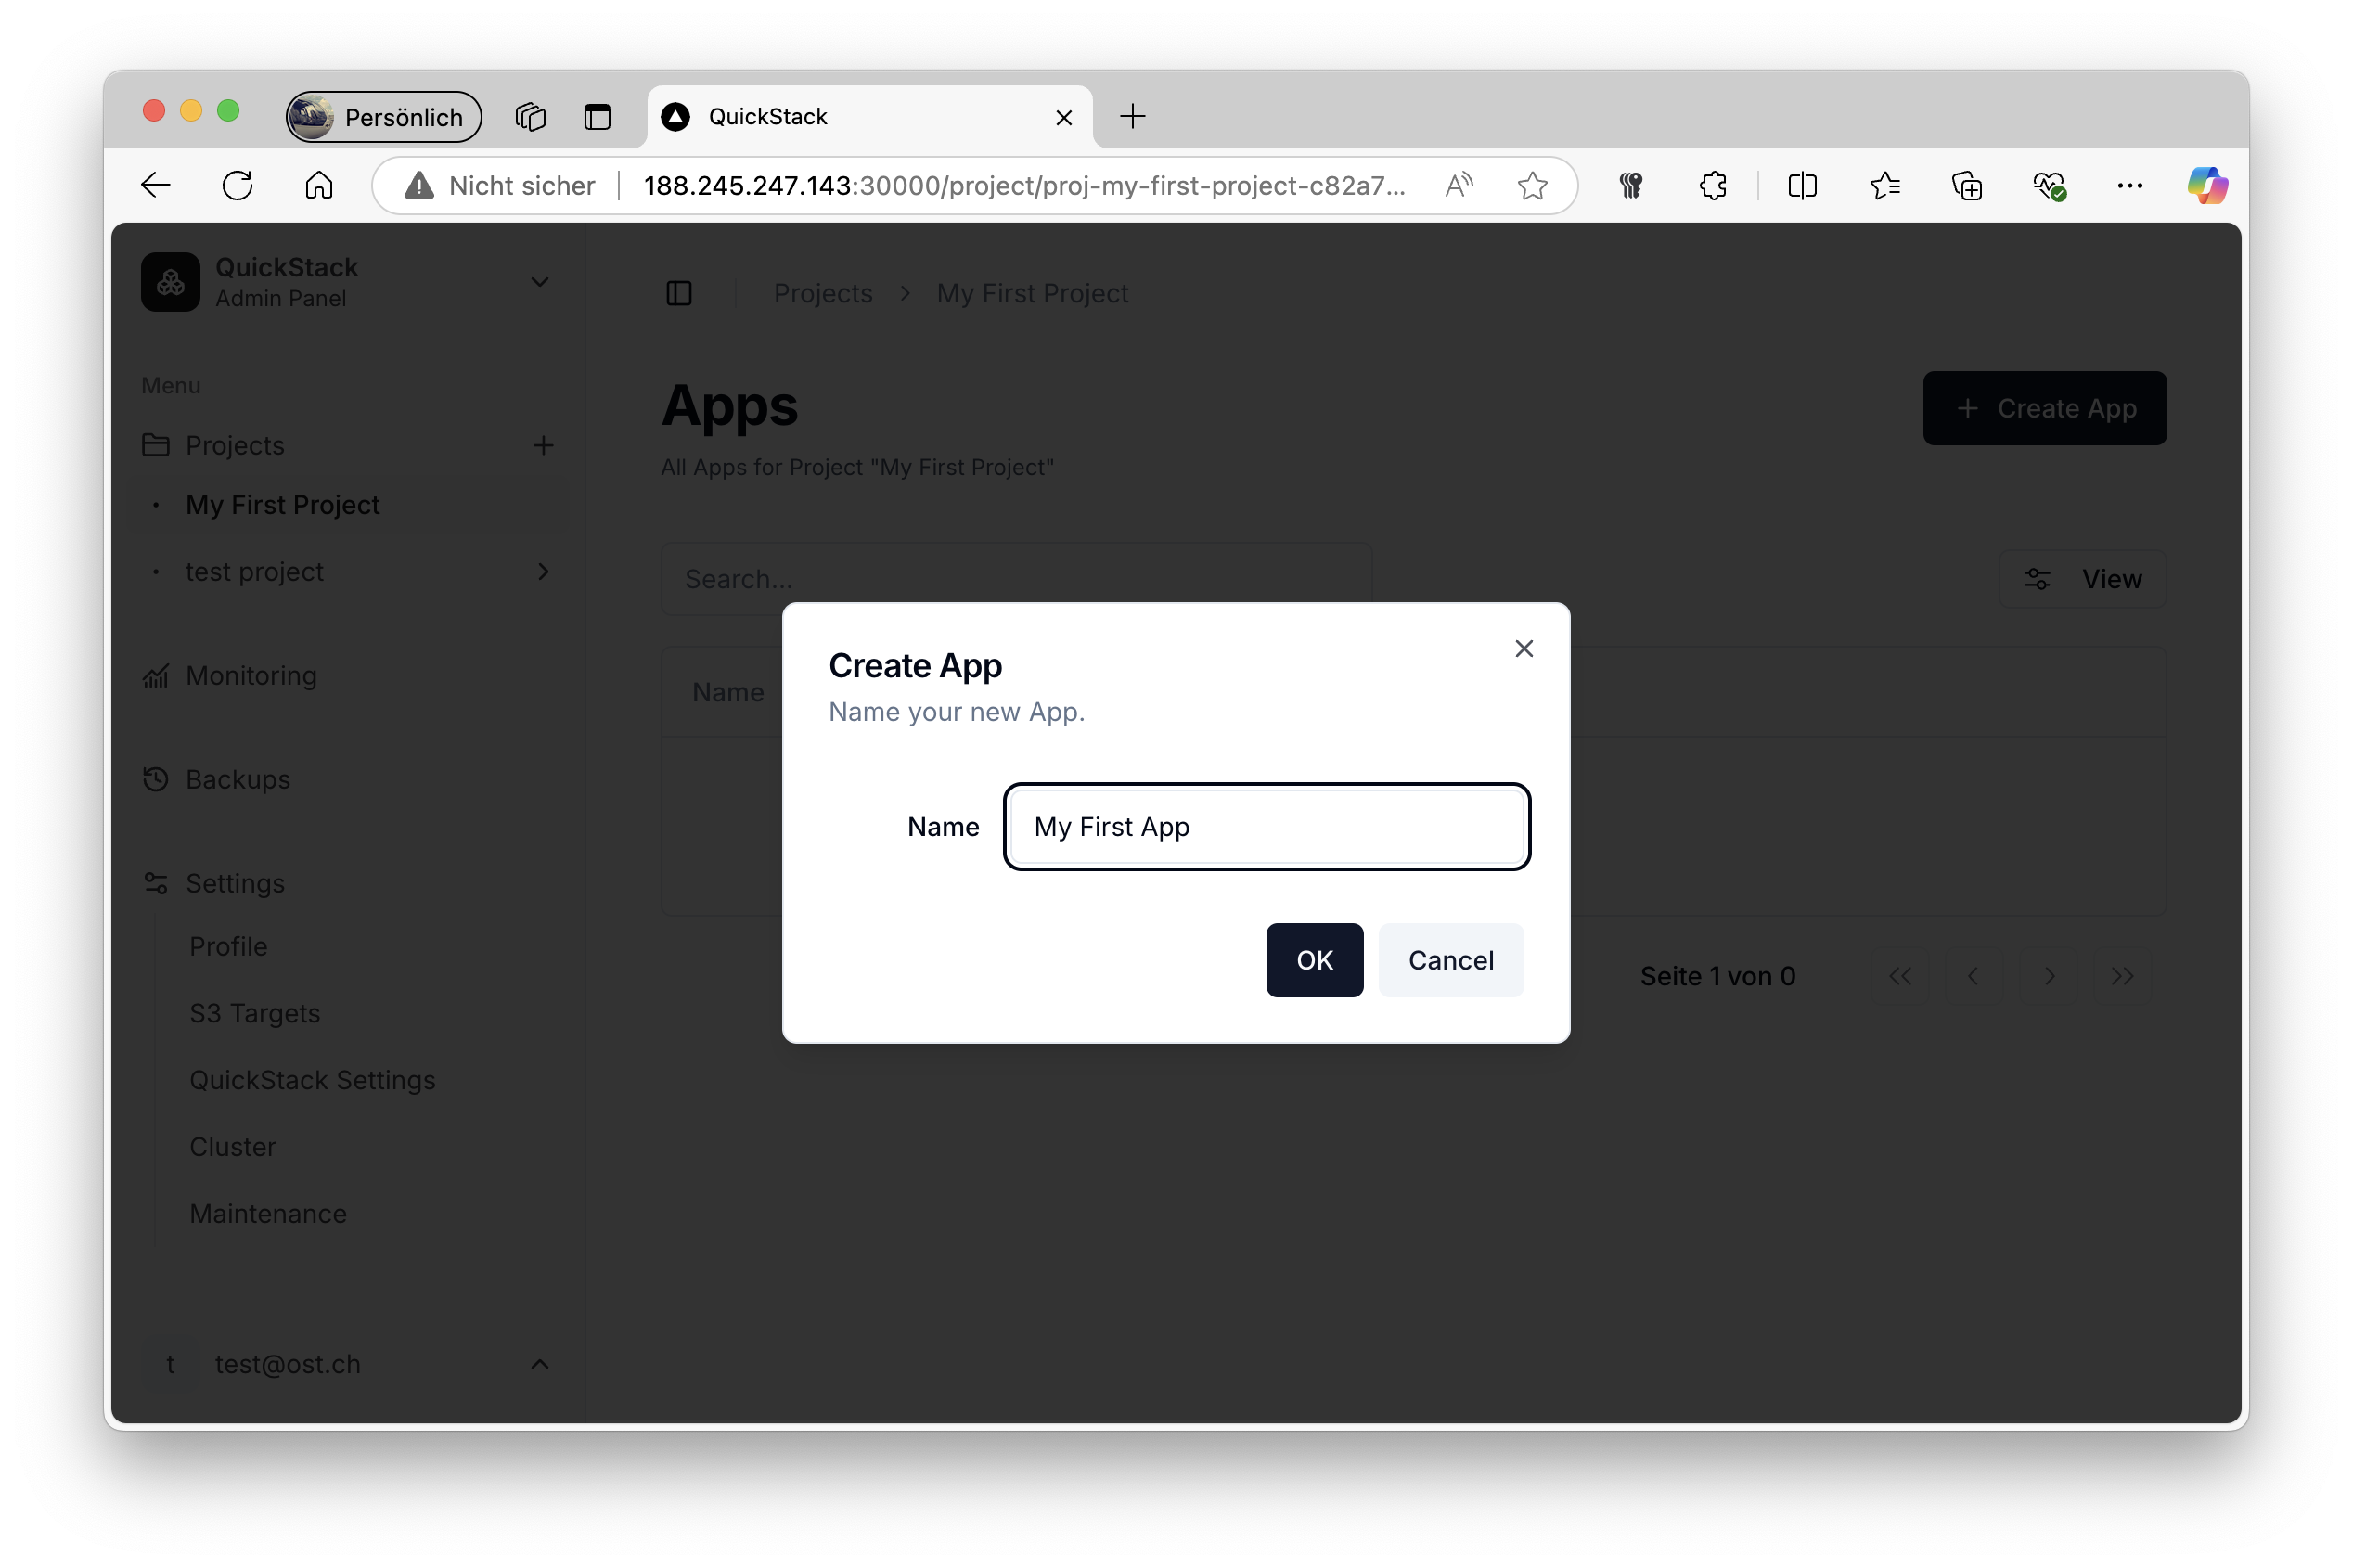
- Add New App: Click on the "+ Create App" button and give your app a name.
- Configure Container Source:
- Choose "Docker Image" as the source type.
- Docker Image Name: Enter the full name of your Docker image, including the tag.
- Example:
username/app-name:latestorimage-name:latest
- Example:
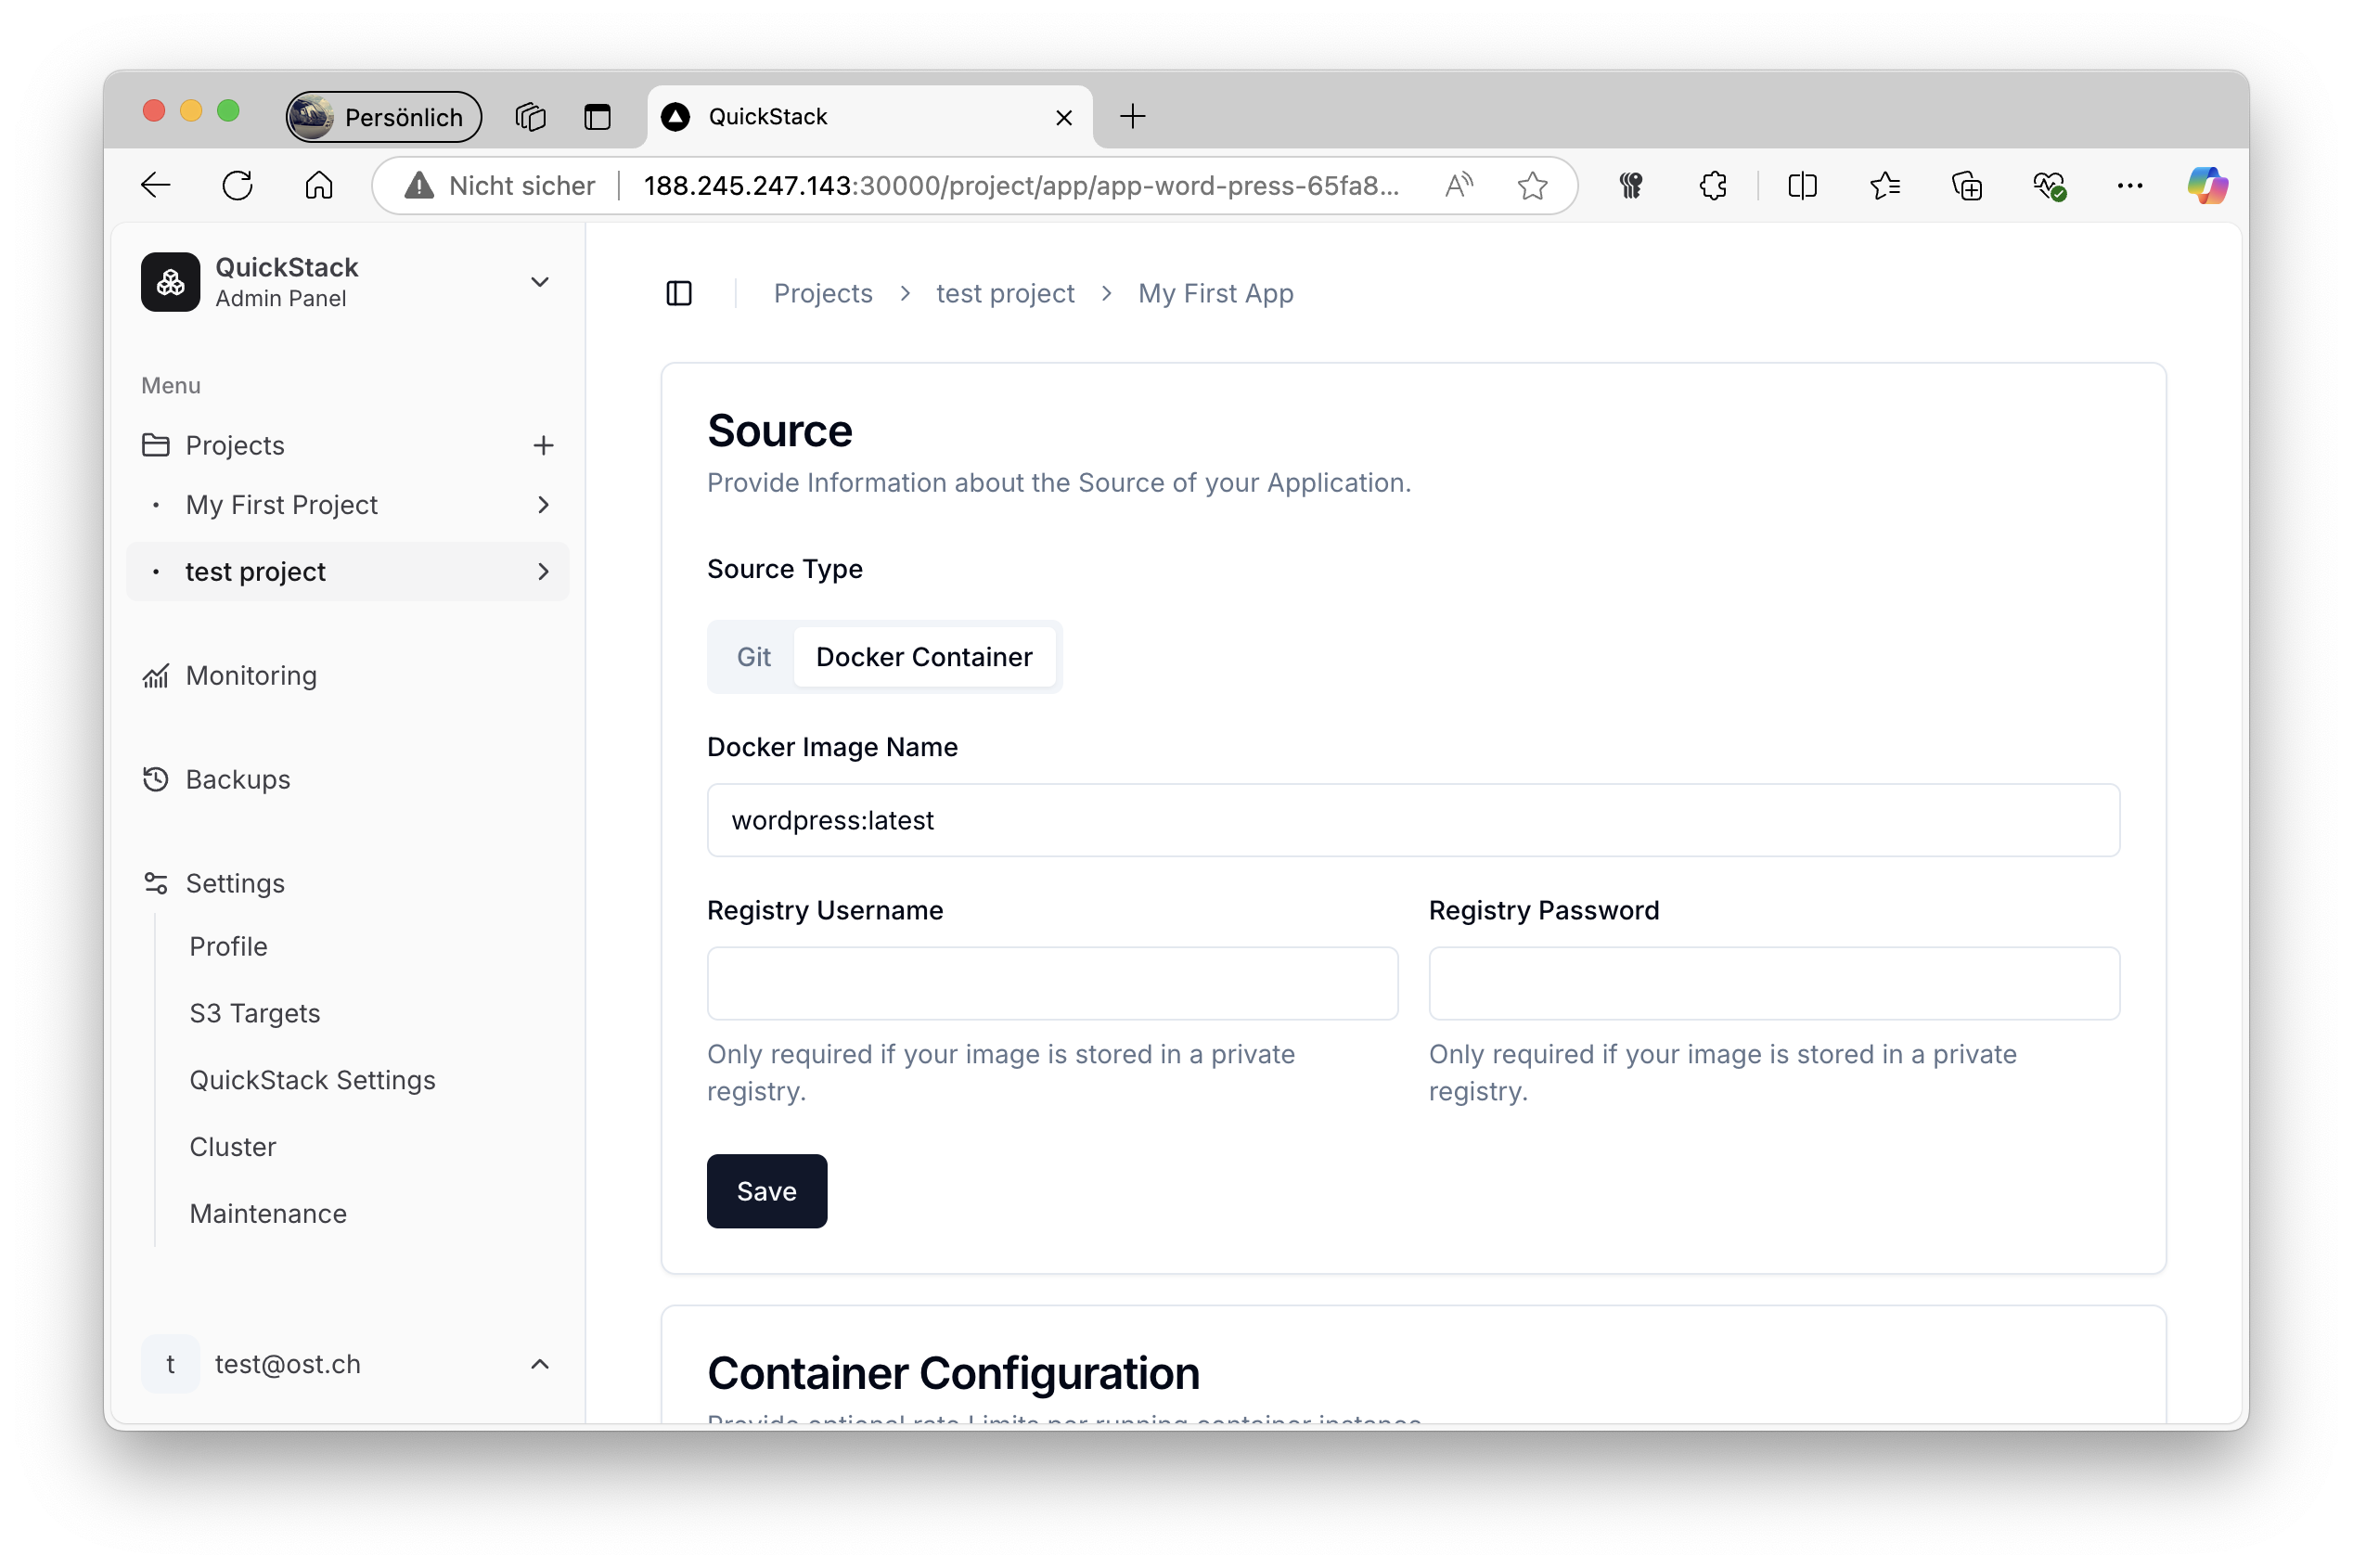
- Save App: Click the "Save" button to save the application settings.
Step 2: Deploying Your Application
- Navigate to App Details: Click on the name of your newly created app in the app list.
- Deploy:
- Click the "Deploy" button, which is located at the top of the page.
- QuickStack will now pull the specified Docker image and start the application.
Deployment Info
Changes to the App configuration won't trigger a new deployment. You need to click "deploy" to apply the changes.
Step 3: Checking the Deployment Status
- Deployment Logs:
- After initiating the deployment, check the deployment status on your application overview page. You can view the deployment progress and status in the 'Overview' tab.
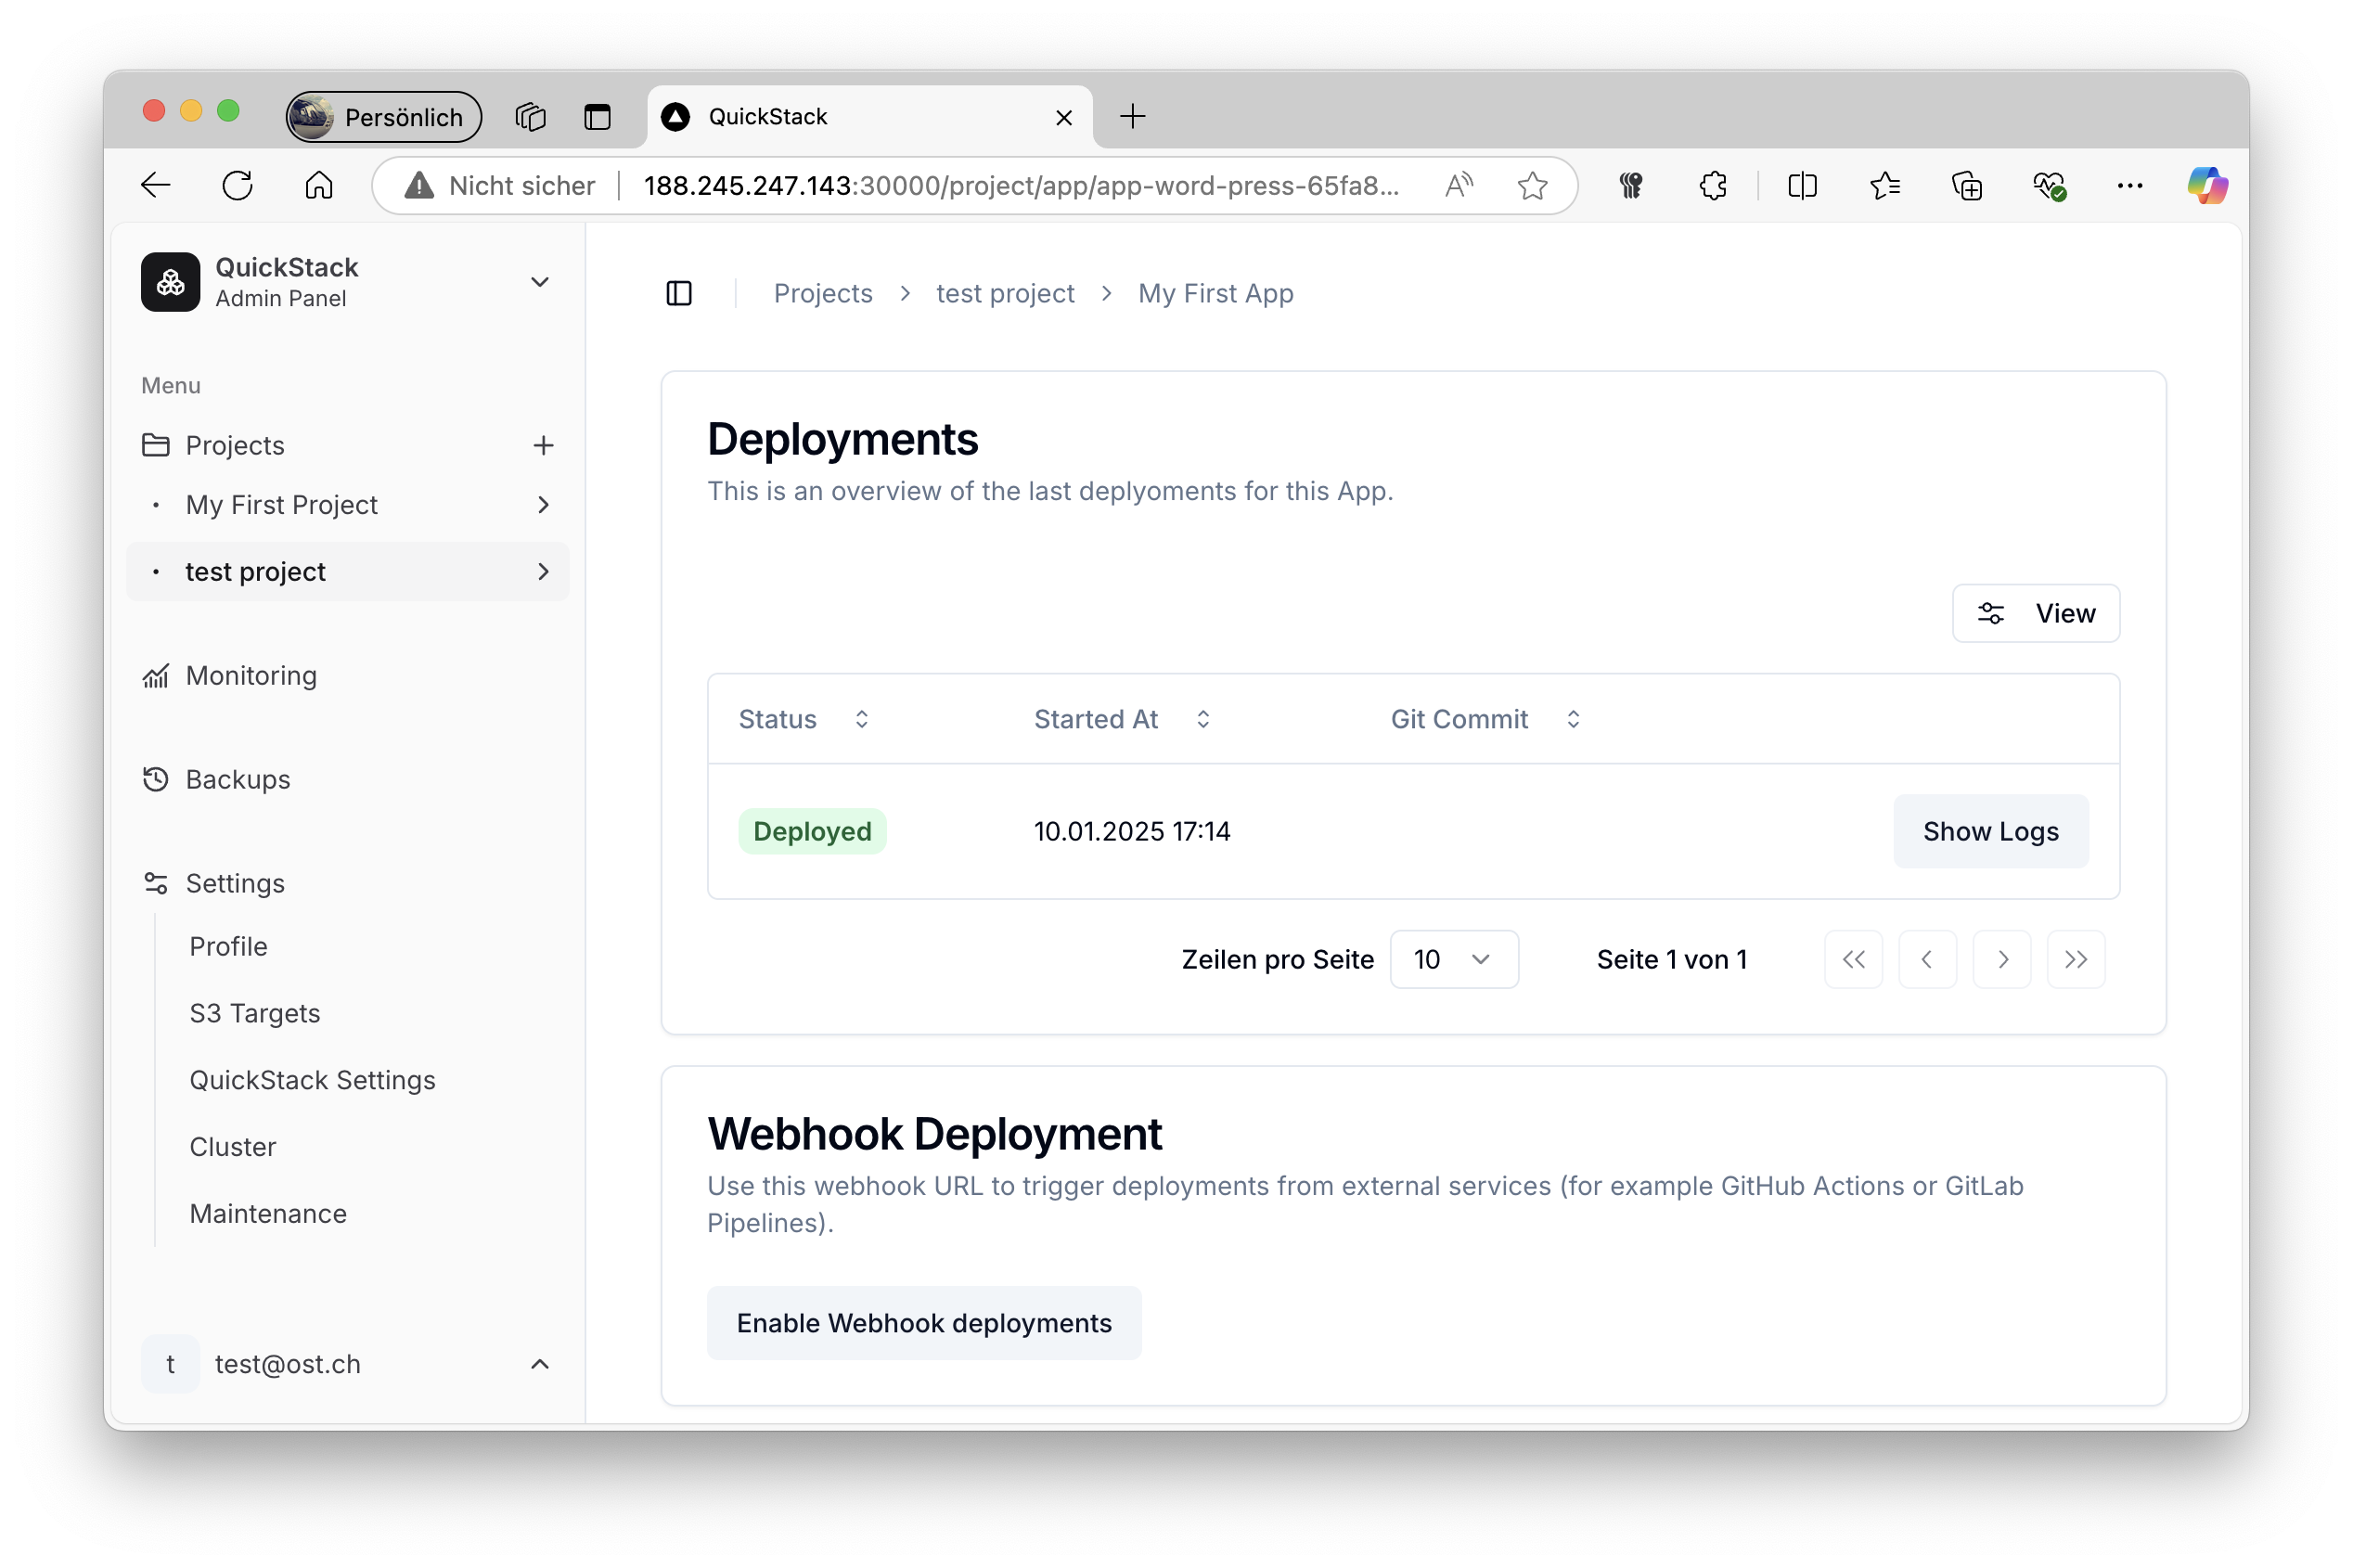
- In the same view, you have the option to check the application logs or the deployment logs.
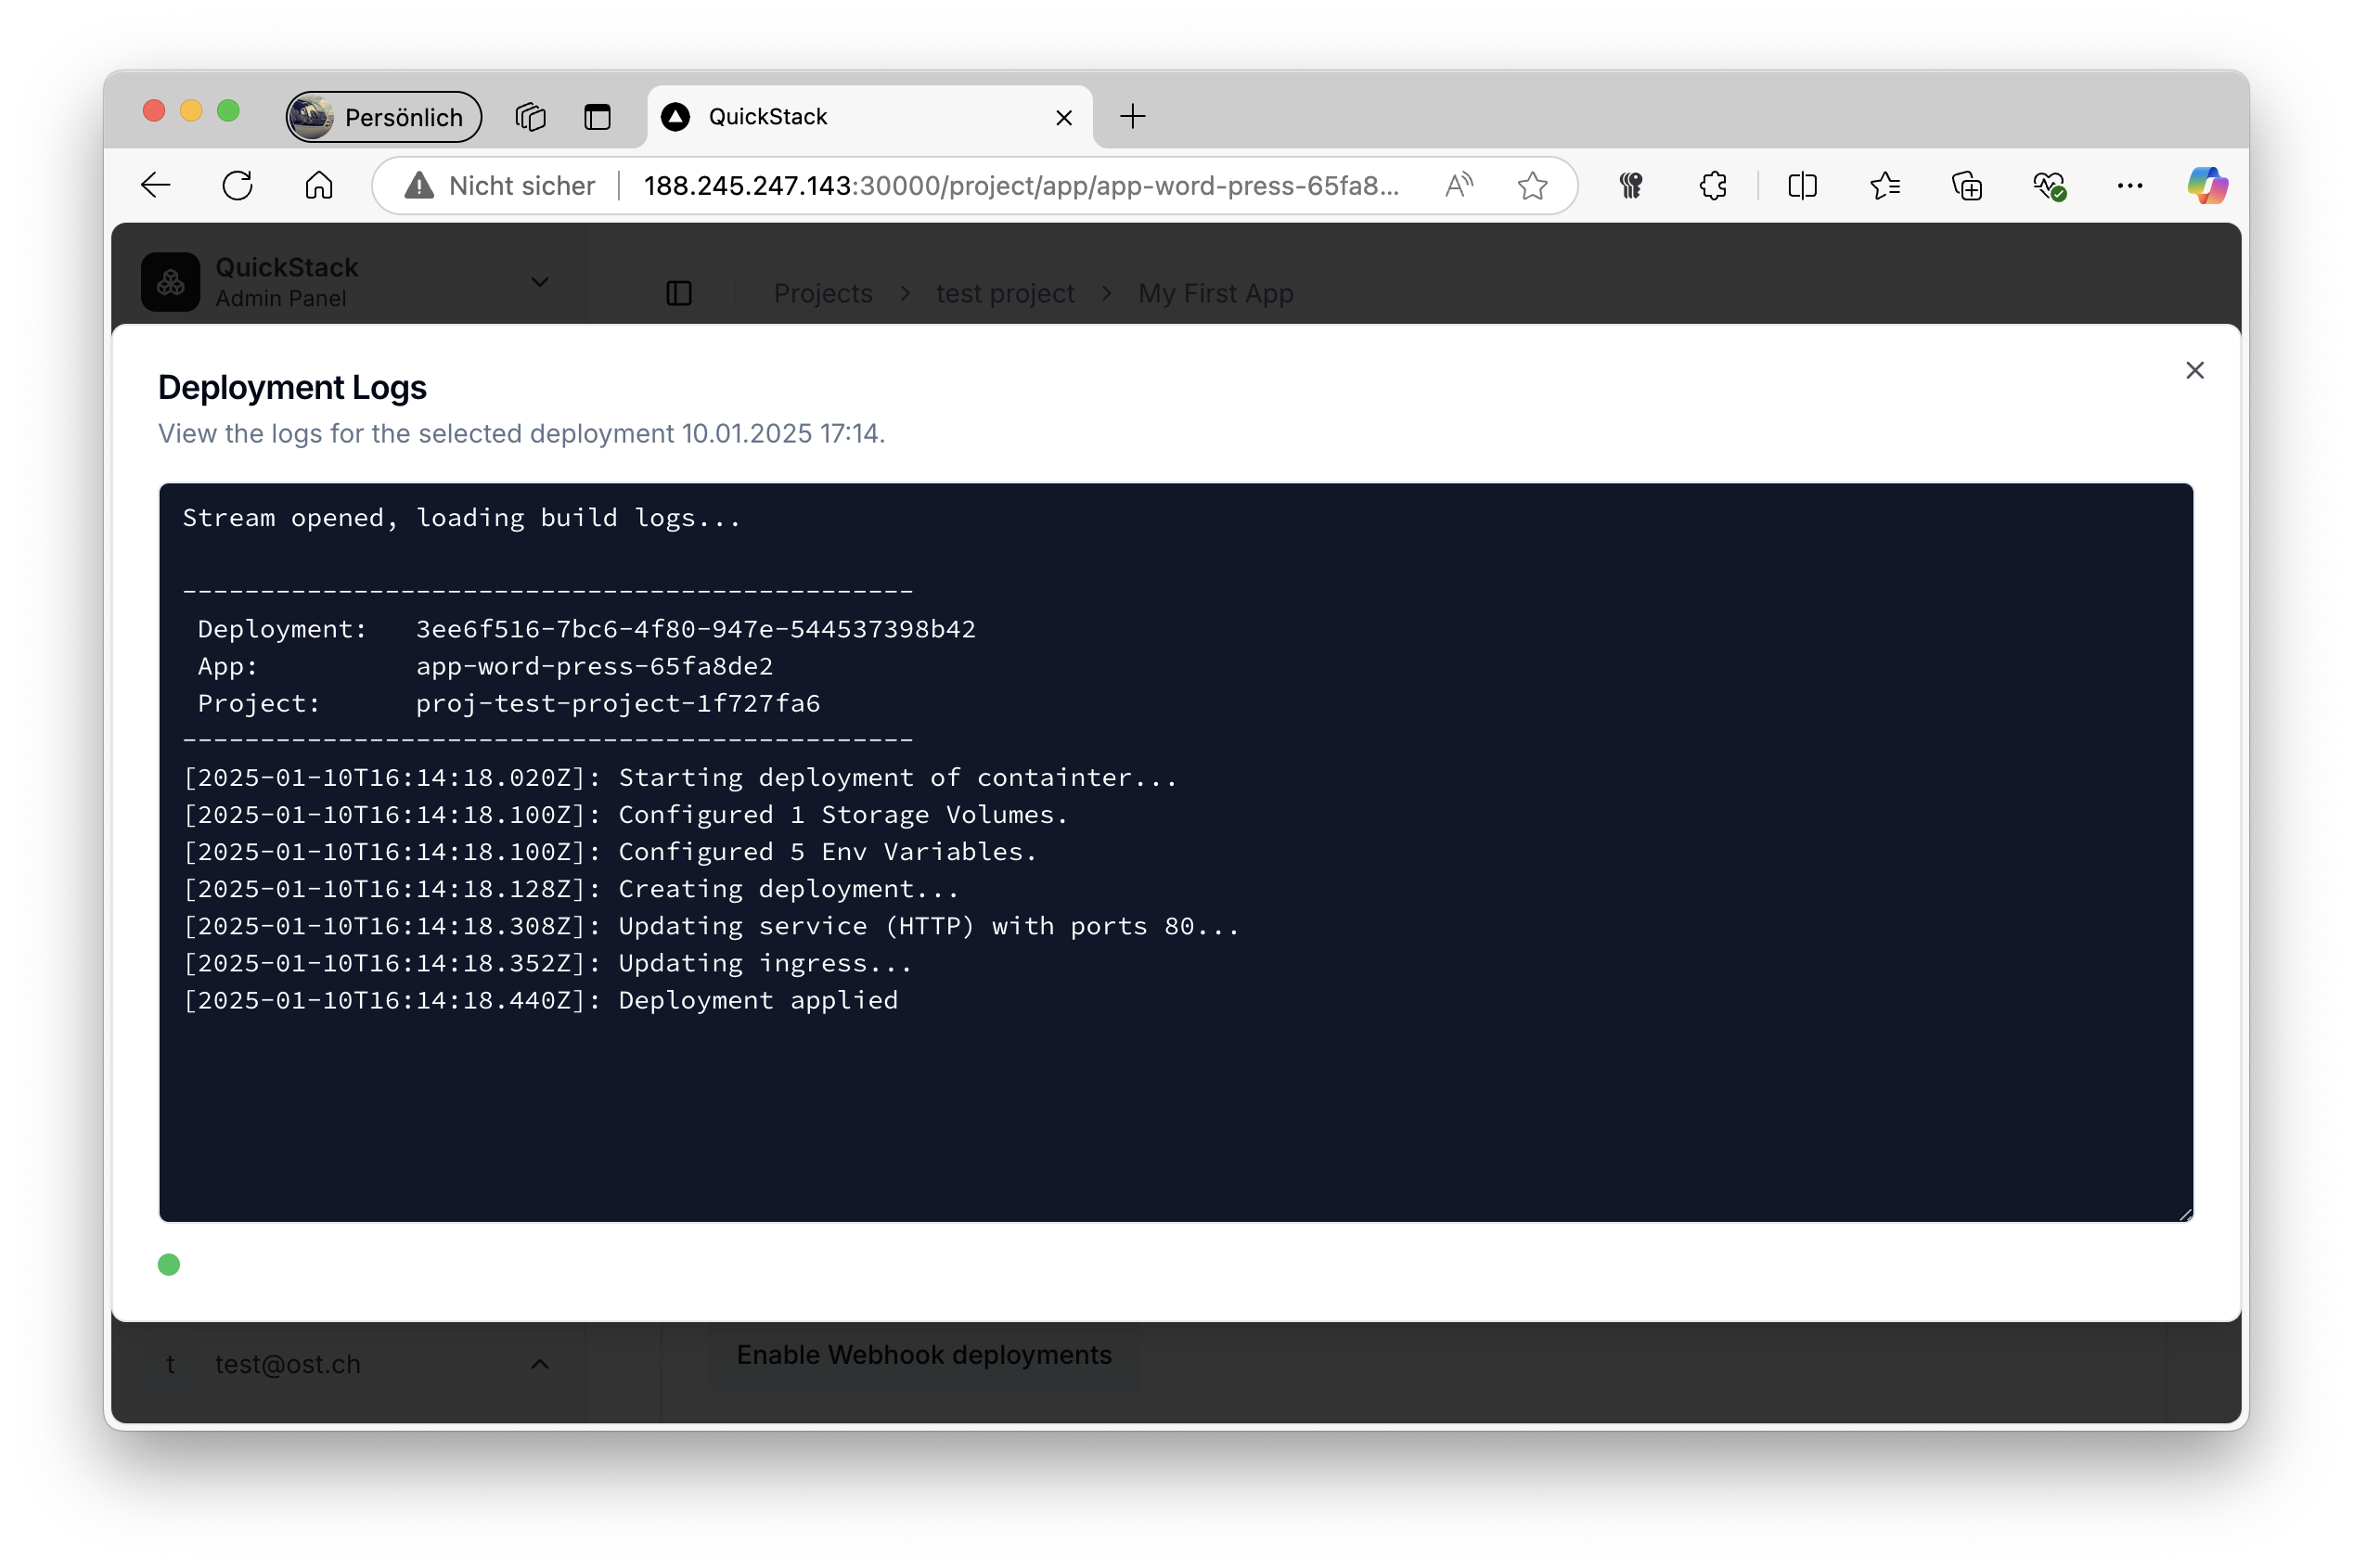
- Application Status: The status indicator on the overview page indicates the current deployment status.
Step 4: Accessing Your Application
- Access Your App:
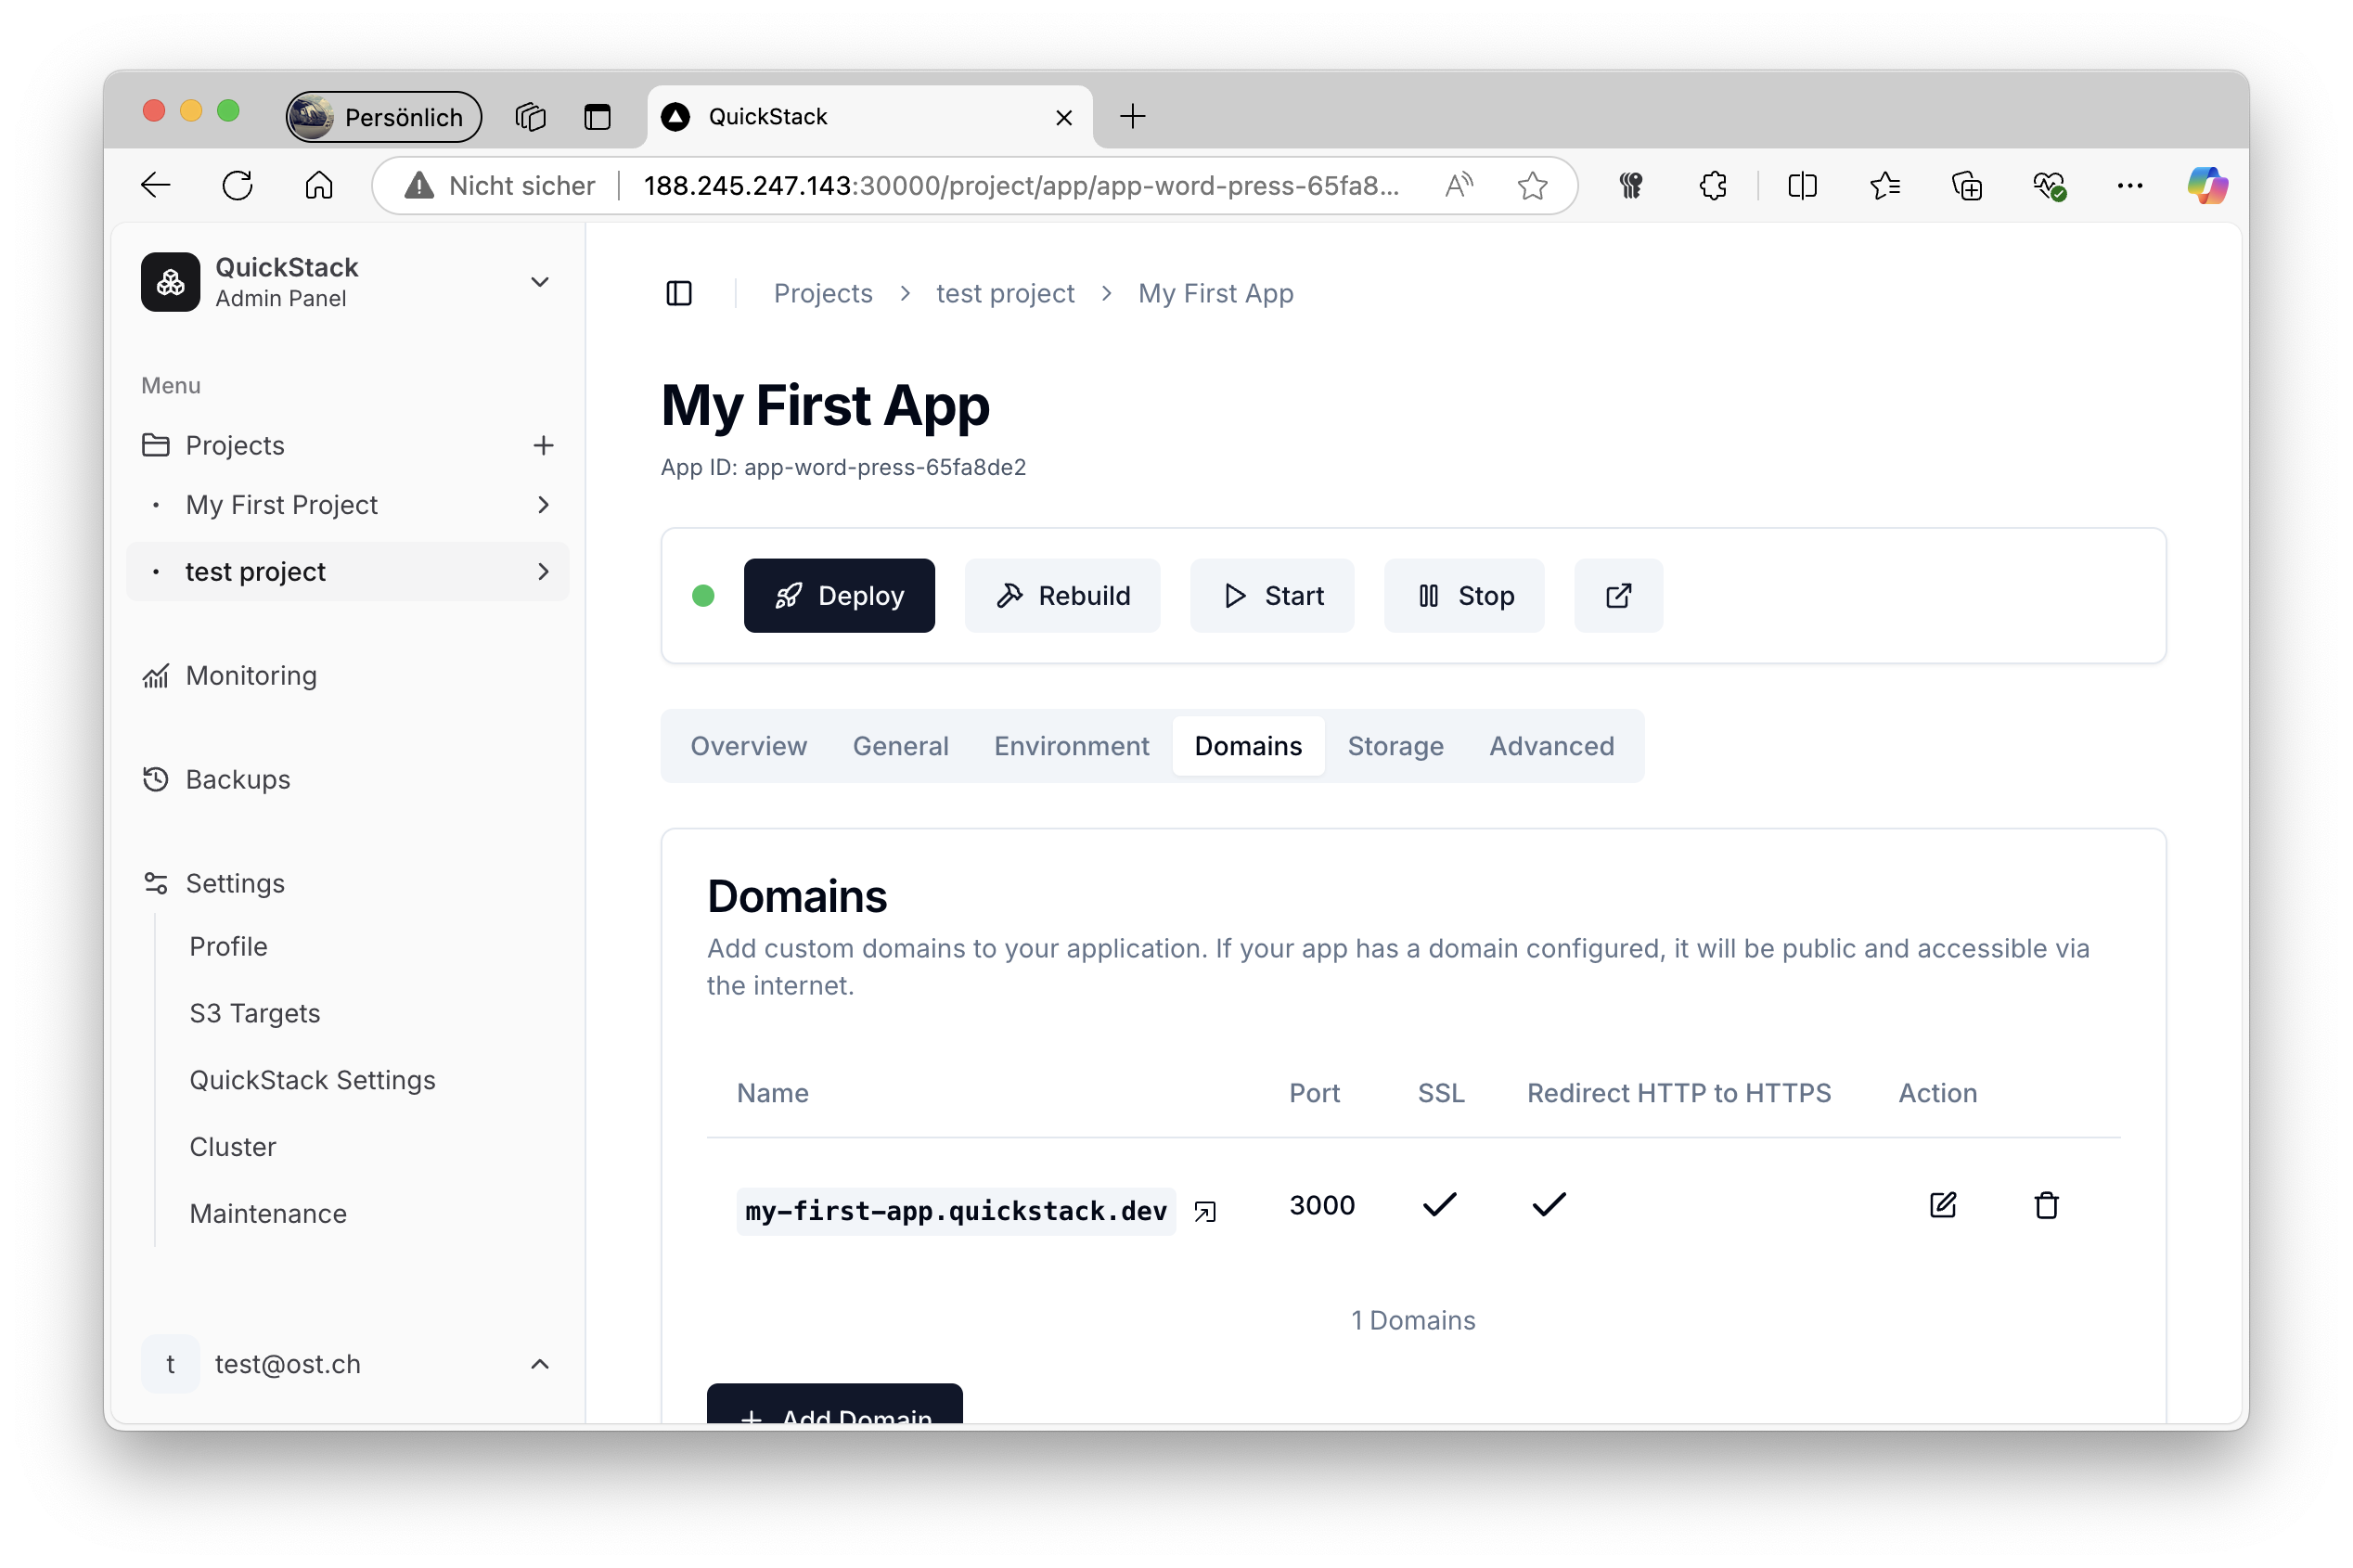
- If your app has a domain configured in the
Domainstab, you can access the app via the assigned domain.
- If your app has a domain configured in the
Troubleshooting
- Deployment Fails: Check the deployment logs for error messages. Verify that the specified container registry is reachable, and the Docker image name is correct.
- Application Not Accessible: Ensure that the application status is
Deployedand the configured port matches the application's listening port inside the container. Also, ensure that the load balancer and ingress settings are setup correctly.
Congratulations
You have successfully deployed an application using a Docker image source in QuickStack! You can further customize this application in the General, Environment and Storage section of your application settings.