Git App Deployment
This guide will walk you through deploying an application from a Git repository. We'll cover the basic steps, from adding a project to deploying.
Prerequisites
Before you begin, make sure you have:
- QuickStack installed on your virtual private server (VPS).
- A Git repository containing a simple application. This could be a sample application or one of your projects.
- Basic understanding of Git and container concepts.
Step 1: Creating a New Project and Application
- Create Project:
- On the dashboard, locate the "Projects" tab or section.
- Click on the "+ Create Project" or similar button.
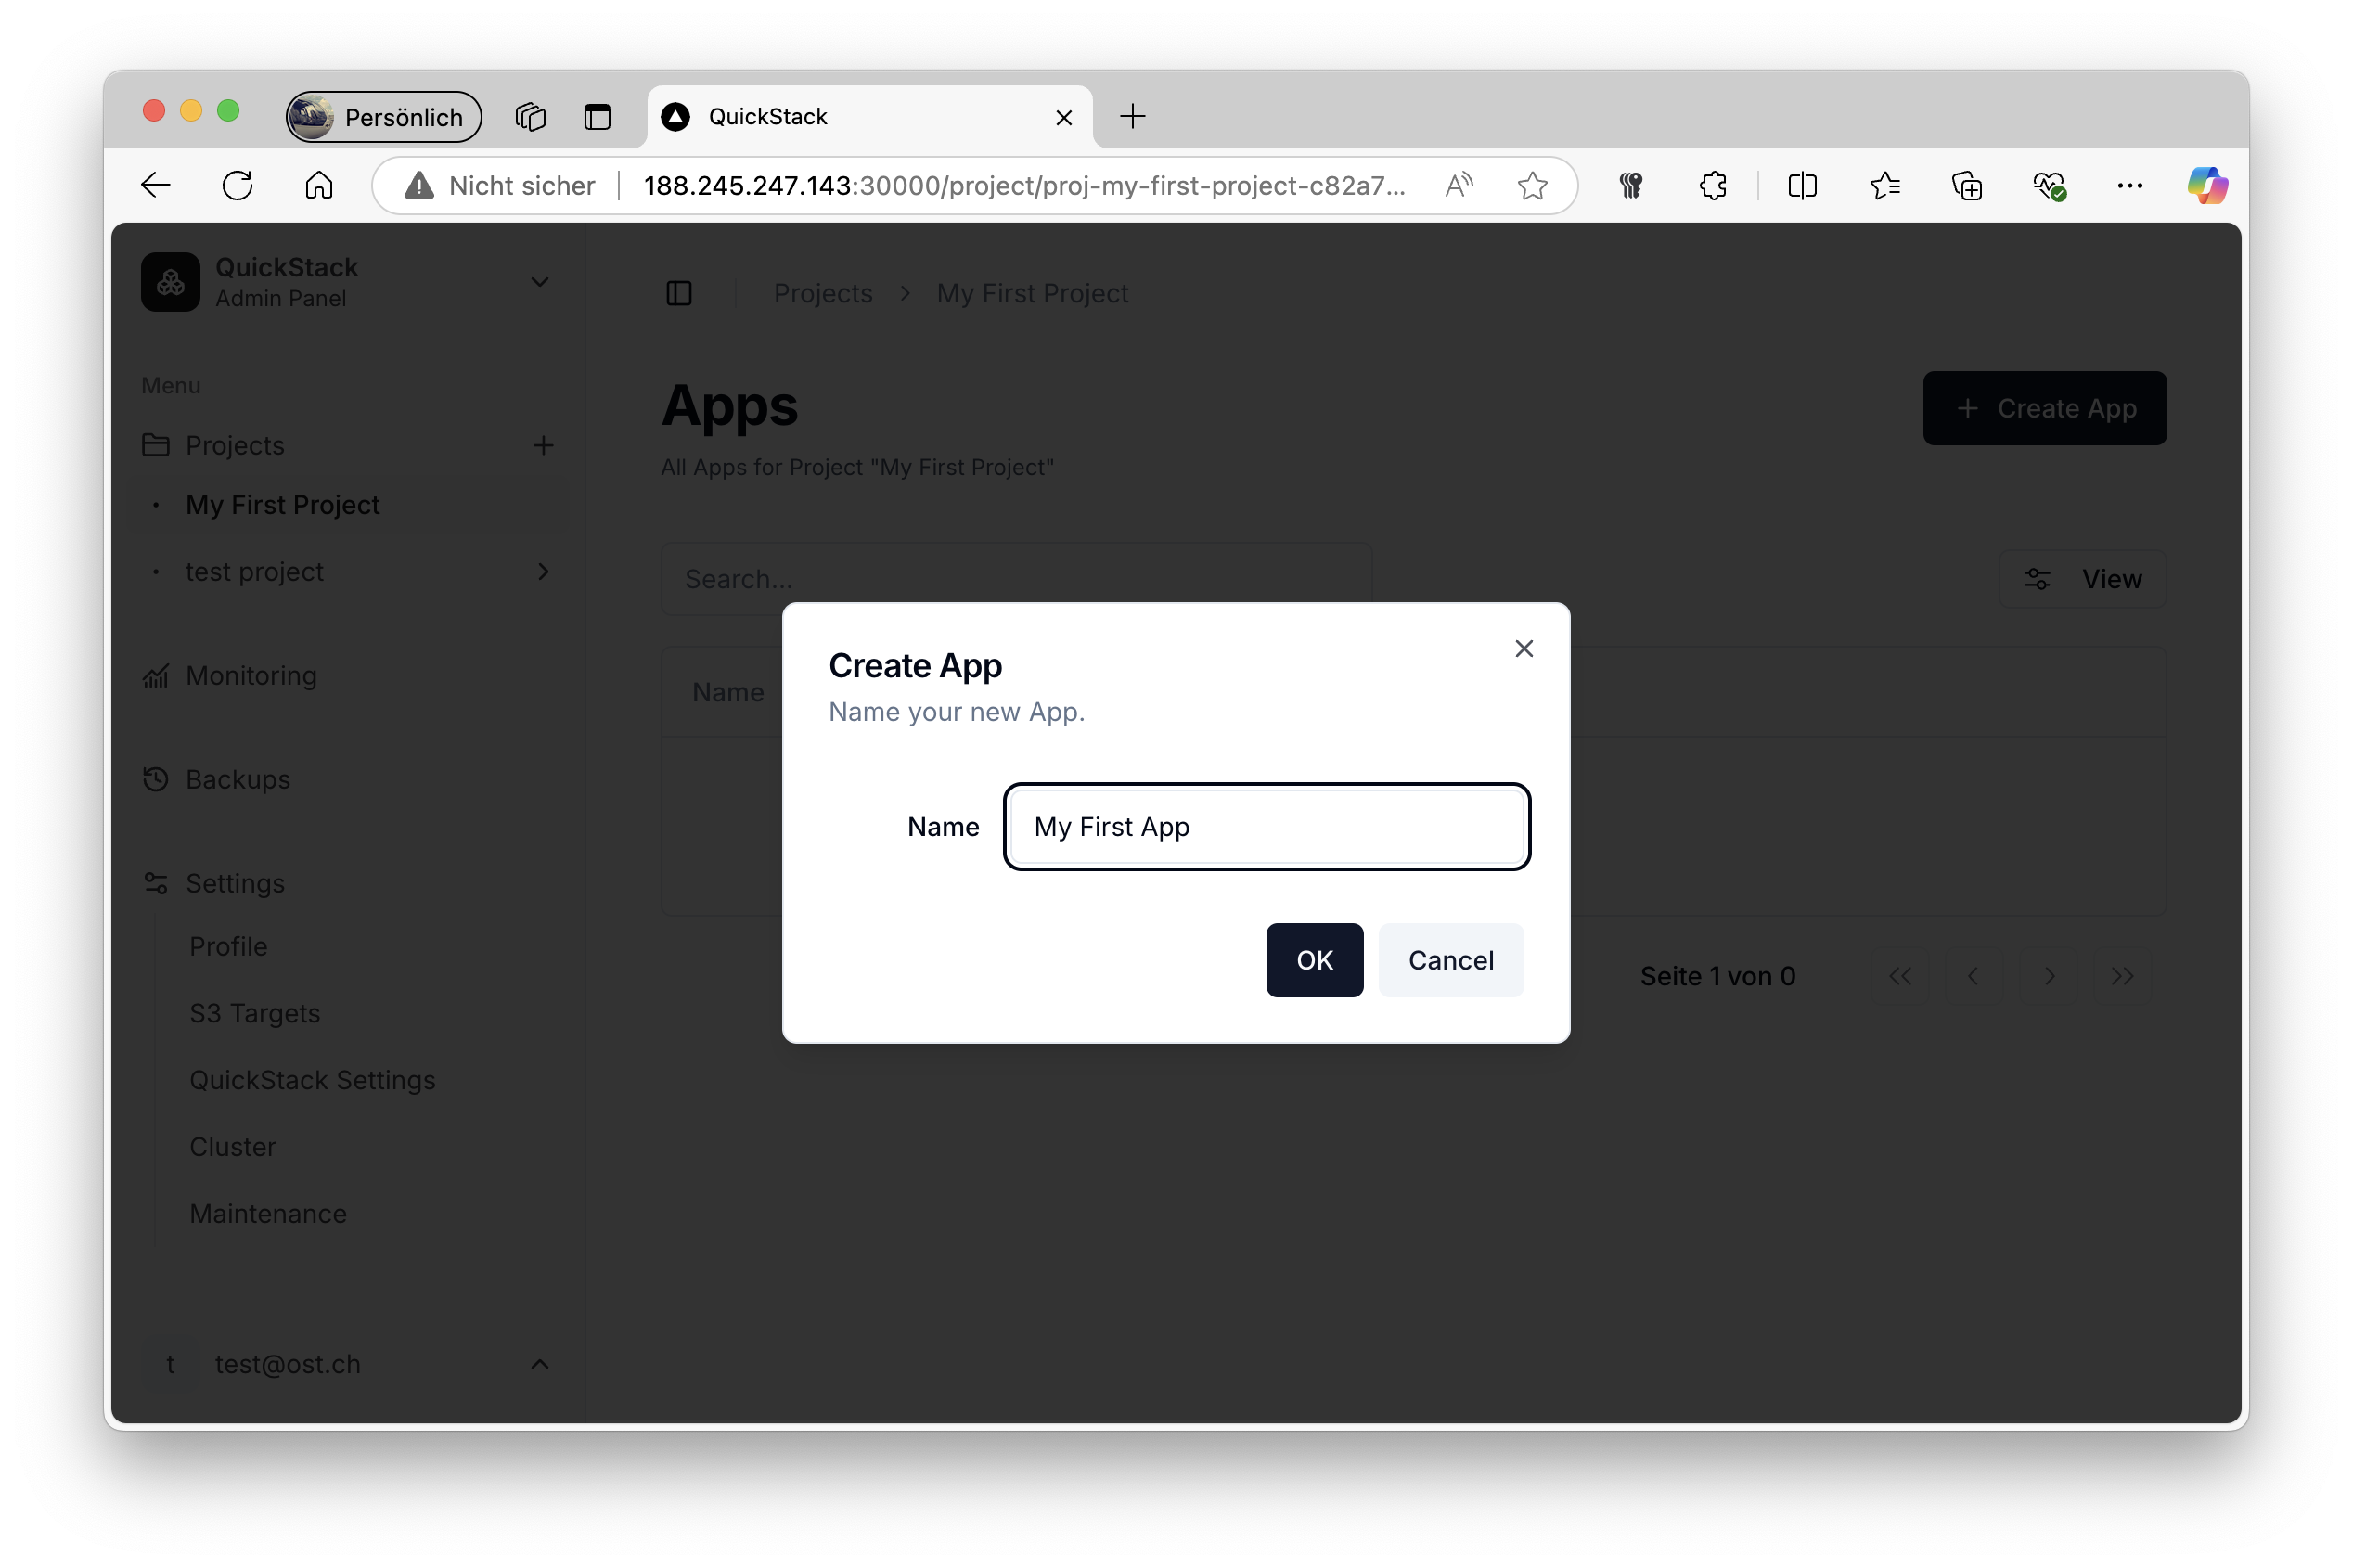
- Navigate to Project by clicking on the project name.
- Add New App: Click on the "+ Create App" and the "Empty App" button and give your app a name.
- Configure Git Source:
- Go to the "General" tab of the app settings.
- Select "Git Repository" as the source type.
- Git Repo URL: Paste the URL of your Git repository.
- Example:
https://github.com/your-username/your-repo.git
- Example:
- Git Branch: Specify the branch to use (e.g.,
mainormaster). - Dockerfile Path: Specify path to your Dockerfile (e.g.
./Dockerfile). - (Optional) Git Username and Token: If your repository is private, provide a username and a Personal Access Token.
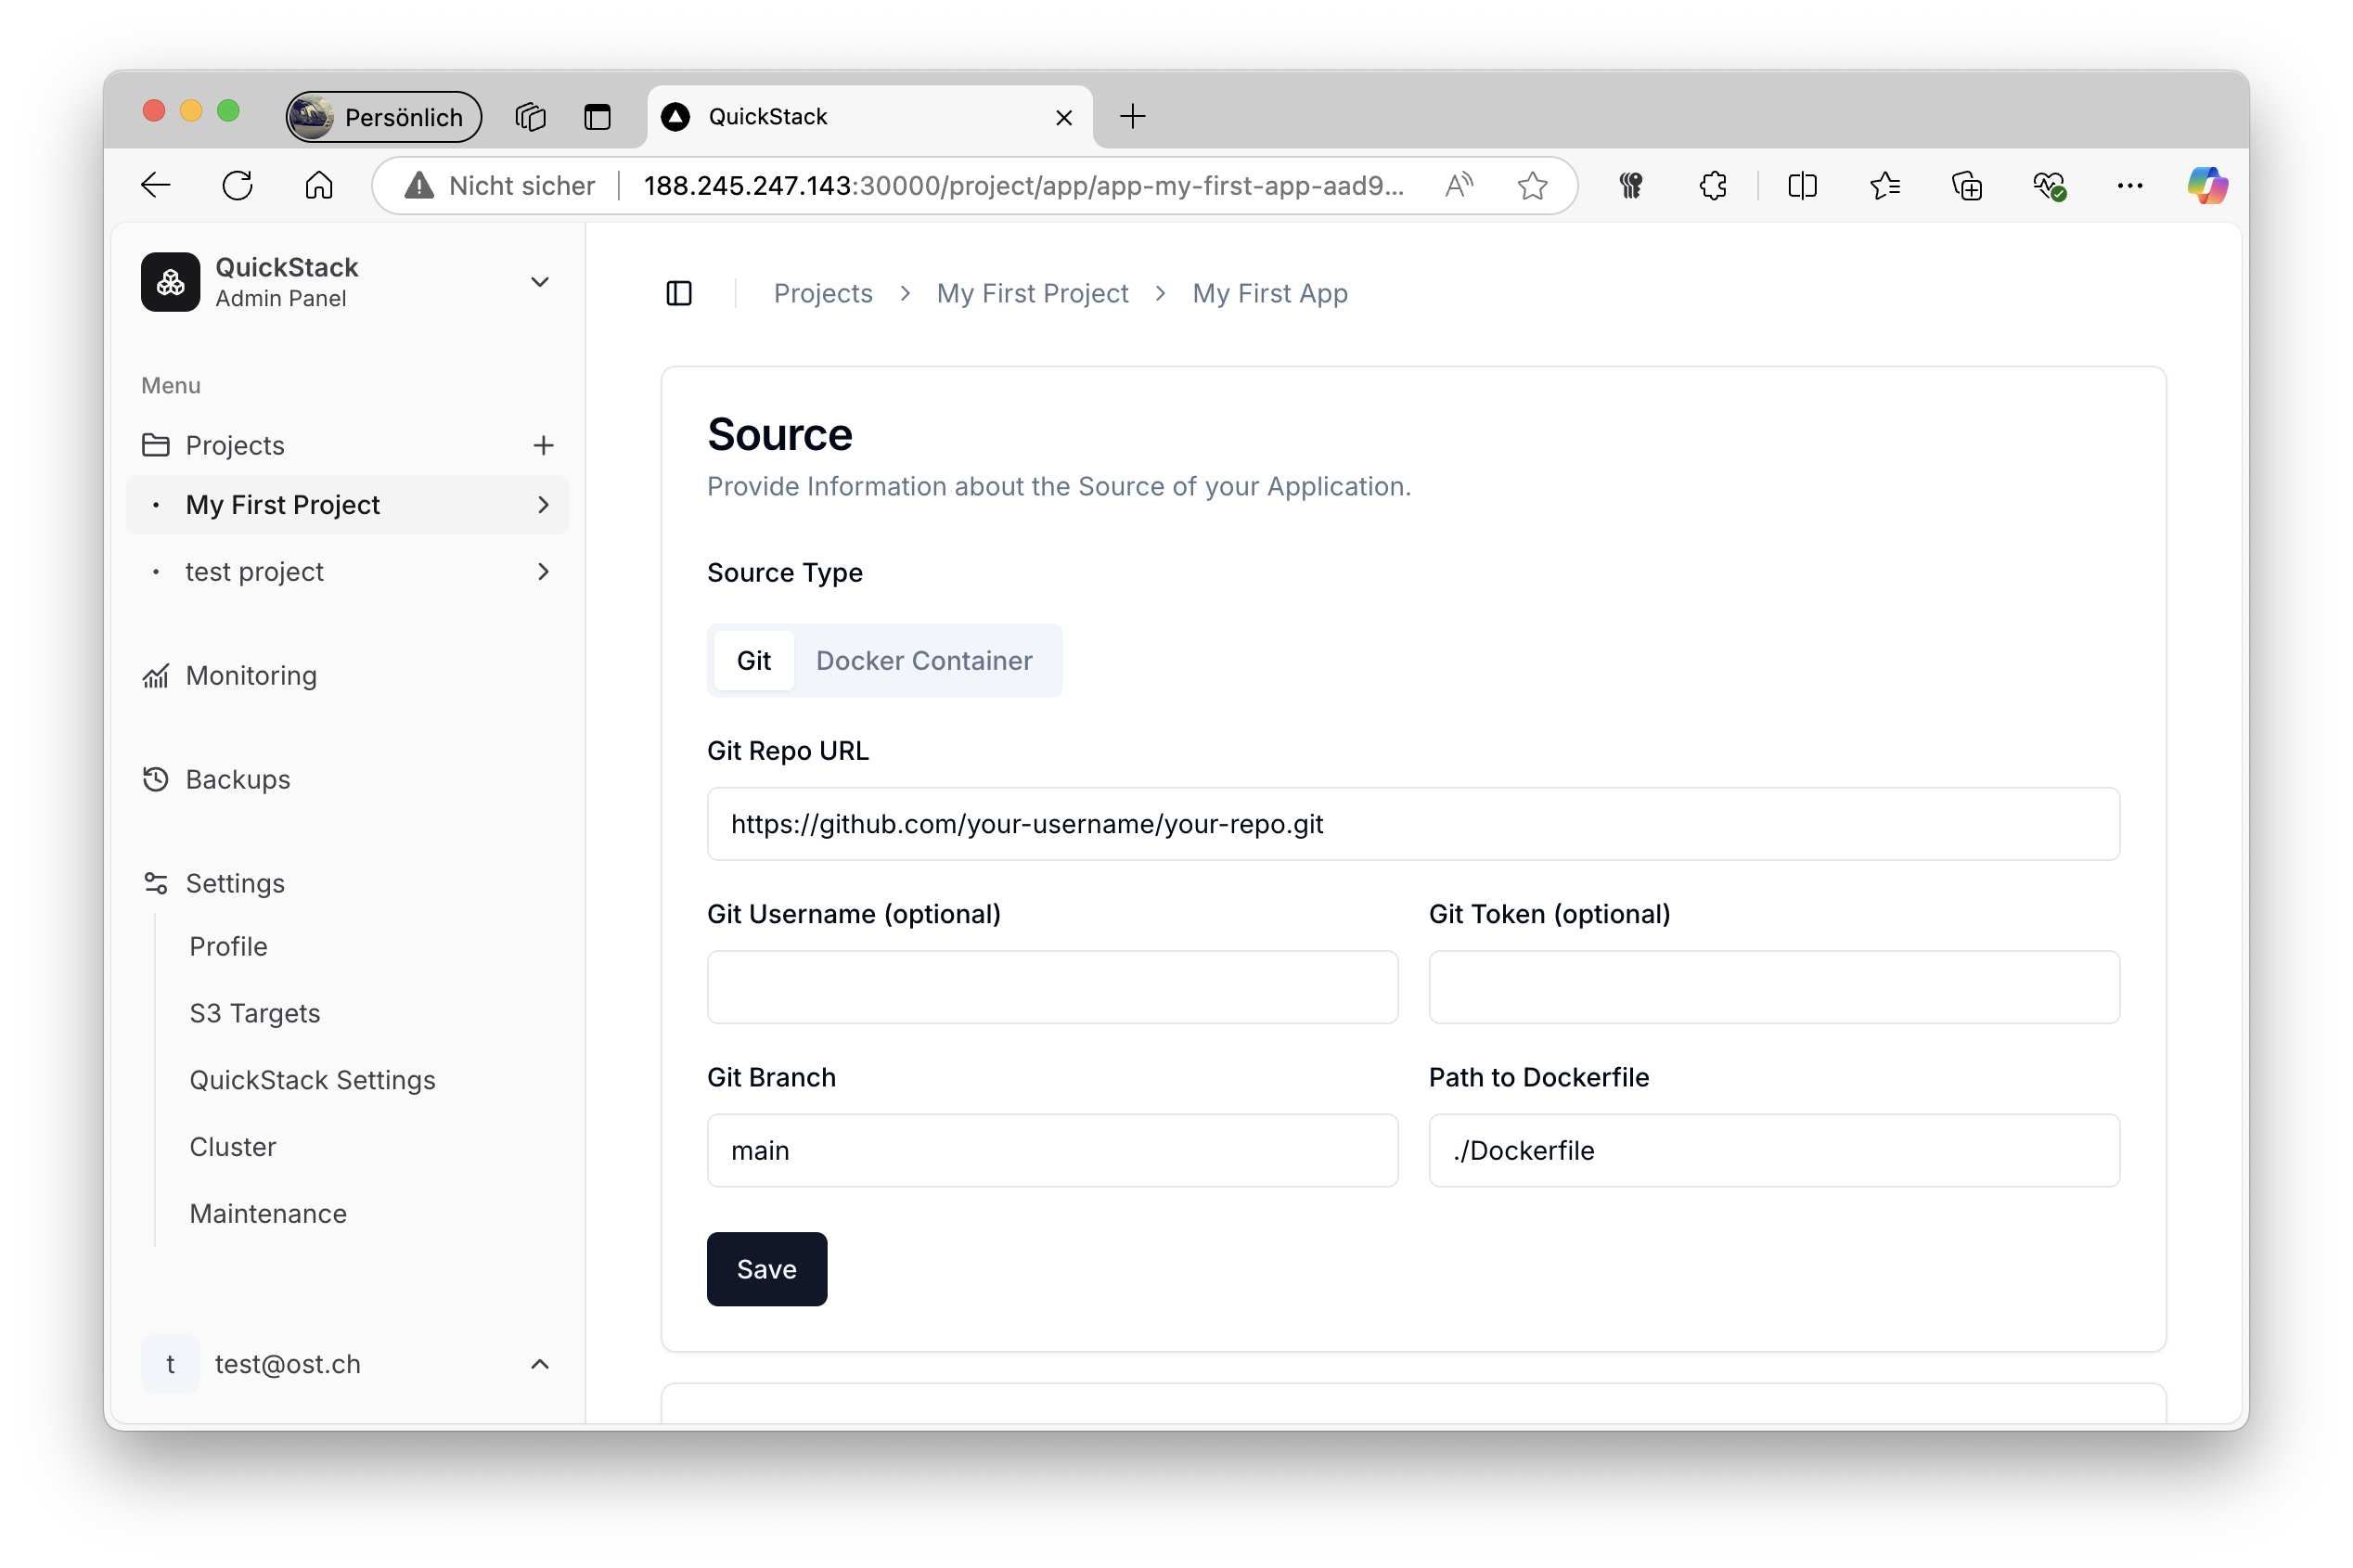
- Save App: Click the "Save" button to save the application settings.
Dockerfile Requirement
Your repository needs to have a Dockerfile at the specified path. The Dockerfile should be able to build your application.
Step 3: Deploying Your Application
- Deploy:
- You should see a button that says "Deploy" on top of the page. Click it.
- This initiates the build process and deployment of your application.
Deployment Info
Changes to the App configuration won't trigger a new deployment. You need to click "deploy" to apply the changes every time you make a change.
Step 4: Checking the Deployment Status
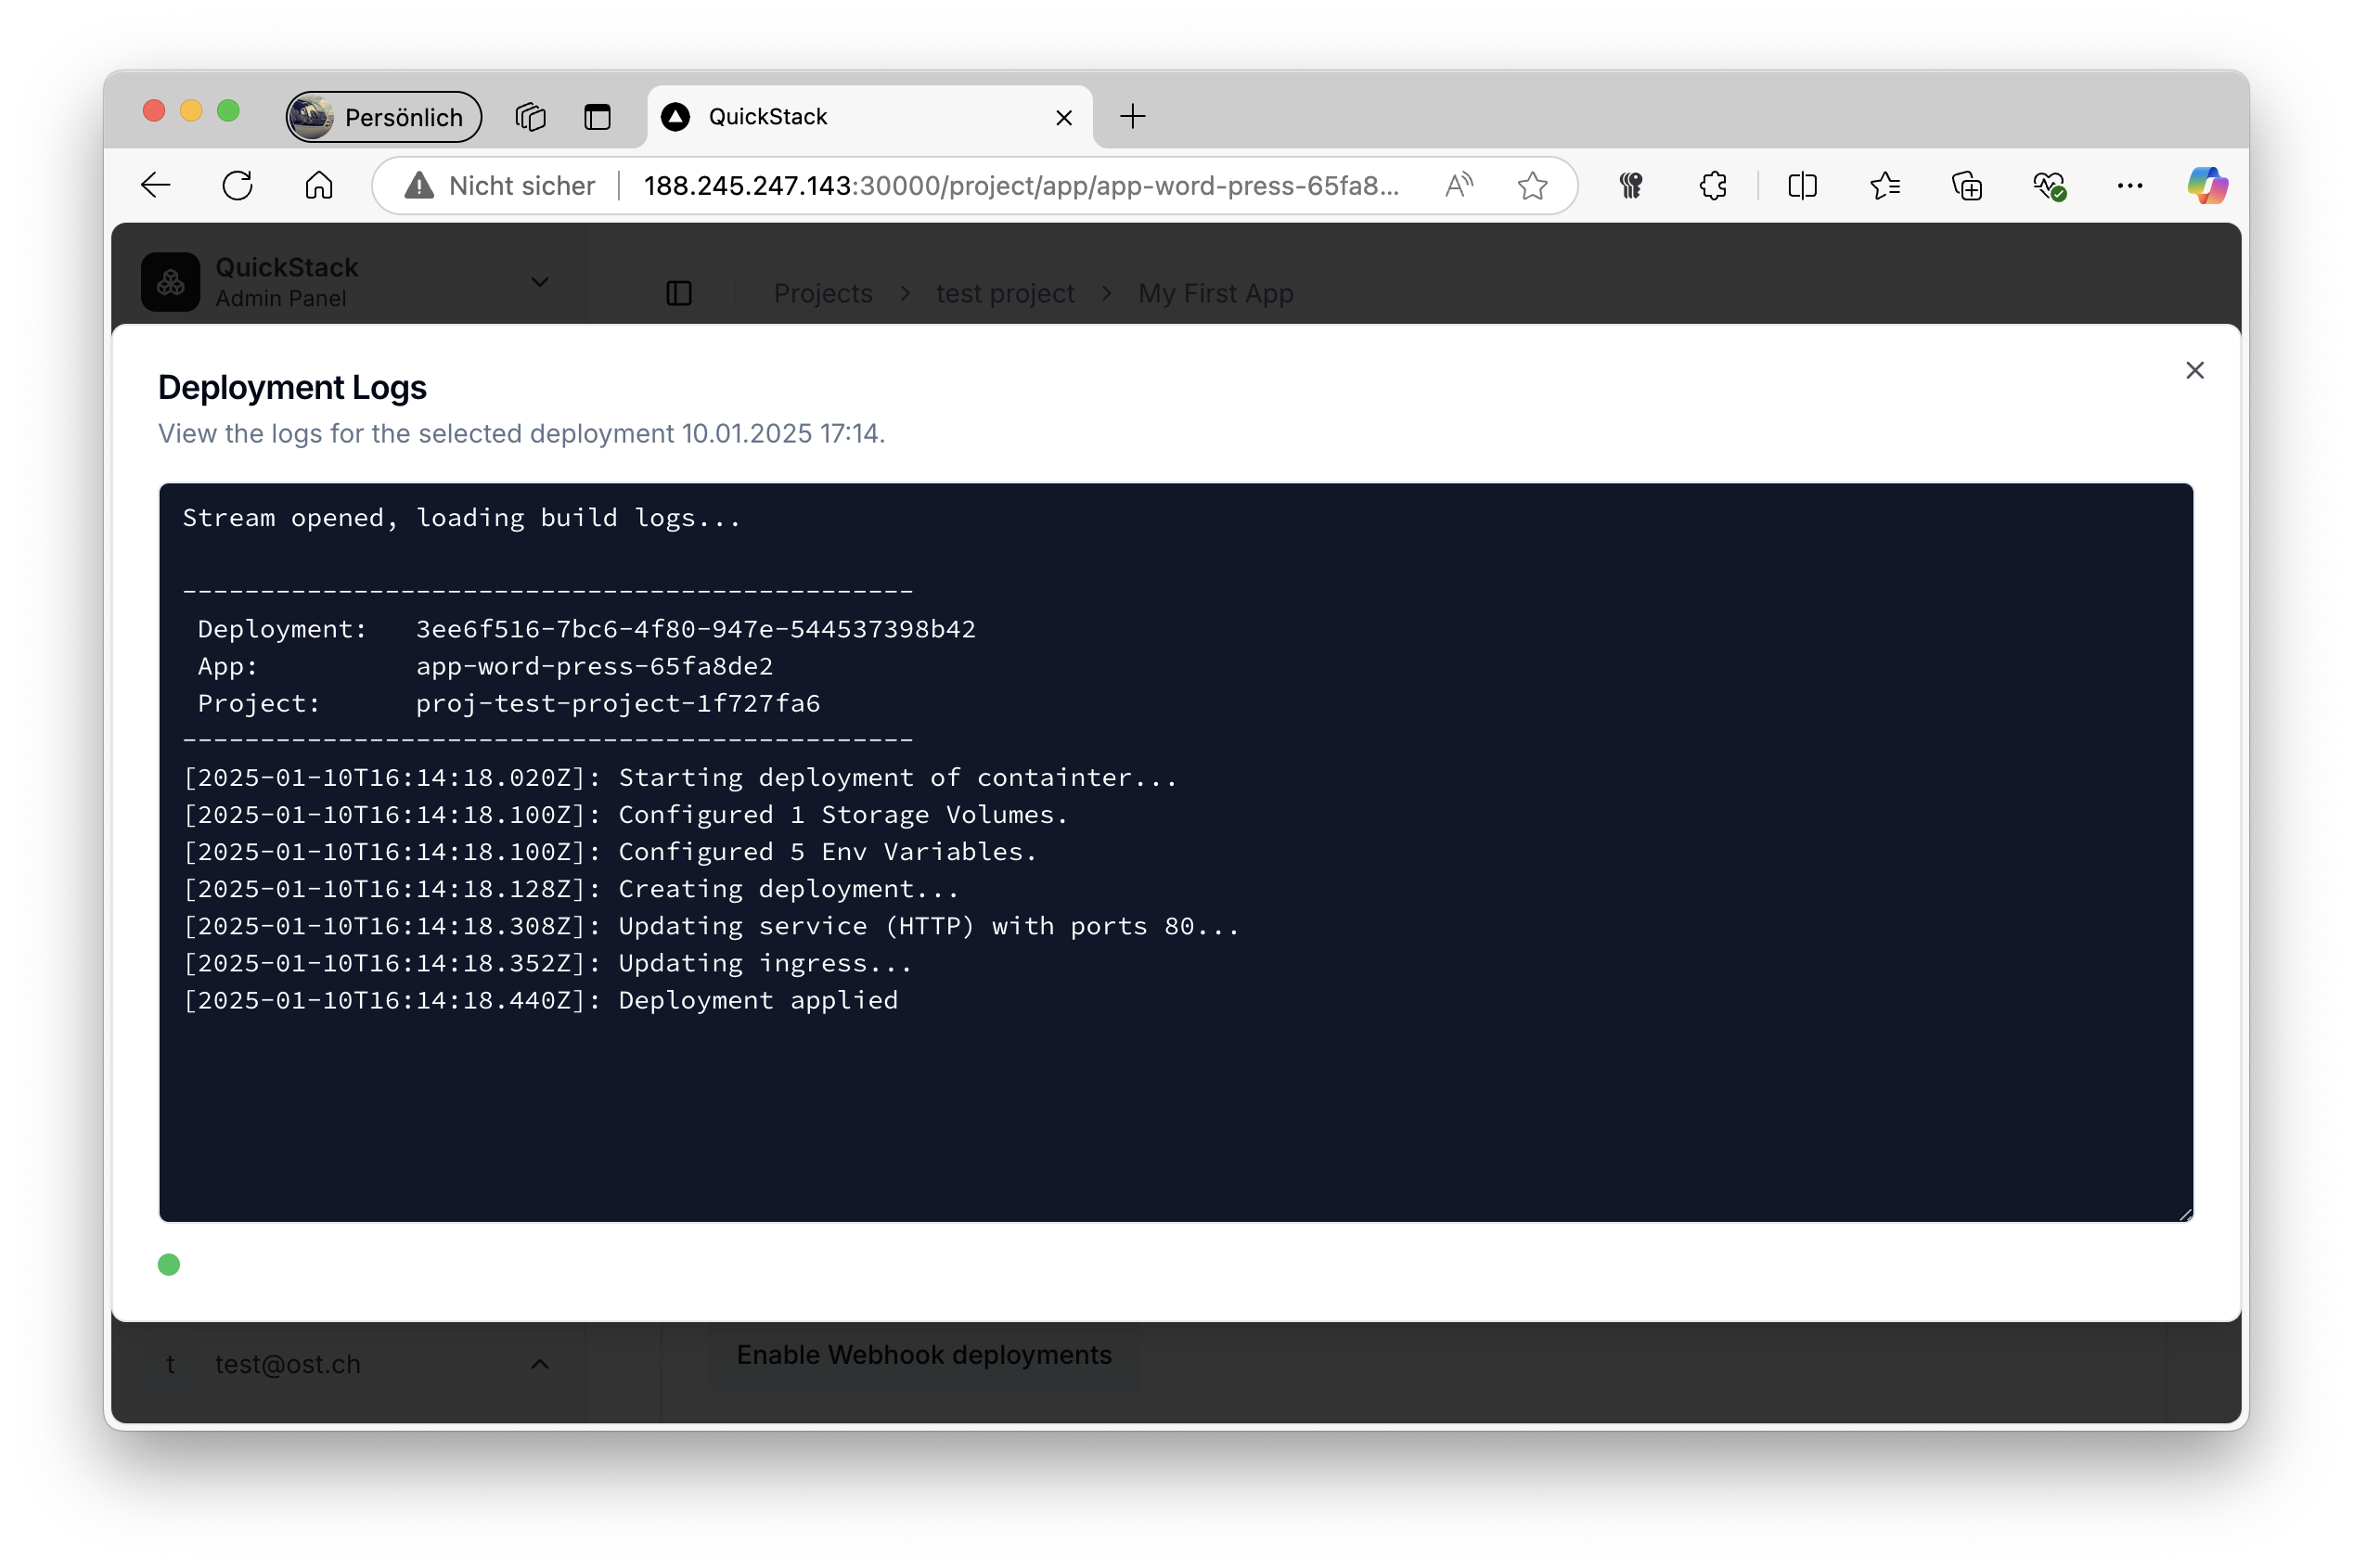
- Deployment Logs:
- After initiating the deployment, check the deployment status which is provided in the overview tab of your application settings.
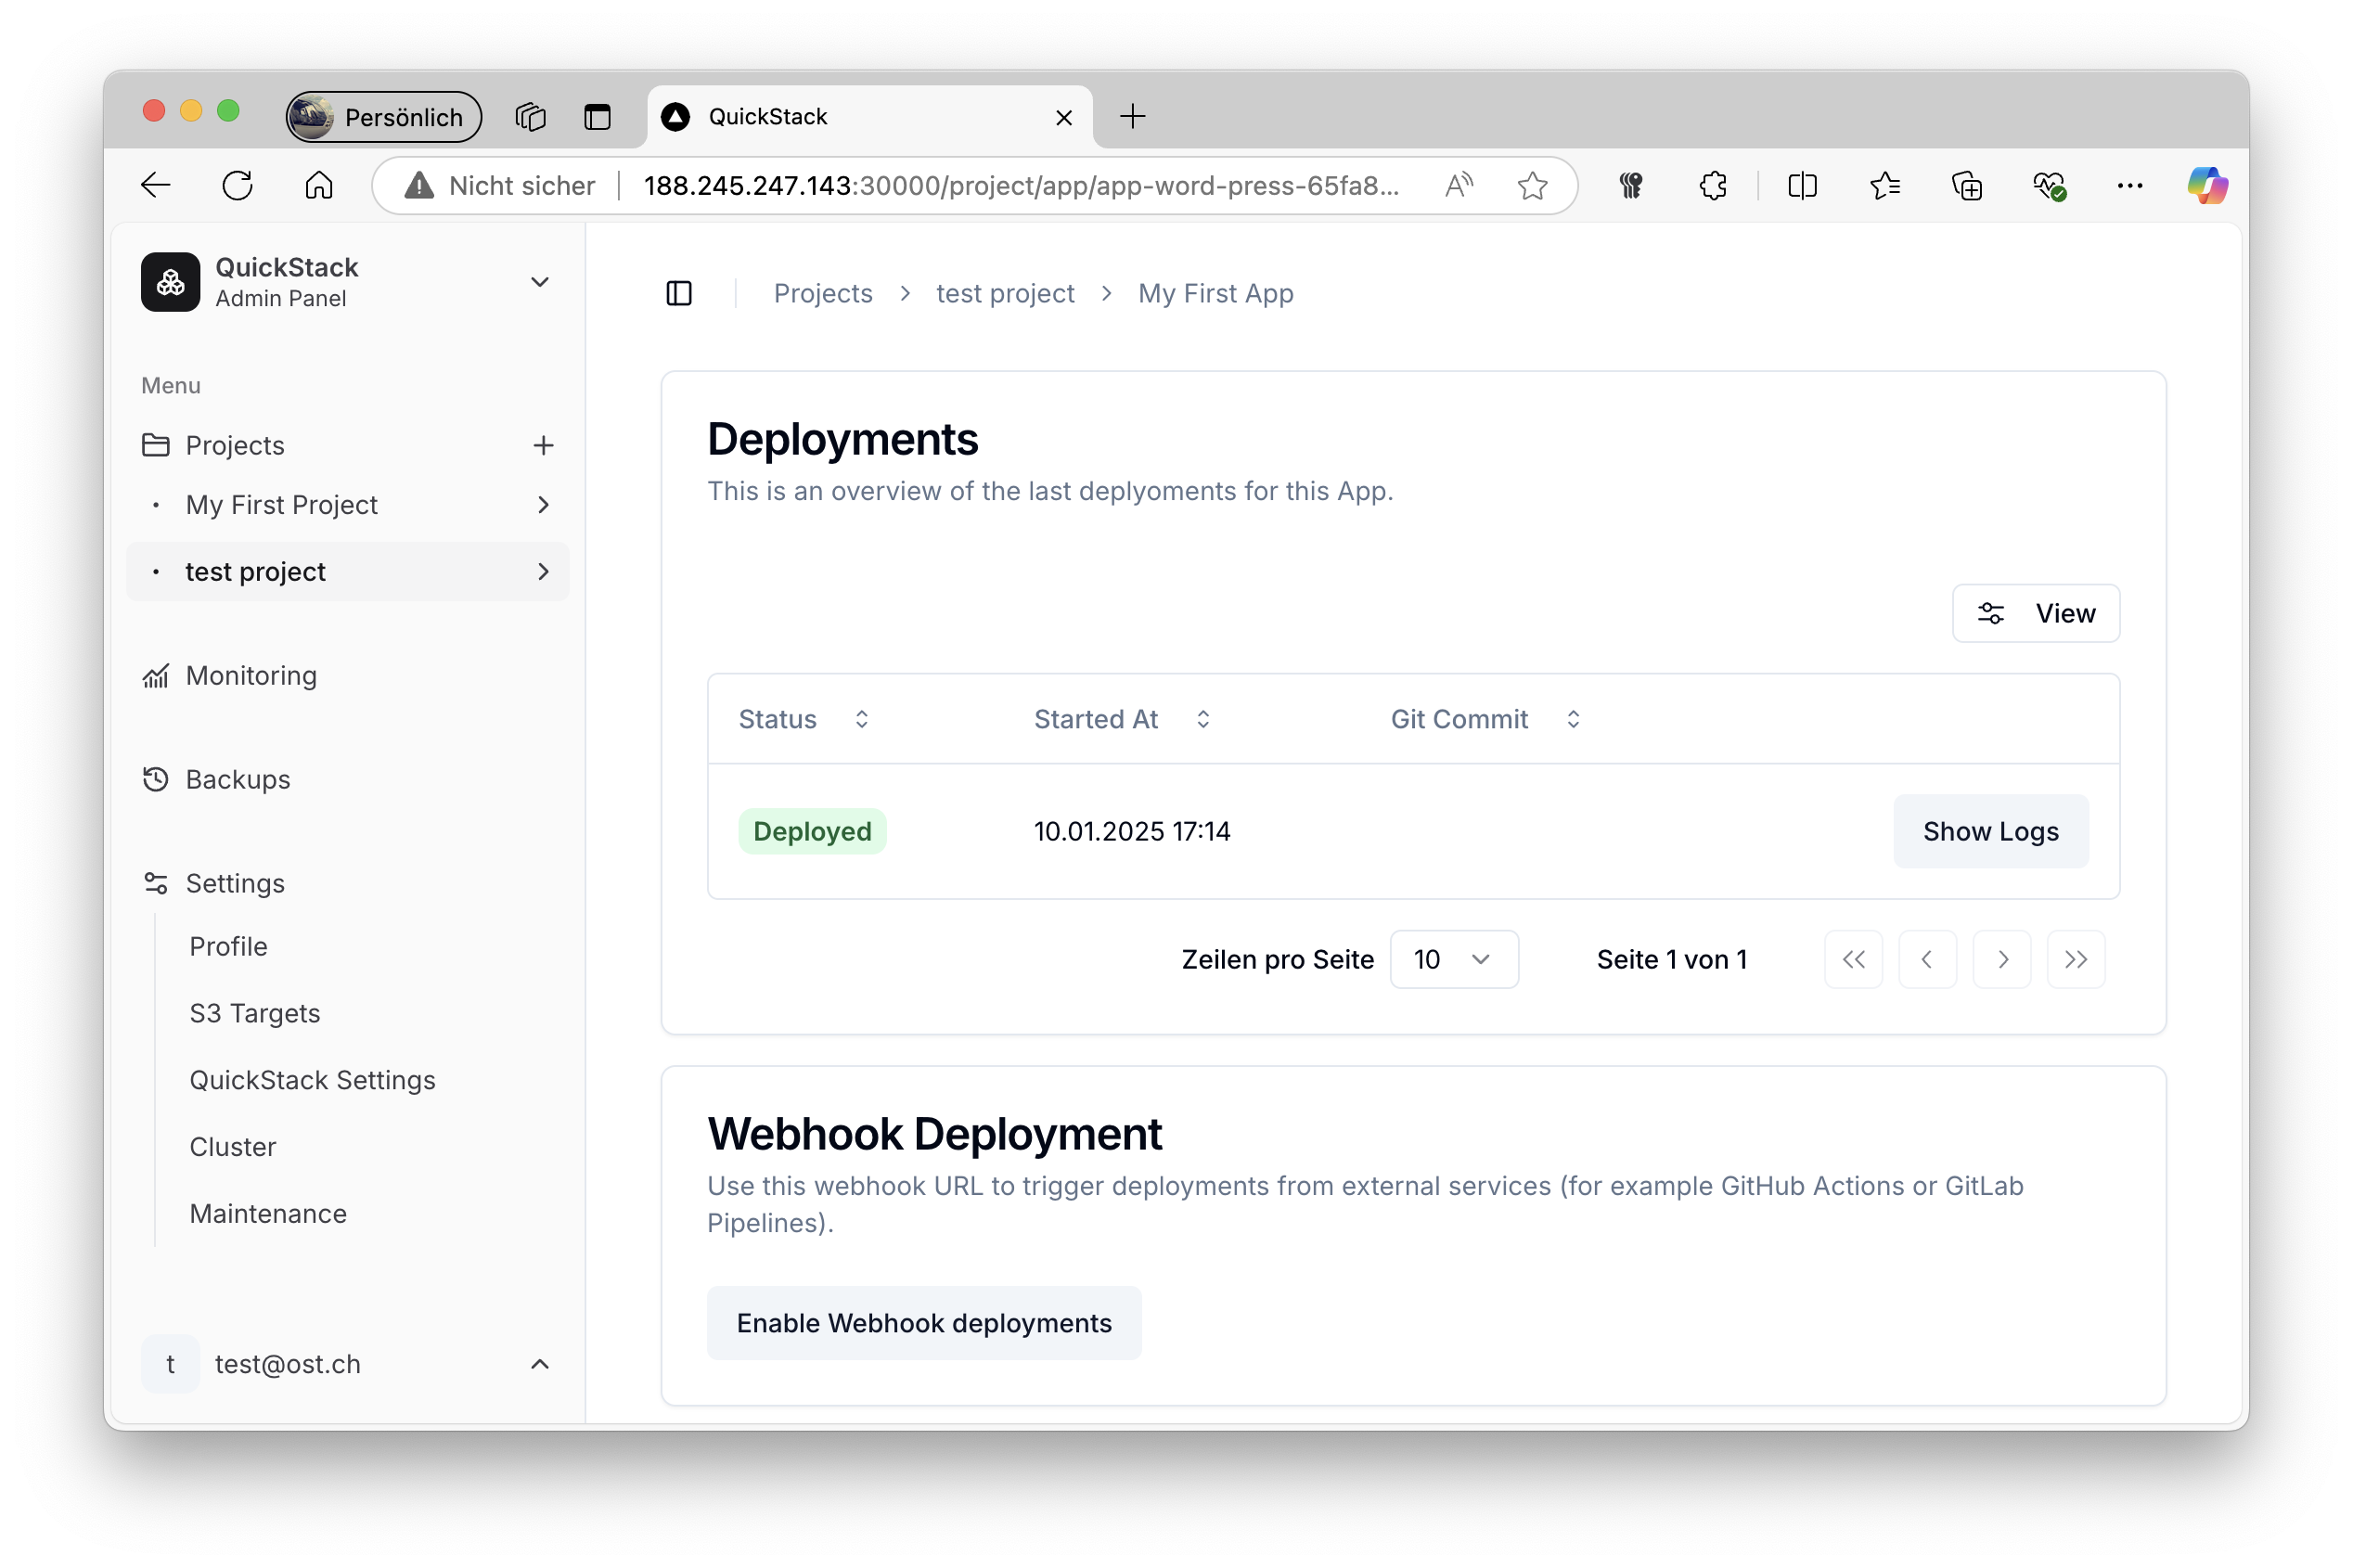
- You can click on the button "Show Logs" of the current deployment to view the progress of the build and deployment in real time.
Step 5: Accessing Your Application
- Access Your App:
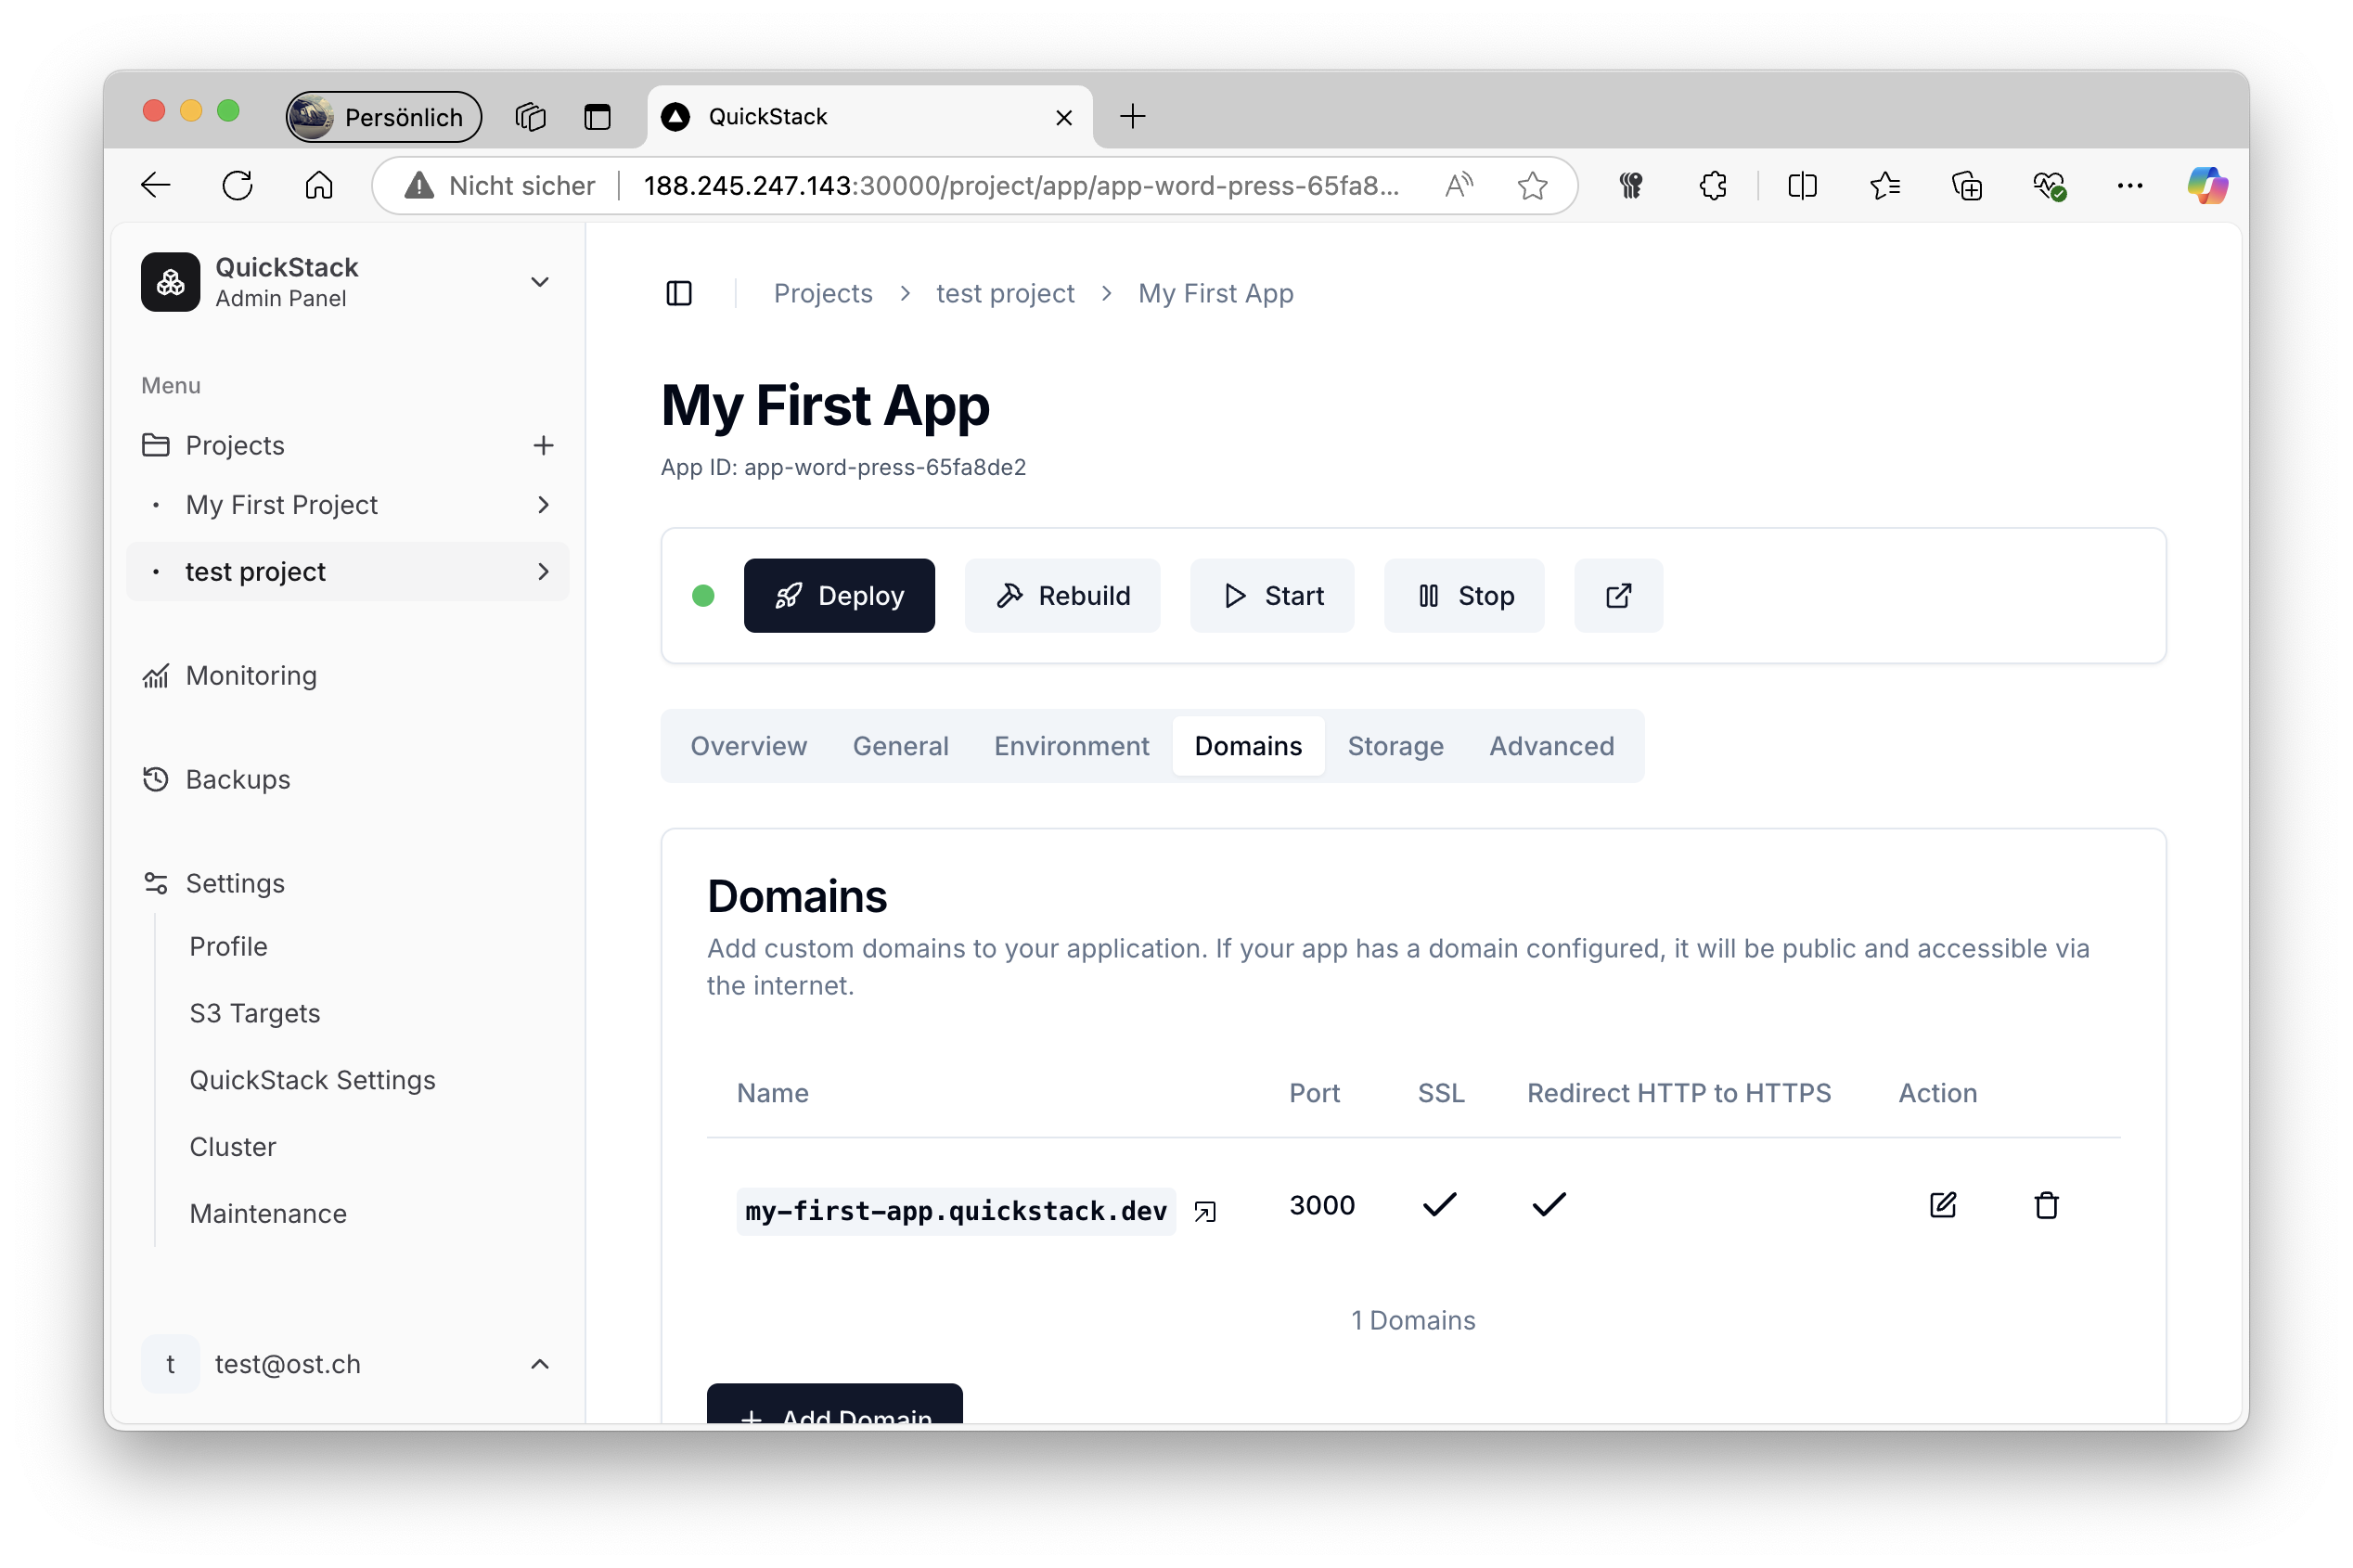
- If your app has a domain configured in the
Domainstab, you can access the app via the assigned domain.
- If your app has a domain configured in the
Troubleshooting
- Deployment Fails: Review the deployment logs for error messages. Ensure your Dockerfile is valid and accessible in your Git repository.
- Application Not Accessible:
- Ensure your application has a domain configured.
- Ensure that the domain is pointing to the correct IP address of your server.
- Double-check if the application is running.
Congratulations
You have successfully deployed your first application using QuickStack! Explore the documentation further to learn more about advanced settings and capabilities.